I. Introduction
A. Importance of privacy in the home Privacy is an essential aspect of any home. It provides a sense of security, comfort, and personal space for individuals and families. Maintaining privacy within your living space is crucial for peace of mind and overall well-being.
B. Introduction to DIY window film as a solution DIY window film is a cost-effective and practical solution to enhance privacy in your home. It offers a simple and customizable approach to cover your windows while allowing natural light to enter. This article delves into the world of DIY privacy window film, discussing its benefits, types, installation techniques, and more.
II. Understanding DIY Privacy Window Film
A. What is DIY privacy window film?
- Explanation of the purpose and benefits DIY privacy window film is a self-adhesive material applied to windows to create privacy without sacrificing natural light. It is an affordable alternative to traditional window treatments and allows you to customize the level of privacy according to your preferences.
B. Types of DIY privacy window film
- Frosted window film Frosted window film provides a translucent appearance, obscuring the view from both inside and outside the window. It diffuses light, creating a soft ambiance while keeping unwanted eyes away.
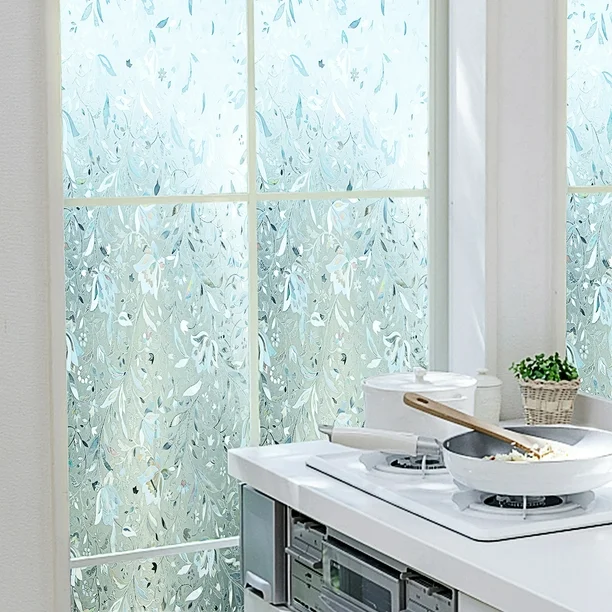
- Etched glass window film Etched glass window film mimics the look of etched or sandblasted glass panes. It adds an elegant touch to windows, offering privacy while allowing light to filter through beautifully.
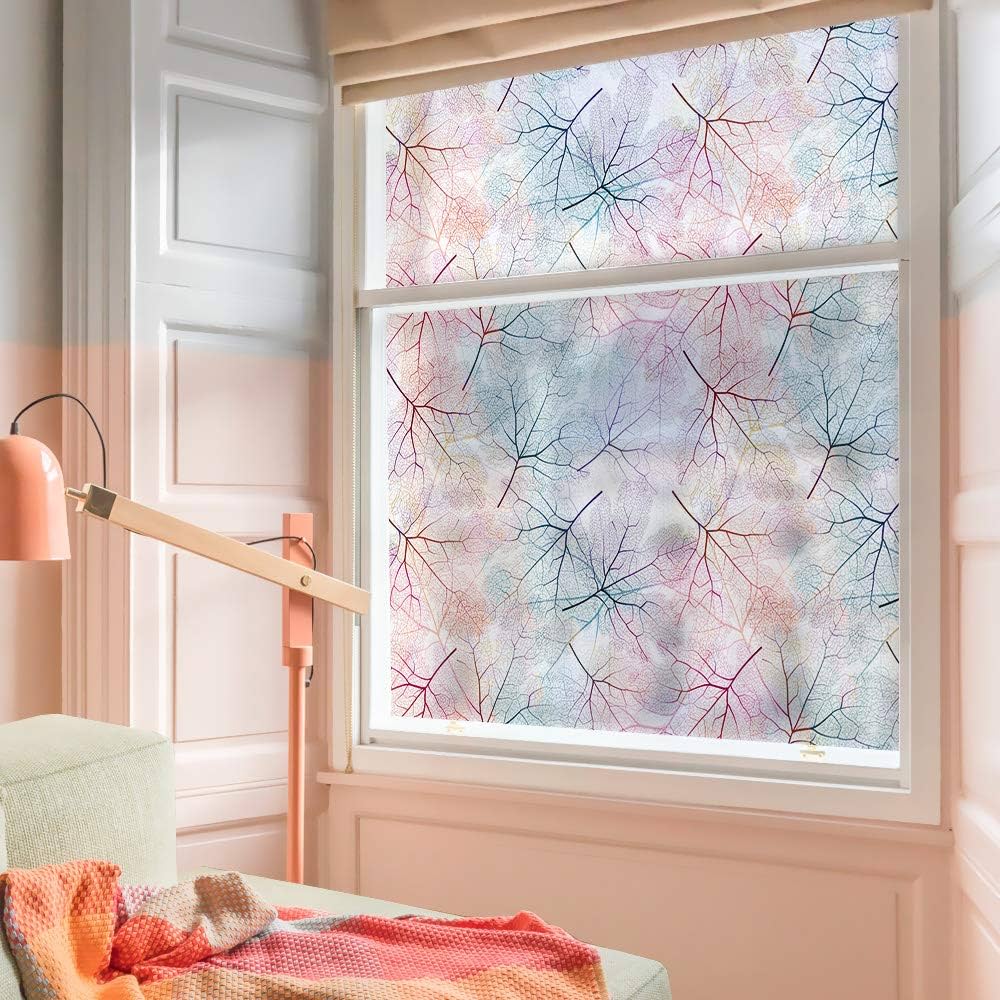
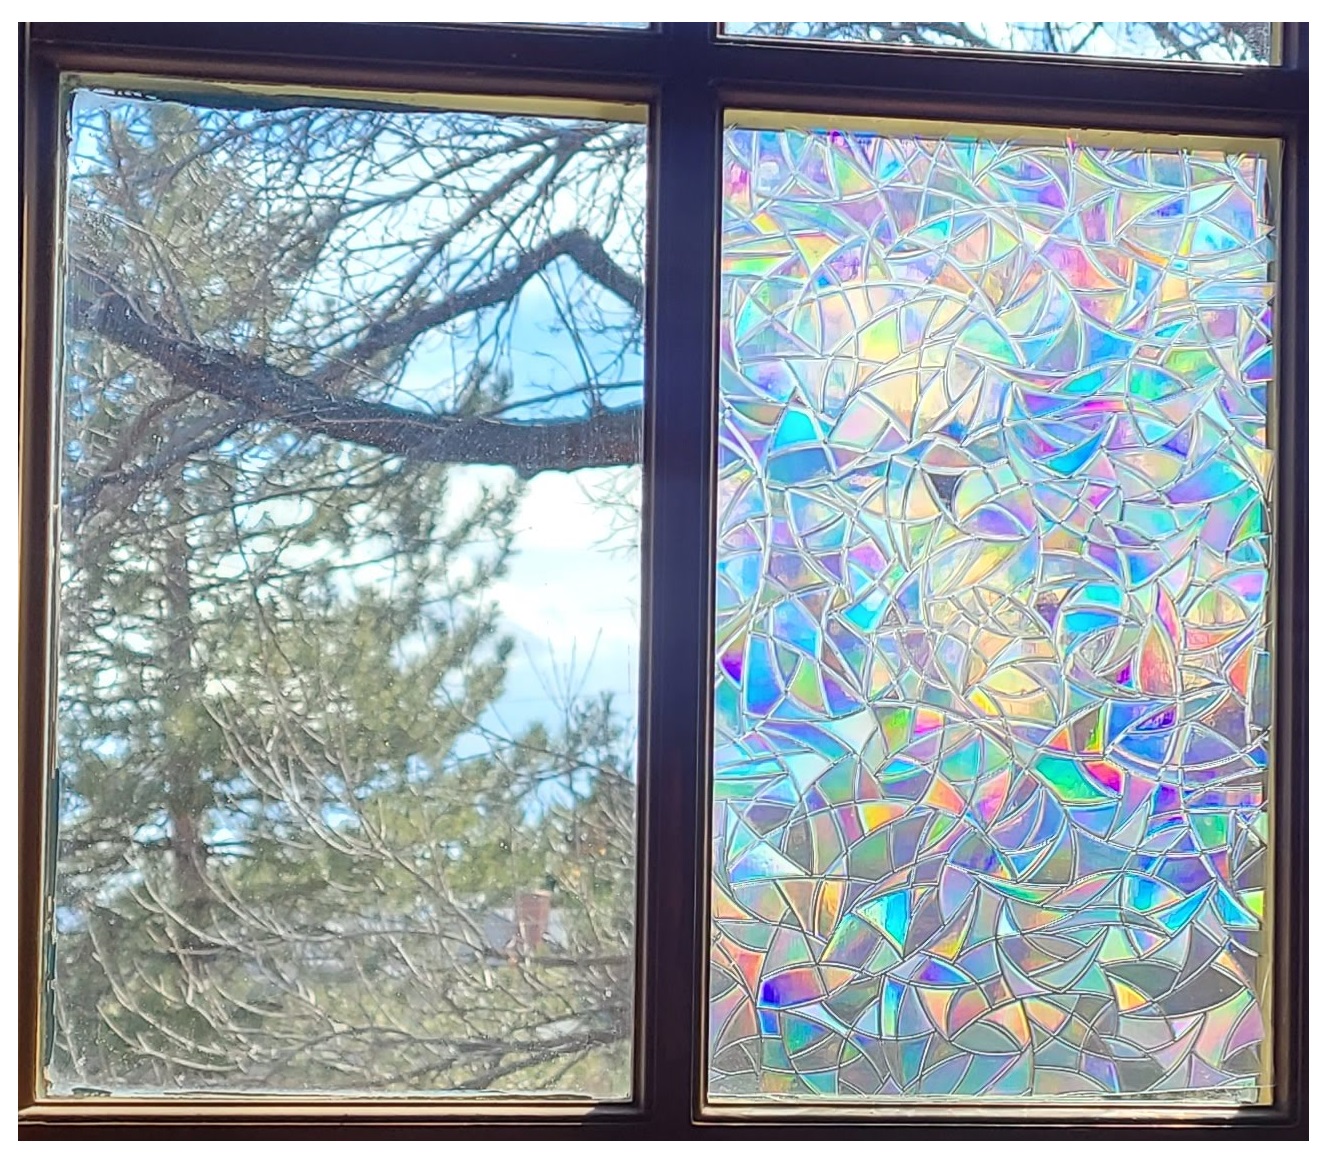
- Stained glass window film Stained glass window film replicates the colorful and intricate patterns found in traditional stained glass windows. It adds a unique artistic element to your windows while providing privacy.
III. Installation and Application Techniques
A. Preparing for installation
- Gathering necessary tools and materials Before installing DIY privacy window film, gather essential tools such as a utility knife, ruler, spray bottle with soapy water, squeegee, and a clean cloth. Ensure you have measured and purchased the correct amount of film for your windows.
- Cleaning and preparing the window surface Thoroughly clean the window surface using a glass cleaner to remove any dirt, dust, or grease. Properly preparing the surface is crucial for a smooth and durable film installation.
B. Step-by-step installation process
- Measuring and cutting the film to size Measure the dimensions of your window and cut the privacy film to fit. Leave a small allowance on each side to ensure proper coverage.
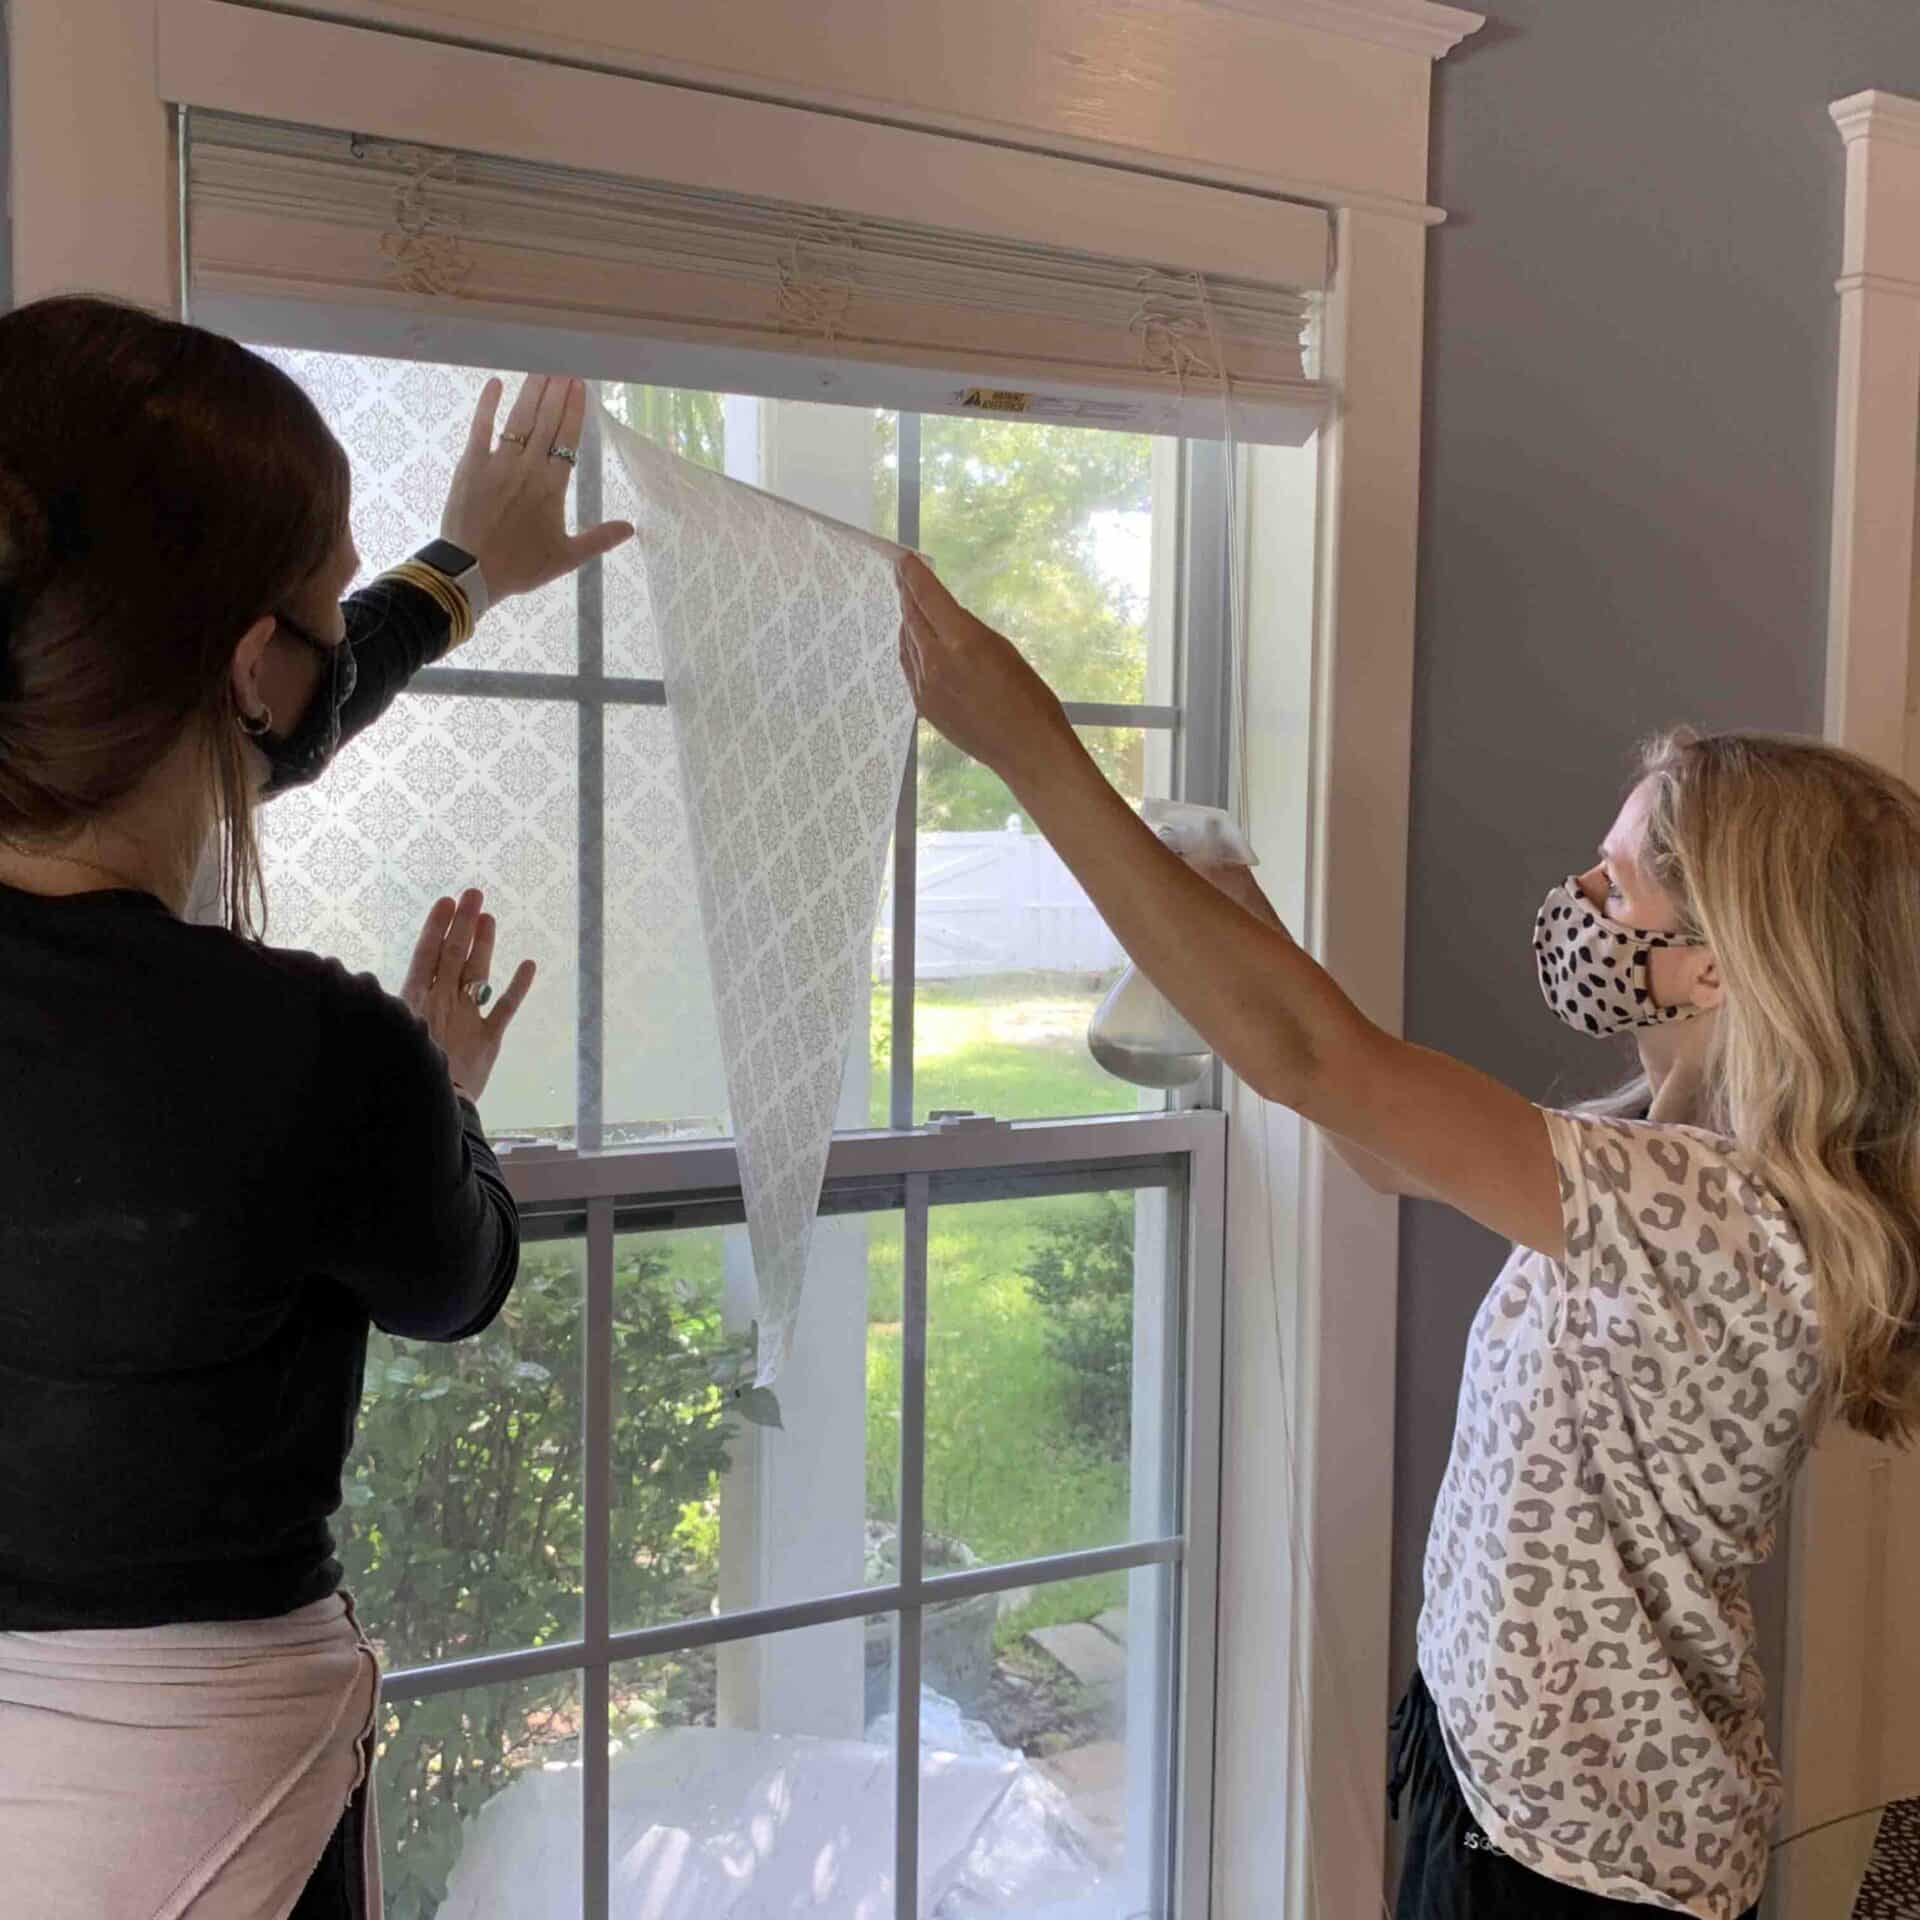
- Applying the film to the window Spray a generous amount of soapy water onto the window surface. Peel off the backing of the film and place it onto the wet surface. Adjust the positioning as needed.
- Removing any air bubbles and smoothing the film Using a squeegee or a clean cloth, start from the center and gently push outwards, removing any air bubbles and ensuring a smooth application. Work your way to the edges, ensuring the film adheres well to the window.
-
Final touches and cleaning up Trim any excess film around the edges using a utility knife. Clean the window and film using a clean cloth to remove any water or soap residue. Allow the film to dry, and enjoy your enhanced privacy.
IV. Practical Uses and Benefits of DIY Privacy Window Film

A. Enhancing privacy
- Shielding from prying eyes In today’s world, privacy is a valuable asset. DIY privacy window film provides an effective solution for keeping prying eyes at bay. By applying the film to windows, it creates a barrier that obscures the view into your home. This helps to maintain a sense of privacy and security, especially in areas where homes are in close proximity or facing busy streets.
- Maintaining a sense of security at home Privacy window film not only offers physical privacy but also enhances the overall security of your home. It discourages potential burglars or intruders from trying to get a glimpse inside, reducing the risk of theft or invasion. By ensuring that your home is not easily visible from outside, you create an additional layer of protection.
B. Adding style and design
- Creating a unique and personalized look DIY privacy window film allows you to unleash your creativity and add a personal touch to your windows. With various designs, patterns, and colors available, you can customize the film to suit your unique style and aesthetic preferences. Whether you prefer a modern, minimalistic look or a more ornate and decorative design, the possibilities are endless with DIY privacy window film.
- Reflecting personal aesthetics and preferences Window films offer a versatile way to express your personal aesthetics and preferences. From frosted window film that mimics the look of etched glass to colorful stained glass designs, you can find a window film that aligns with your desired aesthetic. This allows you to transform the appearance of your windows, adding visual interest and enhancing the overall ambiance of your living space.
V. Maintenance and Removal of DIY Privacy Window Film
A. Cleaning and caring for the film

- Choosing appropriate cleaning methods To maintain the appearance and performance of your DIY privacy window film, it’s important to follow proper cleaning techniques. Use non-abrasive cleaners and soft, lint-free cloths to gently clean the film. Avoid harsh chemicals or abrasive materials that can damage the film’s surface or affect its adhesion.
- Preventing damage and prolonging the film’s lifespan To prolong the lifespan of your DIY privacy window film, take preventative measures to protect it. Avoid contact with sharp objects that may scratch or tear the film. Additionally, be cautious when opening and closing windows to prevent the film from peeling or wrinkling. Following these precautions will help to ensure the longevity and effectiveness of the film.
B. Removing the film
- Techniques for safe and easy removal If you decide to remove the DIY privacy window film, there are various techniques you can use for safe and easy removal. One method is to use a heat source, such as a hairdryer or heat gun, to gently warm and soften the film. This makes it easier to peel away from the window surface. Alternatively, you can apply a commercial adhesive remover to dissolve the adhesive between the film and the window.
-
Restoring the window to its original state After removing the film, you may notice some residue or adhesive left behind on the window. Use a glass cleaner or mild soap and water solution to clean the window and remove any remaining residue. Once the window is clean, it will be restored to its original appearance, ready for any future treatments or decorations.
VI. Conclusion
DIY privacy window film offers a practical and stylish solution for enhancing privacy and adding aesthetic appeal to your home. It creates a barrier that shields your home from prying eyes while maintaining a sense of security. Additionally, it allows you to express your personal style and preferences by selecting from a variety of designs and patterns. Proper maintenance and care will ensure the longevity of the film, and when the time comes to remove it, there are safe and effective techniques available. Embrace the benefits of DIY privacy window film to transform your windows into a secure and stylish feature of your living space.