I. Introduction
A. Importance of Home Security and the Role of Video Doorbells
Ensuring the safety and security of our homes and loved ones is a top priority for many homeowners. With the rise in smart home technology, video doorbells have become an integral part of comprehensive home security systems. Video doorbells offer a layer of protection by allowing homeowners to monitor and oversee their property’s entrance in real-time. And it provides a sense of security and peace of mind.
In addition to acting as a visual deterrent to potential intruders, video doorbells serve as a convenient means of communication with visitors, enabling homeowners to safely interact with delivery personnel, service providers, or unexpected guests. The ability to see and speak with individuals at the front door provides an added layer of security by allowing homeowners to assess and respond to visitors without physically answering the door, particularly useful when away from home.
B. Overview of the Blink Video Doorbell and Its Features
The Blink video doorbell is a popular choice among homeowners seeking a reliable and user-friendly video doorbell solution. Known for its ease of installation, high-definition video capabilities, and customizable motion detection features, the Blink video doorbell offers a comprehensive home security solution within a compact and sleek design. With features such as two-way audio communication, the Blink video doorbell provides homeowners with enhanced control.
II. Preparing for Installation
A. Unboxing the Blink video doorbell and reviewing the contents
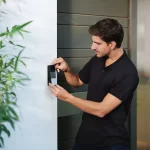
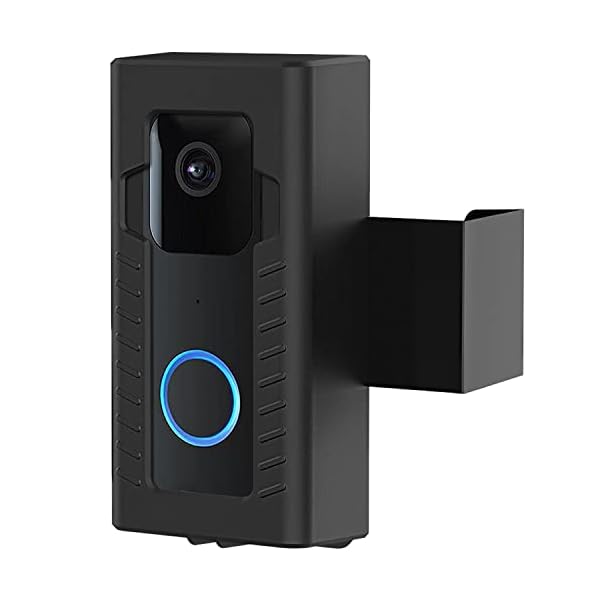
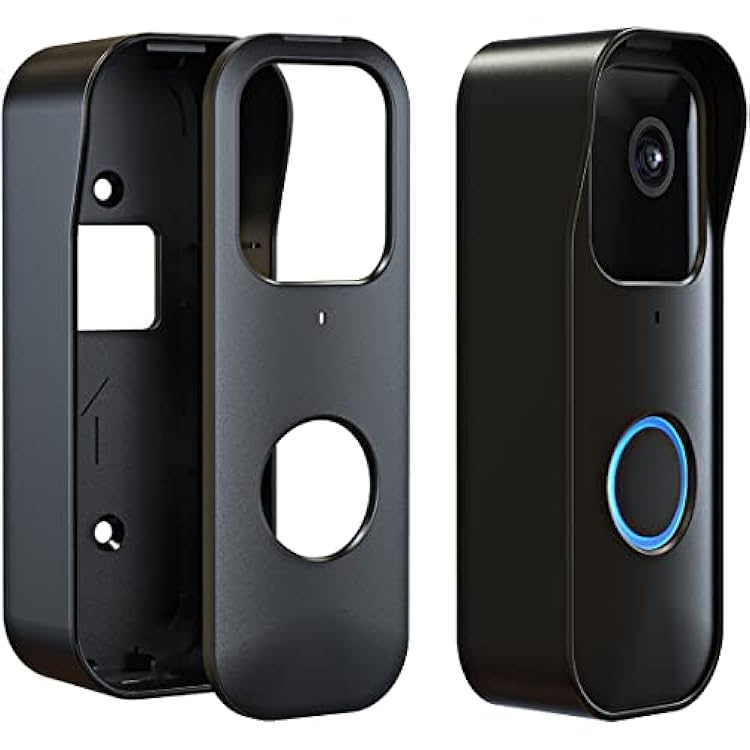
As I unboxed the Blink Video Doorbell, I was pleased to find that it came with everything I needed for installation. Inside the box, I found the video doorbell itself, a mounting bracket. The packaging was sleek and professional, and the contents were well-organized and clearly labeled.
I was particularly impressed by the design of the video doorbell. It was sleek and modern, with a durable build that felt like it could withstand the elements. The mounting bracket also seemed sturdy and well-made, giving me confidence that the installation process would be straightforward.
B. Understanding compatibility and technical requirements for installation
Before diving into the installation process, it’s important to understand the compatibility and technical requirements for the Blink Video Doorbell. Additionally, the doorbell is compatible with both iOS and Android devices. So you’ll need a smartphone or tablet to set up and access the video doorbell.
In terms of installation, the Blink Video Doorbell requires a power source. The doorbell comes with a USB charging cable. So if you opt for the battery pack, you’ll need to ensure that you have a nearby power source for recharging.
As I reviewed the technical requirements, I found that my home met all the necessary criteria for installing the Blink Video Doorbell. I had a 2.4GHz Wi-Fi network, a compatible smartphone, and a nearby power source for charging the battery pack. With all the technical details in place, I was ready to move on to the installation process.
III. Mounting the Blink Video Doorbell
A. Selecting an Ideal Location for the Doorbell
Selecting the ideal location for mounting the Blink video doorbell is a crucial first step in the installation process. When determining the placement, consider areas that provide a clear field of view of the entryway while ensuring the doorbell remains easily accessible for maintenance and operation. Additionally, aim for a location that allows for optimal Wi-Fi connectivity to facilitate reliable video and audio transmission.
When choosing a mounting location, factors such as the doorbell’s field of vision, the proximity to an electrical power source, and protection from environmental elements should be taken into account. A location with a clear view of the entryway, adequate lighting, and minimal obstructions will contribute to the doorbell’s overall effectiveness in providing enhanced security and surveillance.
B. Steps for Securely Mounting the Device in the Chosen Location
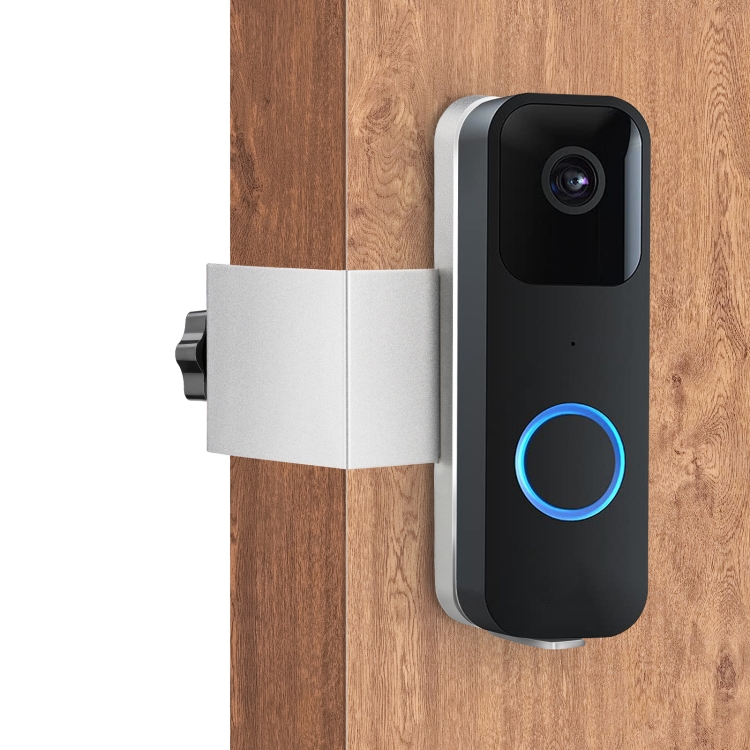
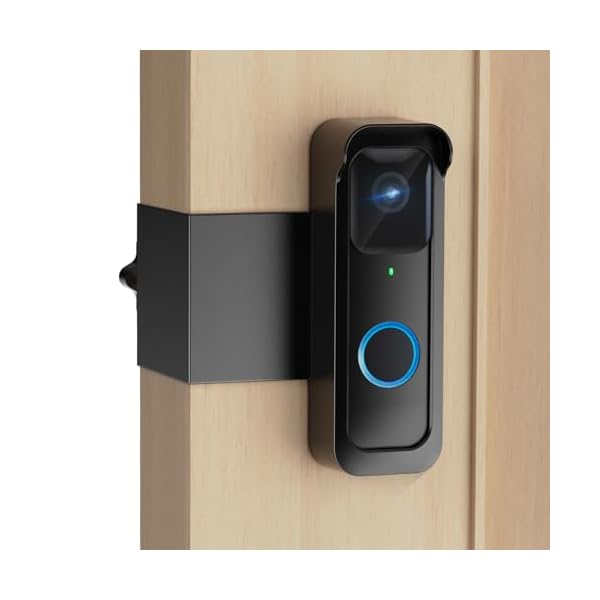
Once the ideal mounting location has been determined, the next step involves securely installing the Blink video doorbell at the selected spot. This typically involves affixing the mounting bracket or plate to the exterior surface near the entryway, ensuring a stable and level foundation for the doorbell unit.
Most video doorbells, including the Blink video doorbell, come with straightforward mounting instructions and hardware for a hassle-free installation process. Following the prescribed mounting guidelines and utilizing the provided hardware, such as screws and anchors. It will help ensure the doorbell is securely affixed to the chosen location. Properly securing the mounting bracket is essential to guarantee the stability and reliability of the doorbell’s positioning. It offers an unobstructed view of the entryway and surroundings.
IV. Connecting to Power and Wi-Fi
A. Utilizing Existing Wiring for Power or Setting Up the Battery-Powered Option
The Blink video doorbell provides homeowners with the flexibility to choose between wired and battery-powered options for powering the device. When using existing doorbell wiring for power, it is essential to follow the prescribed wiring and installation instructions to safely and effectively connect the doorbell to the electrical supply.
The decision between wired and battery-powered installations should factor in considerations such as the availability of existing doorbell wiring, the desired operational convenience, and the long-term maintenance requirements. Both options offer reliable power sources, and selecting the most suitable power method for the specific installation scenario is crucial for the optimal functionality and performance of the video doorbell.
B. Connecting the Doorbell to the Home Wi-Fi Network
To enable seamless video and audio transmission, connecting the Blink video doorbell to the home Wi-Fi network is a pivotal step in the installation process. This typically involves utilizing the accompanying mobile app to configure the doorbell settings and establish a secure connection to the home network.
By accessing the Blink Home Monitor app and following the provided instructions, homeowners can easily connect the doorbell to their Wi-Fi network, ensuring a stable and efficient link for real-time video monitoring and remote access. The app facilitates straightforward Wi-Fi network configuration. It allows for a streamlined integration of the video doorbell into the home’s security infrastructure.
V. Setting Up the Blink App and Configuration
A. Downloading and Installing the Blink Home Monitor App
To fully integrate and configure the Blink video doorbell, homeowners should begin by downloading and installing the Blink Home Monitor app on their smartphone or mobile device. The app serves as a central hub for controlling and managing the doorbell’s settings. It accesses live video feeds, receiving motion alerts, and customizing various security preferences.
Upon downloading the app from the respective app store, users can create a Blink account or log in using their existing credentials to begin the setup process. Installing the app on a compatible device ensures convenient access to the doorbell’s features and functionalities, facilitating seamless monitoring and management of home security.
B. Configuring the Doorbell Settings and Customizing Preferences in the App
Once the Blink Home Monitor app is installed, homeowners can proceed with configuring the doorbell settings and customizing their preferences to suit their specific security needs and usage requirements. The app provides a user-friendly interface that simplifies the setup process, offering comprehensive options for tailoring the doorbell’s operation to align with individual preferences.
Key configuration settings typically include adjusting motion detection sensitivity, defining zones for motion alerts, setting up two-way audio communication, and customizing notification preferences. These options enable homeowners to actively manage and refine their home security system, empowering them to efficiently monitor and respond to external activity and access their doorstep surveillance feed as needed.
The app also offers additional features, such as the ability to review recorded video clips, manage device settings, and engage in real-time communication with individuals at the doorstep, further enhancing the doorbell’s functionality and providing users with an all-encompassing home security solution.