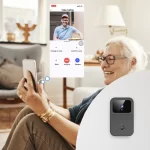
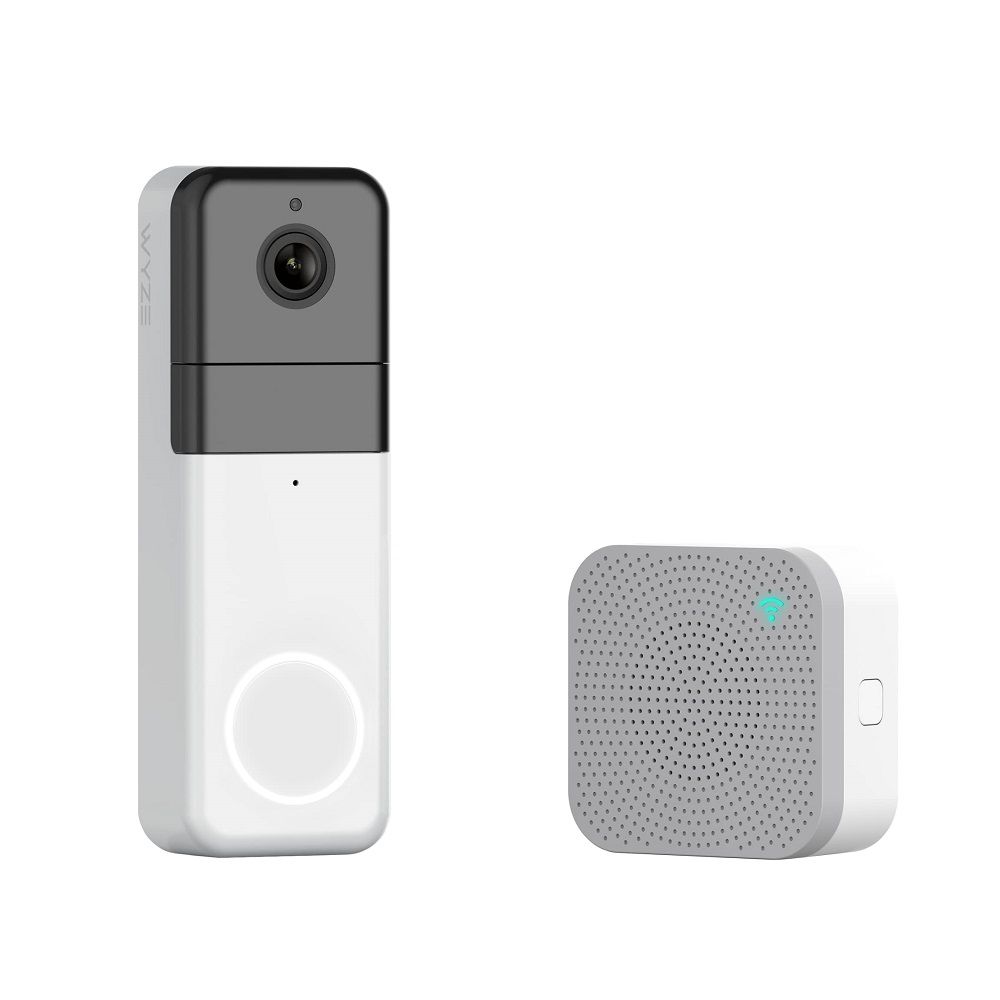
The Wyze Video Doorbell combines advanced technology and convenience, allowing homeowners to see who’s at their door from virtually anywhere. With its excellent video quality and smart features, it is a popular choice for enhancing home security. Installing this device is relatively simple, but attention to detail can greatly enhance your experience. This guide walks you through each step to ensure your Wyze Video Doorbell installation is set up efficiently, making your installation as smooth as possible.
Gather Required Tools and Materials
What You’ll Need
Before diving into the installation process, take a moment to gather all necessary tools and materials. You will need the following items:
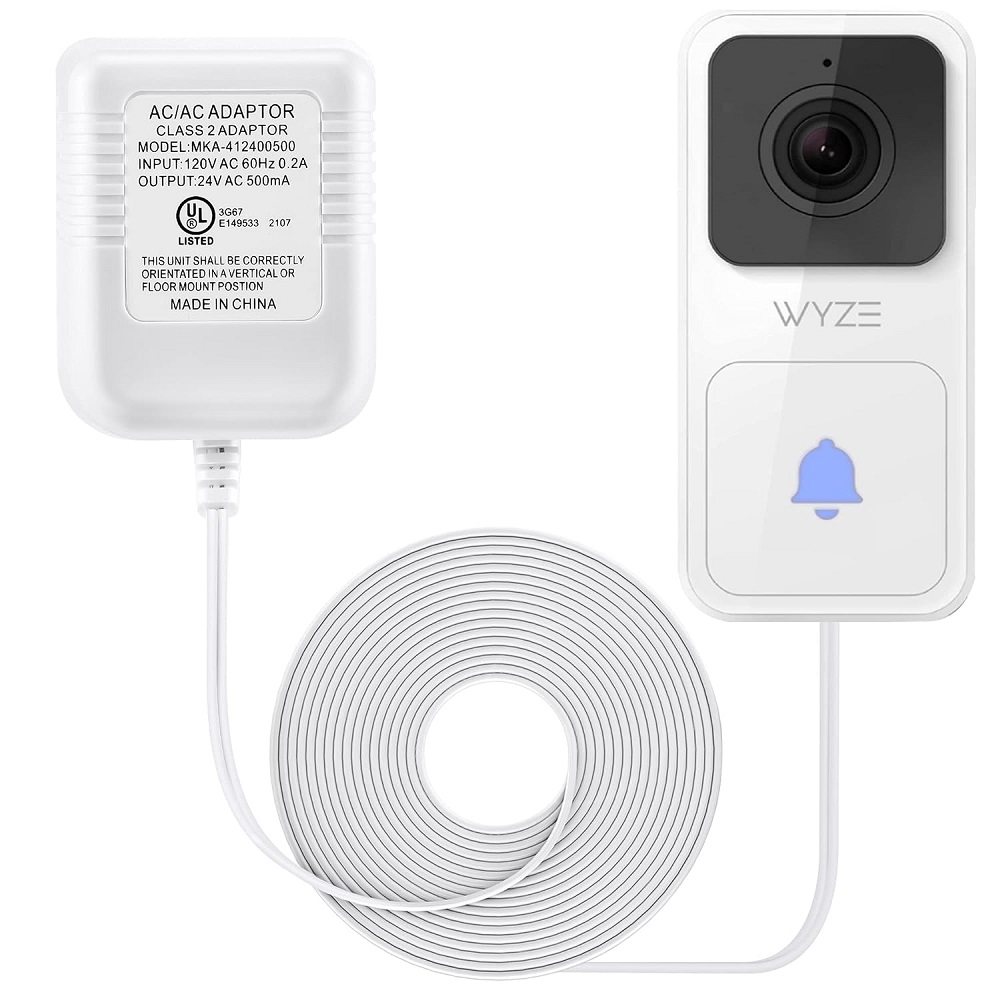
- Wyze Video Doorbell — Make sure you have the device itself and its accompanying components, including the mounting bracket, screws, and any included instruction manuals.
- Screwdriver — A Phillips or flathead screwdriver will suffice, depending on the type of screws provided with your doorbell kit.
- Drill — If you’re mounting the doorbell on a sturdy surface, a power drill is helpful for making clean holes.
- Level — Ensuring the bracket is straight makes a significant difference in how the doorbell looks and functions.
- Smartphone or Tablet — You’ll need your mobile device to download the Wyze app, connect to Wi-Fi, and configure the doorbell.
- Wi-Fi Connection — A steady Wi-Fi connection is crucial for the doorbell to function correctly, allowing you to receive notifications and video feeds in real time.
Preparing Your Work Area
Once you have gathered your tools, choose the optimal spot for your Wyze Video Doorbell. Ideally, install it at eye level, typically around 48 to 52 inches from the ground, to provide a clear view of the person at your door. Avoid areas where there are obstructions, such as railings or decorations, that could block the camera’s line of sight. This thoughtful planning will lead to fewer adjustments and enhance the overall efficiency when answering your doorbell alerts.
Unboxing the Wyze Video Doorbell
Inspect the Package
Carefully open the box and thoroughly check to make sure all components are included. Typically, the package will contain the following:
- The Wyze Video Doorbell itself
- A mounting bracket
- Screws and anchors
- A user manual with installation instructions
Having all components on-hand saves you time during installation and prevents unnecessary trips to the hardware store for missing parts. Take a moment to lay everything out on a clean surface; this allows you to understand quickly what each part is for while you work through the setup process.
Review the User Manual
Before starting the installation, take time to skim through the user manual. Familiarizing yourself with the device’s features, installation steps, and troubleshooting tips can provide valuable insights. Understanding the specifics—such as the dimensions of the mounting bracket and how to connect the device—can help you plan your installation location and approach. The manual can also offer various tips that enhance performance, like adjusting camera settings based on your specifics.
Connect to Power (Optional for Hardwired Installation)
Identifying Existing Doorbell Wiring
If you decide on a hardwired installation, you’ll need to turn off the power to your existing doorbell circuit at the breaker box. Safety comes first, so this step is essential. After turning off the power, remove the existing doorbell by unscrewing it from your wall or door frame, and carefully detach the wires. Most doorbells have two wires and sometimes might have a transformer that steps down voltage for the device.
Wiring the Wyze Video Doorbell
Now, connect the two wires from the wall to your new Wyze doorbell. Use wire nuts, which are often included, to secure the connections firmly. Make sure the connections are tight, as loose wires can lead to functionality issues down the line. If your doorbell has a transformer, it should typically be rated between 16V and 24V to ensure your Wyze Video Doorbell works properly. After all connections are made, double-check everything to ensure no wires are exposed before restoring power at the breaker to complete the installation safely.
Mount the Wyze Video Doorbell
Positioning the Mounting Bracket
Now that the device is powered (or ready for battery installation), it’s time to attach the mounting bracket. Hold the bracket against your wall in your chosen location. Use a level to ensure it’s straight before marking the screw points with a pencil. This visual guide will help align the doorbell and bracket, contributing to a polished, professional look after installation. Proper alignment prevents unnecessary reinstallations, minimizing extra work.
Securing the Bracket
Drill small pilot holes at the marked points to prepare for mounting. For sturdy surfaces like wood, using a regular screw should be sufficient. However, if you’re working with drywall or brick, utilize the provided anchors to ensure a secure fit. After attaching the bracket to the wall with screws, make sure everything is tight and secure to prevent any wobbling. A stable bracket is critical to ensuring that the doorbell performs correctly and stays in place regardless of weather conditions.
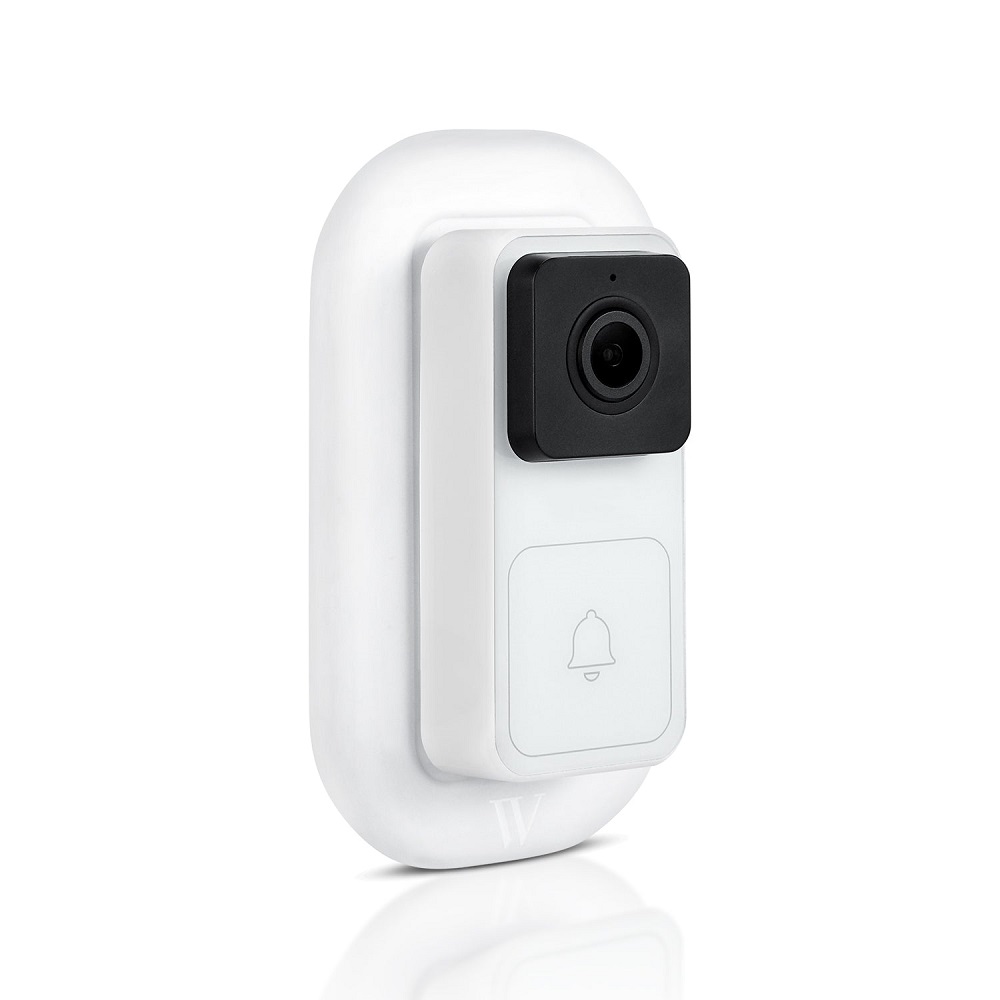
Attach the Wyze Video Doorbell
Aligning the Doorbell with the Bracket
With the mounting bracket secure, it’s time to attach the Wyze Video Doorbell itself. Carefully align the doorbell with the bracket and push until you hear it click in place. Ensure that the device is flush against the mounting plate to maintain security and proper functionality. This part of the installation often excites users since it marks a key step in completing your smart home setup.
Securing the Doorbell
Most models come with a screw to further secure the doorbell to the bracket. If your model requires this, use your screwdriver to tighten the screw, but take care not to over-torque, which can damage the casing. Once everything is connected, take a moment to step back and ensure that the doorbell is sitting straight and aligned properly with the wall. A well-mounted device not only enhances aesthetics but also improves the lifespan of the installation.
Set Up the Wyze App
Download the App
To begin taking full advantage of your Wyze Video Doorbell, you’ll need the Wyze app on your smartphone or tablet. Head to the Apple App Store or Google Play Store to download it. Once the app is installed, create an account if you don’t already have one or log in using your existing credentials. The app serves as your main control hub for the doorbell, enabling various features like video streams and notifications.
Adding Your Doorbell to the App
With the app activated, tap the “+” icon to initiate the process of adding your device. Follow the app prompts to select the video doorbell from the list, and it will guide you through the setup steps. You’ll be required to connect the doorbell to your Wi-Fi network, so make sure to input your Wi-Fi password accurately. Having your phone or tablet close to the doorbell simplifies this process, ensuring a stable connection. Once the doorbell successfully connects, it will often initiate a quick software update to ensure you have the latest features.
Testing and Final Adjustments
Testing Your Doorbell
Now that the installation is complete, it’s time to test the functionalities of your new Wyze Video Doorbell. Press the doorbell button and listen for a notification on your phone. This demonstrates that the device is correctly connected to your Wi-Fi and communicating with the app. Check the camera feed within the app to verify the video quality and angle. Being able to clearly see who is at your door enhances safety and convenience, so ensure everything is functioning effectively.
Making Adjustments
If you notice any issues, such as poor video quality or delayed notifications, you may need to reposition the camera slightly or check your Wi-Fi signal strength. Consider conducting a speed test where the doorbell is installed to verify that the connection is adequate. If your signal is weak, investing in a Wi-Fi extender can significantly improve connectivity. Additionally, you can adjust the motion sensitivity settings through the app to customize how and when you receive alerts. Tailoring these settings to your lifestyle can enhance your overall experience with the doorbell.
Conclusion
Installing the Wyze Video Doorbell installation offers a blend of security, convenience, and ease of use, enhancing your home while providing peace of mind. By following this step-by-step guide, you can confidently navigate the installation process to ensure everything is set up correctly. From gathering tools to testing features, each step is essential for a successful setup. As smart home technologies continue to evolve, having such a versatile device not only enhances your security but also contributes to the overall modern feel of your home. Enjoy monitoring your doorstep with the Wyze Video Doorbell, and relish the convenience and intelligence it brings to your daily life!