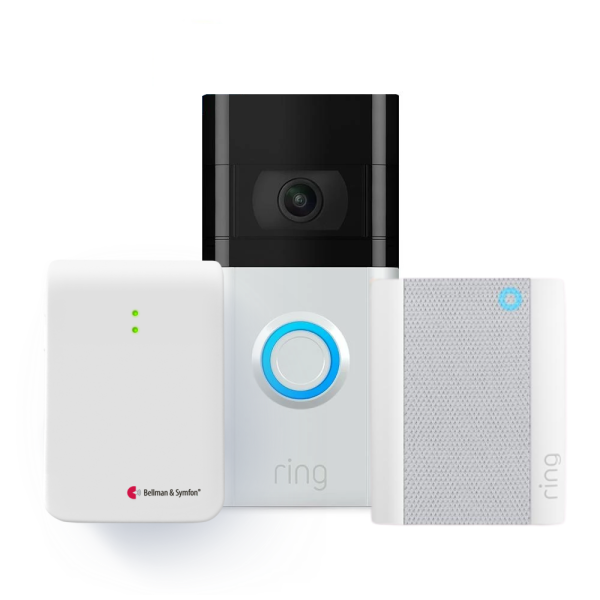
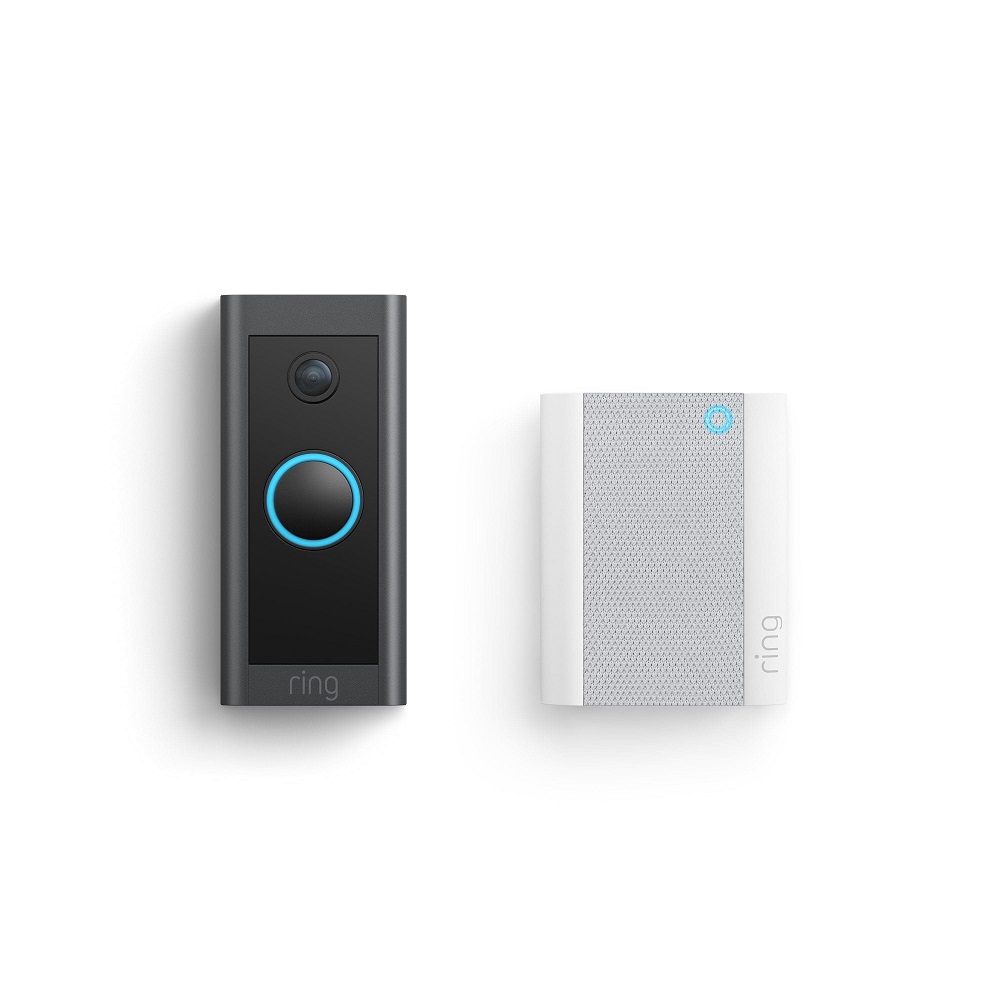
Installing a Ring Video Doorbell can enhance your home security and provide peace of mind. This smart device lets you monitor who approaches your door, communicate with visitors, and record footage, all from your smartphone. While the installation may seem daunting, it’s a straightforward process that you can complete in just a few steps. In this guide, you’ll find practical tips and tricks to make your Ring Video Doorbell installation as seamless as possible.
Gather Your Tools and Materials
Essential Tools
Before you start the installation process, it’s crucial to gather all necessary tools. You’ll typically need a screwdriver (usually Phillips), a drill (if you need to create new holes), and an adjustable wrench. Additionally, having a level tool will help ensure your doorbell is straight, avoiding potential issues later. Gather these items beforehand to streamline the process and minimize interruptions.
Included Materials
Your Ring Video Doorbell package should include mounting hardware, a battery (if using a battery-powered model), and an installation guide. If you’re replacing an existing doorbell, you might also need wire connectors. Read through the installation guide carefully to familiarize yourself with the parts you’ll be working with. Having everything on hand will save you time and frustration as you proceed with the installation.
Choose the Right Location
Ideal Placement
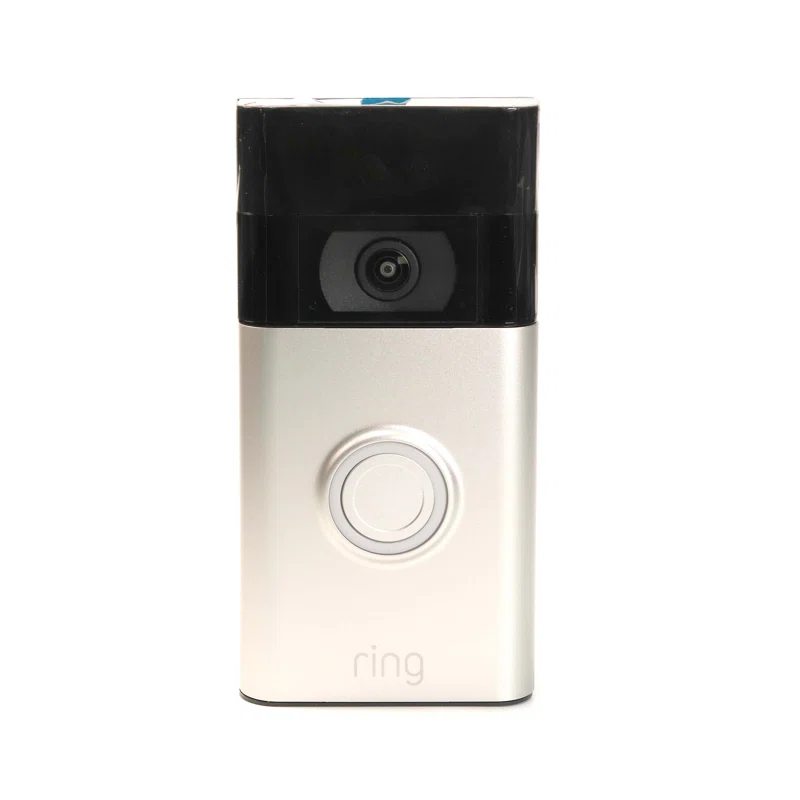
Selecting the perfect location for your Ring Video Doorbell plays a vital role in its effectiveness. Ideally, mount it at eye level (approximately 4 to 5 feet above the ground) for optimal field of view and interaction. Test the angle where the doorbell will face to ensure it captures most of the walkway and your front door area. A wider view can help you monitor visitors more effectively.
Avoiding Obstacles
Ensure the selected location is free of obstacles that may block the camera’s view, such as porch lights, eaves, or decorative elements. Check for potential sources of movement, such as passing cars or pedestrians, that may trigger unnecessary notifications. Adjusting placement slightly can often significantly affect the video quality and monitoring performance.
Prepare Your Existing Doorbell
Disconnecting Power
If you’re replacing an existing doorbell, it’s important to turn off the power at the circuit breaker. This step ensures your safety during installation. Use a voltage tester to confirm the power is off before proceeding. If you’re mounting a new doorbell where none existed before, you can skip this step but ensure it’s wired correctly.
Remove Old Doorbell
To install the Ring Video Doorbell, you’ll need to remove the existing doorbell. Use a screwdriver to detach it from the wall and take note of the wiring. Most doorbells will have two wires connected; these provide power to the unit. Make sure to remove any mounting brackets as well, as they will not be needed for your new installation. Following this step carefully will prepare your space for the new device.
Wiring the Doorbell
Connecting Wires
For hardwired installations, now comes the time to connect the wires to your Ring Video Doorbell. Match the wires from your house to the corresponding terminals on the Ring device—typically, it’s a straightforward red-to-red and white-to-white connection. Secure the connections with wire connectors if needed and make sure they are tightly fixed to avoid any loose connections.
Installing With a Battery
If you chose a battery-operated model, this step is less crucial. Install your battery according to the instructions, ensuring it’s charged and properly seated in the unit. By following the manufacturer’s guidelines, you ensure the doorbell powers up efficiently right from the start.
Mounting the Doorbell
Secure the Bracket
Now it’s time to mount the doorbell to the wall. Use the provided mounting bracket that comes with your Ring Video Doorbell. First, hold the bracket against the wall at the pre-selected position and use the level tool to ensure it is straight. Mark the holes where you will drill, taking care to keep it secure and level.
Drill and Secure
Once you have marked the holes, drill the necessary holes into the wall. Afterward, position the bracket over the drilled holes and secure it in place with screws. Make sure it’s firmly attached and able to support the weight of the doorbell. This step is vital to ensure that your doorbell remains stable and performs optimally.
Finalizing the Installation
Attaching the Doorbell
With the bracket in place, it’s time to attach the Ring Video Doorbell itself. Align the device with the bracket, ensuring it fits snugly. Most models will click into place with a simple push. Be sure it’s locked in securely, as a loose fit could affect performance. Take a moment to double-check that the camera lens faces the desired direction.
Powering Up and Testing
Once mounted, turn on the power at your circuit breaker (if hardwired) and check if the doorbell lights up. If it’s battery-powered, ensure the battery is charged. Now is a good time to perform a function test. Use the Ring app to check the video feed and verify that you can see and communicate through the device. Adjust angles or settings as needed at this point.
App Setup and Customization
Download the Ring App
After confirming the hardware is working, download the Ring app on your smartphone or tablet. Follow the prompts for creating an account if you’re new to Ring or logging in if you already have one. Once you’re in, select the option to set up a new device and follow the onscreen instructions to connect your Ring Video Doorbell to your home Wi-Fi network. A strong and stable connection is vital for streaming video and receiving notifications.
Customizing Settings
Finally, customize your settings within the app. You can set motion detection alerts, adjust sensitivity, and create customizable zones to monitor activity. Explore features like live view and two-way communication to familiarize yourself with the app’s functionalities. Adjusting these settings will enhance your experience by providing better security and ensuring you receive alerts that matter to you.
Maintenance and Troubleshooting Tips
Regular Maintenance Practices
To ensure your Ring Video Doorbell continues to function optimally, regular maintenance is essential. Start by cleaning the camera lens periodically to keep the video feed clear and free of dirt or debris. Avoid using harsh chemicals; instead, a soft, damp cloth will suffice. Additionally, inspect the device for any signs of wear or damage, particularly after severe weather conditions. Checking battery levels frequently, especially if you’re using a battery-operated model, can help you avoid unexpected downtime.
Common Issues and Solutions
Despite the reliability of Ring devices, you may occasionally encounter issues. If you notice that your doorbell isn’t sending alerts or you experience connectivity problems, a quick reset might do the trick. Consult the user manual for a step-by-step guide on how to reset your specific model. Checking your Wi-Fi signal strength can also help diagnose connection problems; a weak signal might require repositioning your router or installing a Wi-Fi extender. Lastly, keeping your app updated ensures that you’re utilizing the latest features and security enhancements.
Enjoy Your Enhanced Security
With your Ring Video Doorbell installation now installed and set up, you’ve taken an important step towards enhancing your home security. This device not only offers the convenience of monitoring your front entrance but also provides a sense of reassurance when it comes to safeguarding your property. By following these easy tips and tricks, you’ve set yourself up for success in both installation and functionality.
Remember to explore all the features your Ring device offers. Taking full advantage of these capabilities will make your life easier and keep your home safe. As you become accustomed to using your Ring Video Doorbell installation, you’ll appreciate the peace of mind and convenience it brings to your daily life. Welcome to the future of home security!
