The Arlo Video Doorbell installation has become a popular choice among homeowners looking to enhance their home security. This smart device not only allows you to see who’s at your door but also provides real-time notifications and two-way communication via your smartphone. However, for beginners, installing the Arlo Video Doorbell may seem daunting. This guide simplifies the process, ensuring you can set it up quickly and effortlessly.
Understanding the Arlo Video Doorbell
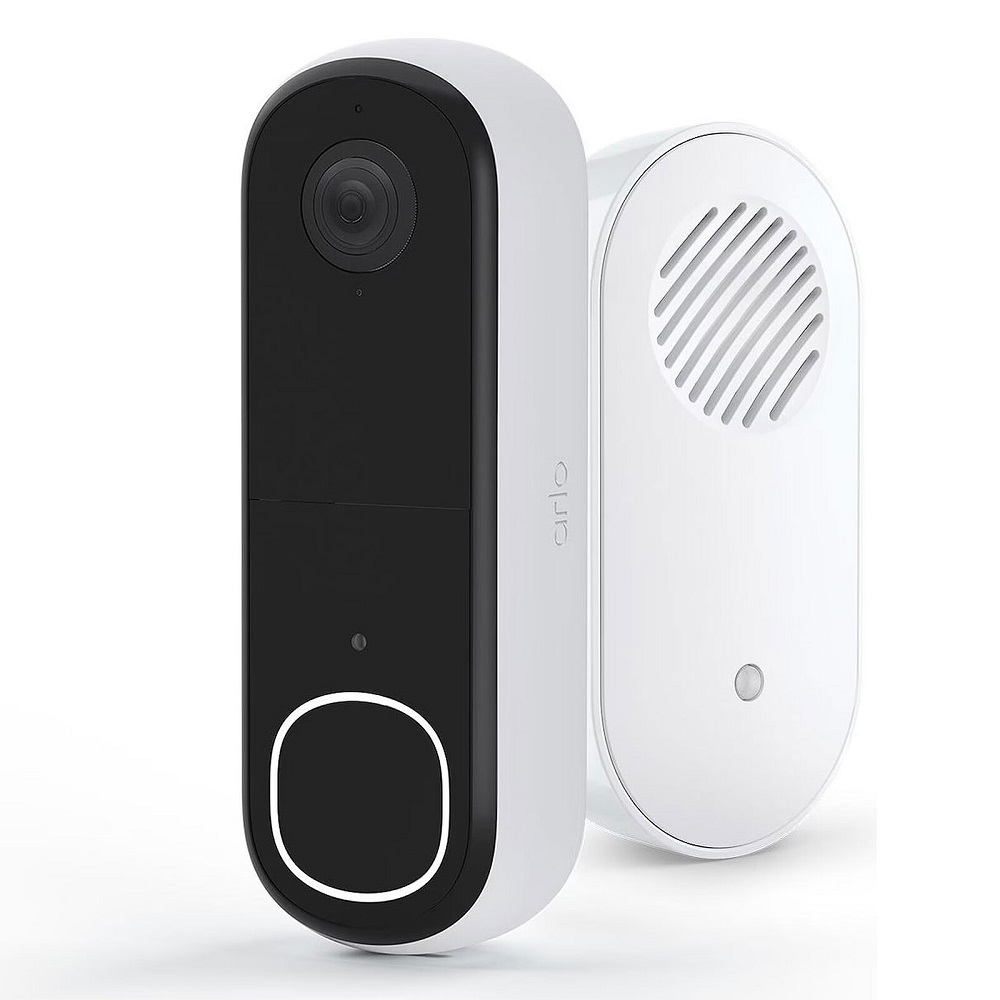
Features of the Arlo Video Doorbell
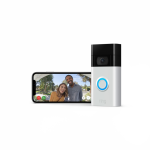
Before diving into installation, it’s essential to understand what the Arlo Video Doorbell offers. The device boasts a 1536p HD video resolution with HDR capabilities, ensuring you receive clear images, even at night. It also features a 180-degree field of view, allowing you to see more of your surroundings.
The doorbell includes two-way audio, which enables you to communicate with visitors directly through your smartphone. Moreover, the integrated motion detection system sends alerts to your device when movement is detected, enhancing your home security. Knowing these features can help you make the most of your device once it’s installed.
System Requirements
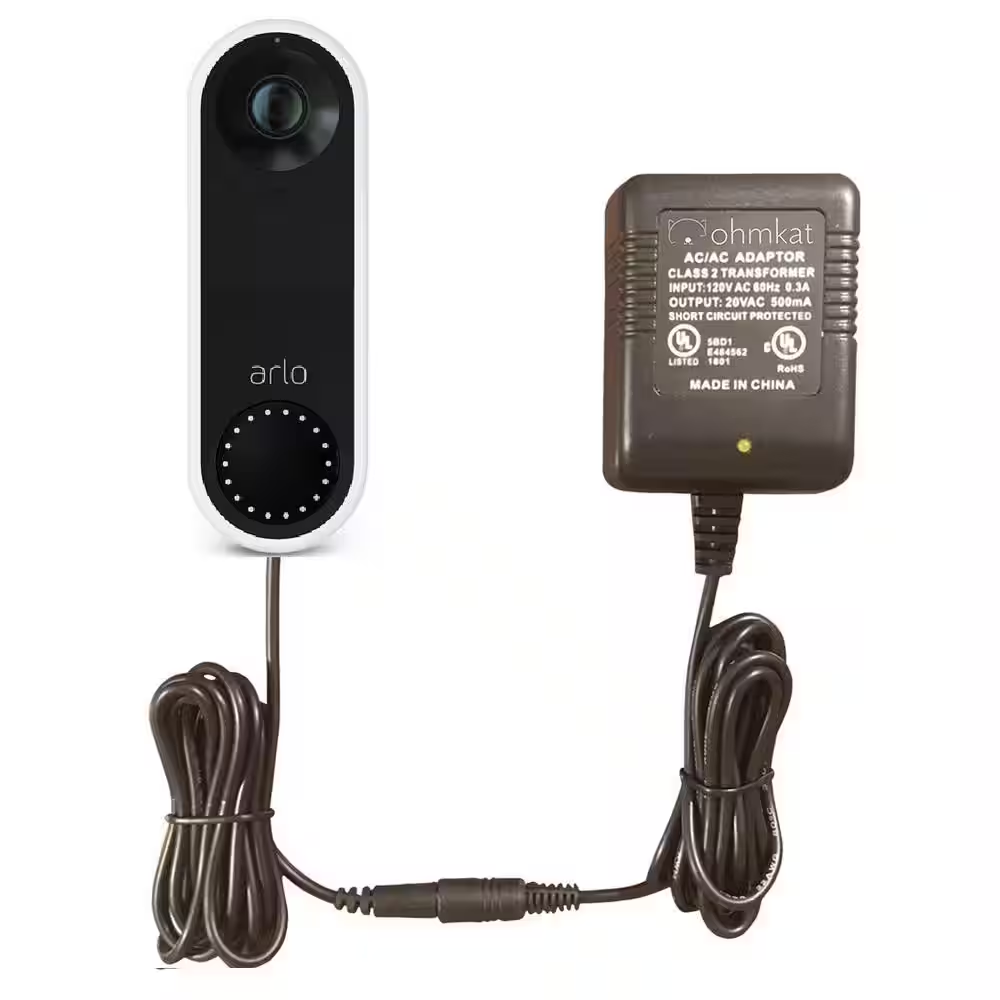
To get started, confirm that you have the necessary equipment. The Arlo Video Doorbell works with an existing doorbell wiring system. If your home doesn’t have a wired doorbell, you might need to install a transformer first. It operates on the Arlo app, available for both iOS and Android devices. Ensure you have a reliable Wi-Fi connection to facilitate seamless video streaming and notifications.
Gathering Tools and Materials
Essential Tools for Installation
Having the right tools on hand simplifies the installation process. Here’s a list of the tools you’ll need:
- Screwdriver: Depending on your doorbell’s mounting bracket, you may need a Phillips or flathead screwdriver.
- Drill: If your existing doorbell doesn’t have suitable holes, a drill will make the process easier.
- Level: To ensure the doorbell is installed straight.
- Pencil: For marking drilling points.
Gathering these tools in advance will save time during installation and reduce frustration.
Materials Provided in the Box
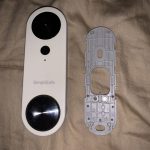
When you purchase the Arlo Video Doorbell, the package includes several components essential for installation:
- The Arlo Video Doorbell unit
- Mounting bracket
- Screws and anchors
- A quick-start guide
Review these materials against what you have planned for installation. Familiarizing yourself with the parts will help you understand how everything fits together.
Preparing for Installation
Turning Off Power
Before you begin, safety should be your top priority. Turn off the power to your existing doorbell at the circuit breaker. This step is crucial to prevent any electrical shock while you’re working with the wiring. It’s always better to be cautious!
Double-check that the power is off by testing the existing doorbell. This simple precaution will ensure you can work confidently and safely.
Removing the Old Doorbell
Once you confirm the power is off, take the old doorbell off the wall. Use your screwdriver to remove any screws holding it in place. After you take out the old doorbell, carefully disconnect the wires. You might want to label the wires for easy reconnection later, especially if there are multiple in play.
Assessing Wiring Compatibility
Examine the existing doorbell wiring. The Arlo Video Doorbell requires a specific voltage to operate. If your wiring is too old or incompatible, consult a professional electrician before proceeding. Understanding the state of your wiring will save you time and effort during installation.
Installing the Arlo Video Doorbell
Connecting the Wires
Once you’ve removed the old doorbell and ensured your wiring is compatible, it’s time to connect the Arlo Video Doorbell. Consult the quick-start guide for the precise wiring steps. Generally, you’ll connect the wires directly to the terminal screws on the back of the doorbell. Typically, color coding helps, with the transformer wire connecting to the “R” or “V” terminal and the other wire going to the “W” terminal.
Ensure the connections are secure. Loose connections can lead to malfunctioning and could erode your doorbell’s performance. This is essential for ensuring the doorbell operates reliably.
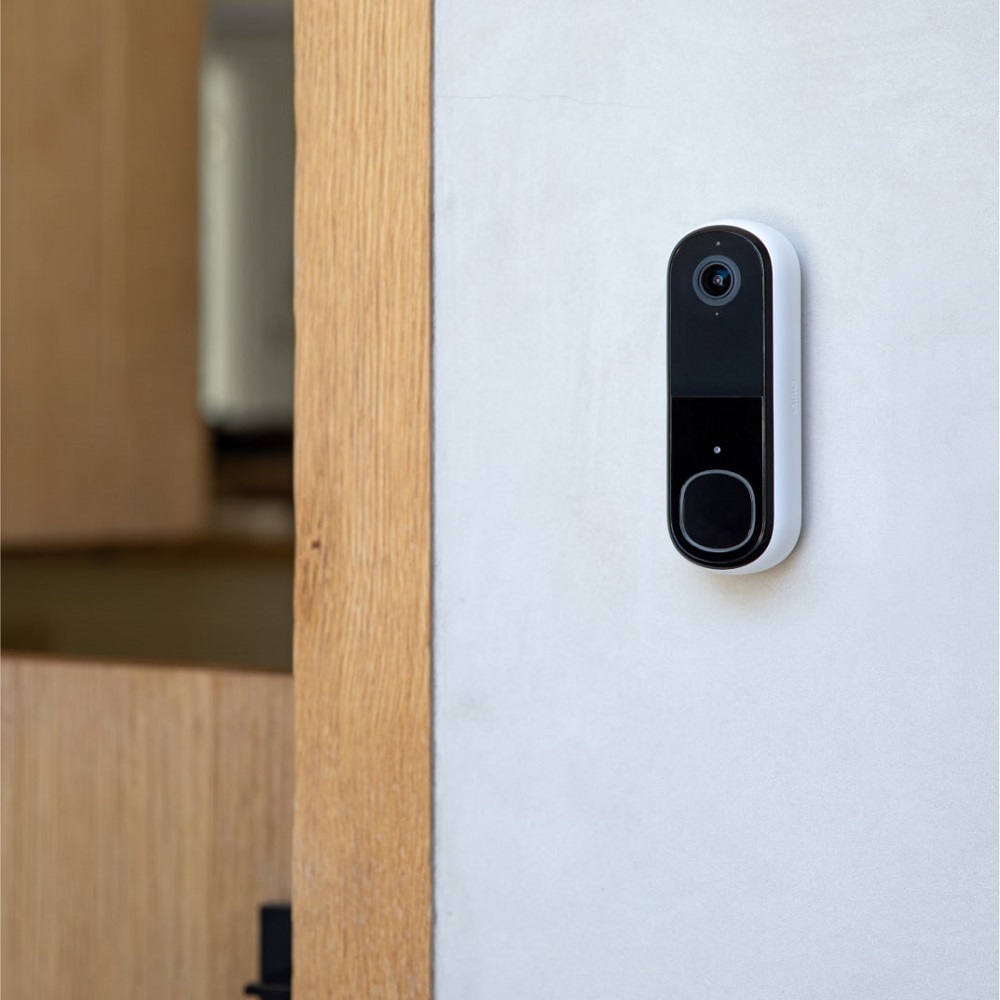
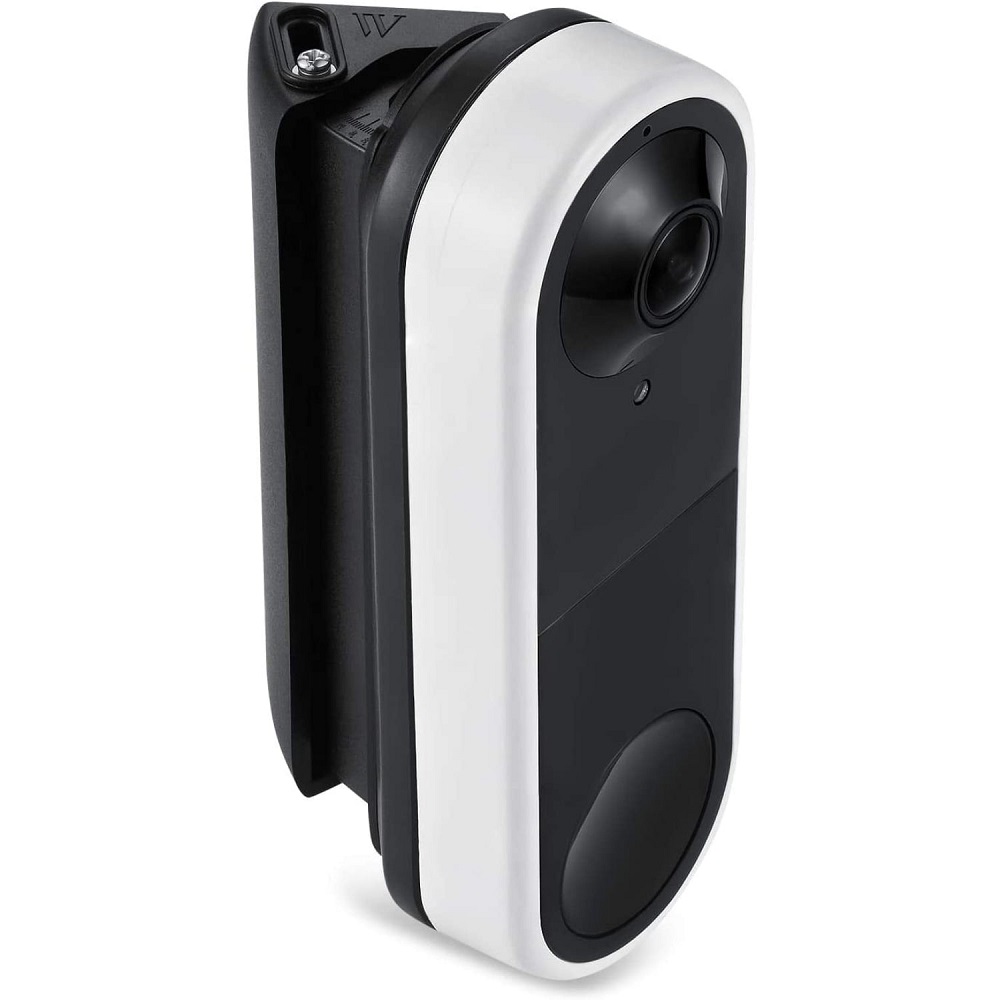
Mounting the Doorbell
After connecting the wires, position the doorbell against the wall. Use the level to check that it’s straight before screwing it into place. The included mounting bracket often comes with pre-drilled holes, making this step straightforward.
If your installation requires drilling new holes, mark your points with a pencil before proceeding. After drilling, insert the wall anchors if the screws won’t fit directly into wood or drywall. Finally, attach the doorbell to the wall firmly.
Configuring the Arlo App
Downloading the App
Once the Arlo Video Doorbell is securely installed, it’s time to set up the app. Download the Arlo app from the Apple App Store or Google Play Store. The app guides you through the installation process step by step, ensuring a smooth setup.
Creating an Arlo account may be necessary if you don’t already have one. This account will store your data and allow you to customize your settings through the app.
Adding Your Device
Once the app is installed, log into your account and follow the prompts to add your new Arlo Video Doorbell. You’ll scan the QR code displayed on the doorbell to connect the device to your network. Ensure your Wi-Fi connection is stable during this process.
The app also allows you to customize notifications and set preferences for alerts. Ensure you take time to personalize these settings, as they will enhance your overall experience with the doorbell.
Testing Your Doorbell
Checking Functionality
After you’ve fully installed the doorbell and configured the app, it’s time to test everything. Turn the power back on at the circuit breaker and press the doorbell button. Make sure you receive a notification on your phone. Verify that you can view video feed from the doorbell and operate the two-way audio feature effectively.
Take a moment to explore the app’s features. Playing around with different settings can help you better understand your new device.
Adjusting Device Settings
Once you’ve confirmed that everything is functioning properly, consider adjusting a few settings in the app. You can customize the sensitivity of the motion detection to avoid false alerts. Explore additional features like the night vision and video quality options to ensure you’re getting the most out of your new device.
Familiarizing yourself with these settings will ensure that your Arlo Video Doorbell meets your specific security needs.
Maintenance and Troubleshooting Tips
Routine Maintenance
To ensure your Arlo Video Doorbell remains in peak condition, perform regular maintenance checks. Wipe the camera lens periodically to keep the view clear and free of obstructions. Checking for firmware updates in the app can also help you access the latest features and security improvements offered by Arlo.
Make sure you regularly examine the wiring and connections. Loose connections can cause issues over time, and staying on top of these details can prevent bigger problems.
Troubleshooting Common Issues
If you experience issues with your Arlo Video Doorbell, the app often provides helpful troubleshooting tips. If you’re not receiving notifications or the video feed is unreliable, ensure your Wi-Fi connection is stable and that the doorbell firmware is up to date.
For persistent issues, consult Arlo’s customer support through the app or their website. The community forums are also a valuable resource, where experienced users share insights and solutions to common problems.
Enjoying Your Arlo Video Doorbell
Successfully installing your Arlo Video Doorbell opens up a world of convenience and security for your home. With clear visuals, two-way communication, and customizable settings at your fingertips, this device elevates your peace of mind.
By following this beginner’s guide, you can confidently install and configure your new video doorbell to fit your specific needs. Regular maintenance and a willingness to adapt settings can ensure your Arlo Doorbell continues to serve you well for years to come. Enjoy the added security and convenience, knowing you have one of the best home monitoring solutions available at your front door!