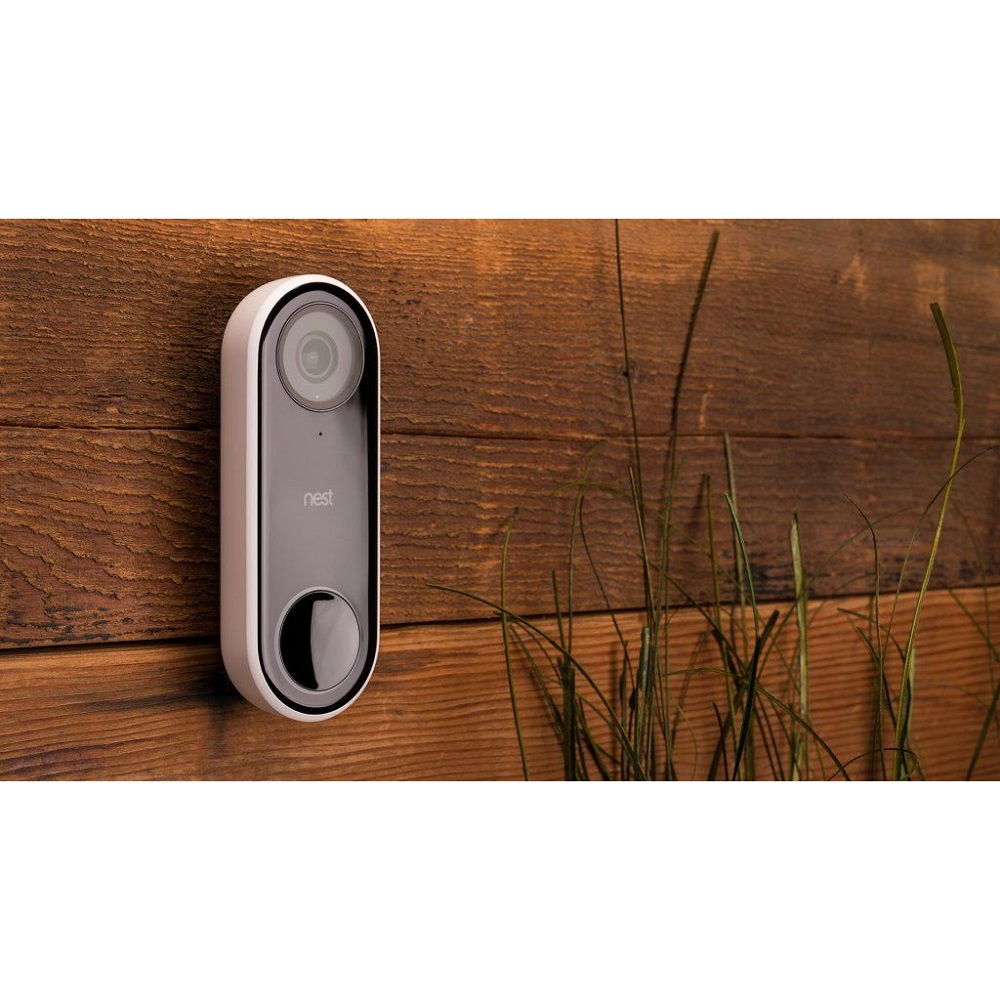
Mounting your Nest Video Doorbell can significantly enhance the security and convenience of your home. With its advanced features—such as live video streaming, two-way audio, and smart alerts—this smart doorbell helps you monitor who approaches your door, no matter where you are. The installation process is straightforward and can typically be completed with basic tools commonly found in most households. This guide will take you through each step of the installation process, offering detailed insights so you can confidently set up your Nest Video Doorbell and start enjoying its numerous benefits.
Gather the Necessary Equipment
What You’ll Need
Before you begin the installation process, it’s essential to gather all the tools and equipment needed for mounting the Nest Video Doorbell. Start with a screwdriver, specifically either a Phillips or flat-head, depending on the screws used in your existing doorbell setup. Additionally, you will need a power drill to make any necessary holes in the wall, a level to ensure proper alignment, and a pencil for marking positions. It’s also a good idea to have a utility knife handy for cutting any wiring or packaging materials.
Additional Items to Consider
If you are replacing an existing doorbell, you might require a wire connector or an additional power adapter to ensure compatibility with your home’s electrical system. It’s a great practice to check that you have all necessary tools and parts before starting the installation process. Keeping an extra set of screws and anchors nearby can save you time and effort, particularly if the mounting surface proves more challenging than expected. Also, ensure you have access to your smartphone, as you’ll need to download the Nest app to complete the setup after the physical installation.
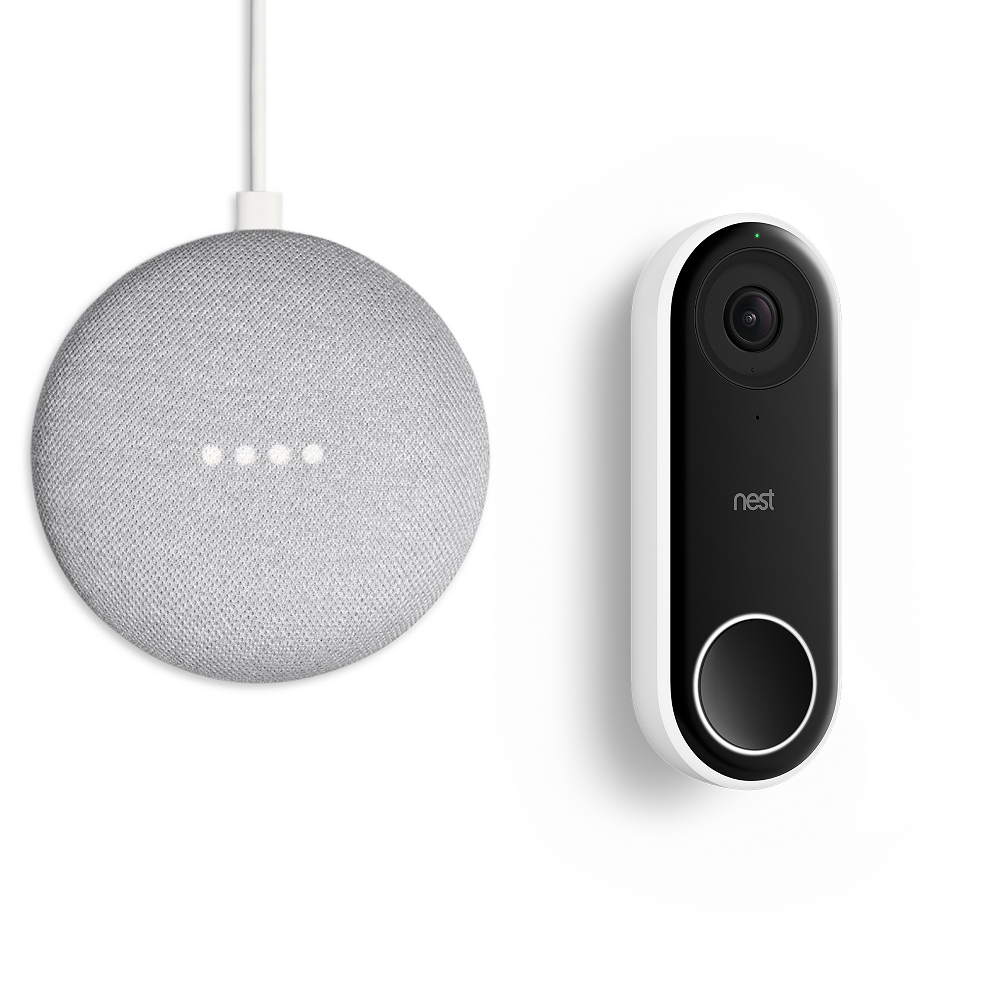
Prepare Your Existing Doorbell
Turn Off Power to the Doorbell
Safety comes first in any home improvement project, and this is especially true when working with electrical wiring. Before you start any work, turn off the power to your existing doorbell at the circuit breaker. Locate the breaker dedicated to your doorbell circuit—this information may be noted on the panel itself. If you’re uncertain, consider turning off the main power to avoid any risks, ensuring a safe working environment. It’s also wise to confirm that the power is off by pressing the old doorbell button. If no sound is made, you can proceed without the worry of electrical shock.
Remove the Old Doorbell
With the power turned off, use your screwdriver to remove the old doorbell from its mounting bracket. Depending on the model, this may require loosening screws or gently prying it from its place. Be careful during this process to avoid damaging the existing wiring. After detaching the old doorbell, make a note of how the wiring connects, as you’ll need to replicate these connections on your new Nest Video Doorbell. If you find any wear on the wiring or connections, now’s the perfect time to replace those components for optimal performance.
Connect the Wires to the Nest Doorbell
Identify Wire Connections
The Nest Video Doorbell typically requires two wires for power. You will generally find these connected to the terminals marked “trans” and “front” on the old doorbell. For ease of installation, take a moment to untwist any wire nuts from the old doorbell and identify which wire corresponds to each terminal. If you’re unsure about which wire goes where, refer to the installation instructions provided with your Nest Video Doorbell for clear and concise diagrams.
Making the Connections
After identifying the wires, connect them to the corresponding terminals on your Nest Video Doorbell. Push each wire under the appropriate terminal and tighten the screws to ensure they are snug and secure. A secure connection is crucial to prevent any issues with power supply in the future. If your home lacks existing wiring, or if you prefer using a battery-operated model, consider the Nest Video Doorbell with battery power. This model eliminates the need for wiring altogether and offers increased flexibility for installation and placement.
Mount the Nest Video Doorbell
Choose the Ideal Location
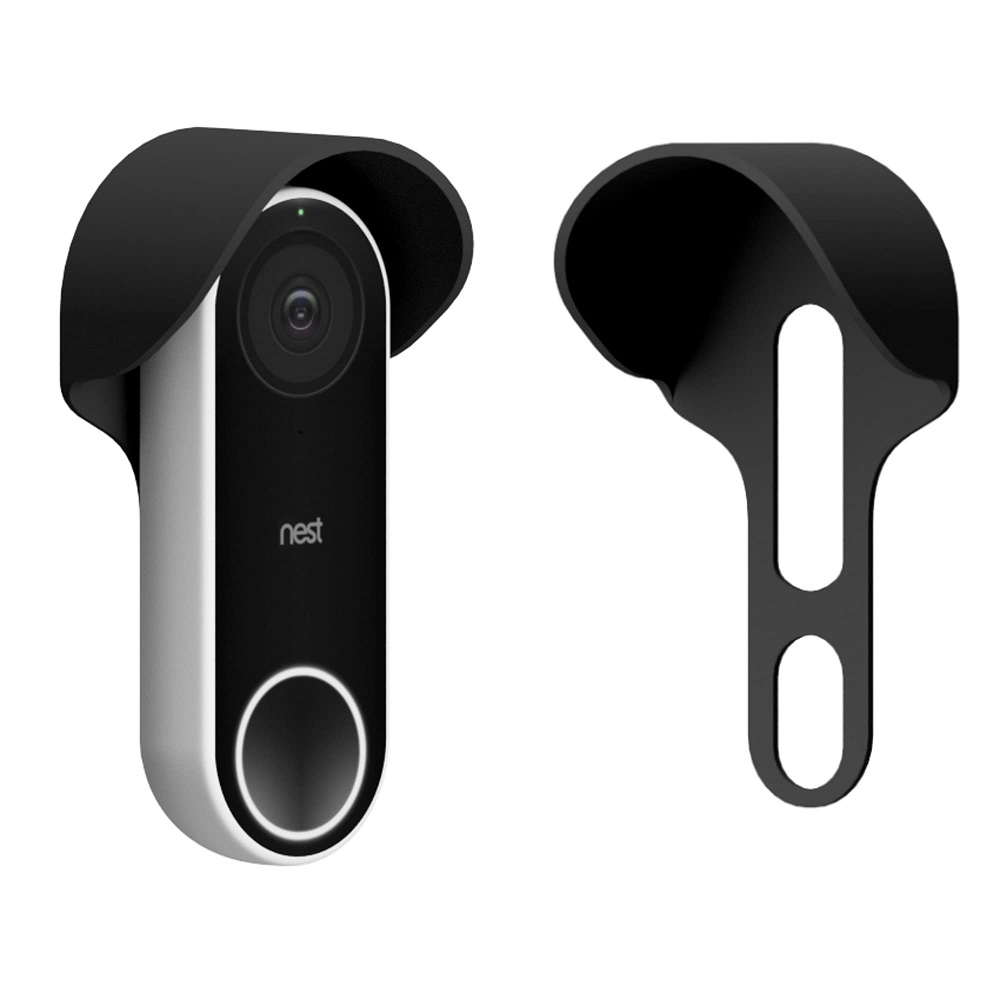
Finding the right position for your doorbell can significantly impact its performance. Most recommendations suggest mounting the doorbell at a height of approximately four feet from the ground, which is ideal for capturing visitors’ faces and ensuring an optimal perspective of your entryway. When planning the location, also consider the visibility of your doorbell; you want it to be easily seen while ensuring it blends naturally into your home’s exterior. Additionally, check that the doorbell remains within range of your Wi-Fi network, as this will affect its performance and connectivity.
Use the Mounting Template
Nest includes a convenient mounting template as part of the installation package, which helps you position the doorbell accurately. Hold this template up against the wall where you plan to install the doorbell, ensuring it is level and straight. Using a level can help confirm that the template is perfectly positioned. Mark the necessary holes for the screws on the template using your pencil. Once you’ve made these markings, set the template aside and proceed to drill holes into the wall based on the marks you made. Take care to drill to the recommended depth and make sure the openings are clean for a tight fit.
Install the Doorbell and Secure It
Place the Doorbell on the Mount
After drilling the holes, it’s time to mount your Nest Video Doorbell. Align the device with the screws that you installed and carefully push it into place. The doorbell should fit snugly against the mounting surface with no gaps or wiggling. It’s essential to ensure that it sits level, as an uneven installation could affect the camera angle and overall performance of the doorbell. Once you confirm it is positioned correctly, gently press it against the mounting bracket to lock it into place.
Fasten the Security Screws
To provide added security against theft or dislodgment, use the included security screws to fasten the doorbell firmly to its mount. Review the installation instructions to ensure that you are using the correct screws. Tightening these screws will keep the doorbell secure while also deterring potential tampering. Once you’ve finished securing the doorbell, take a moment to step back and visually inspect the installation. Confirm that everything appears level and properly aligned to ensure your doorbell has the best possible aesthetic appeal.
Set Up the Nest Video Doorbell on the App
Download the Nest App
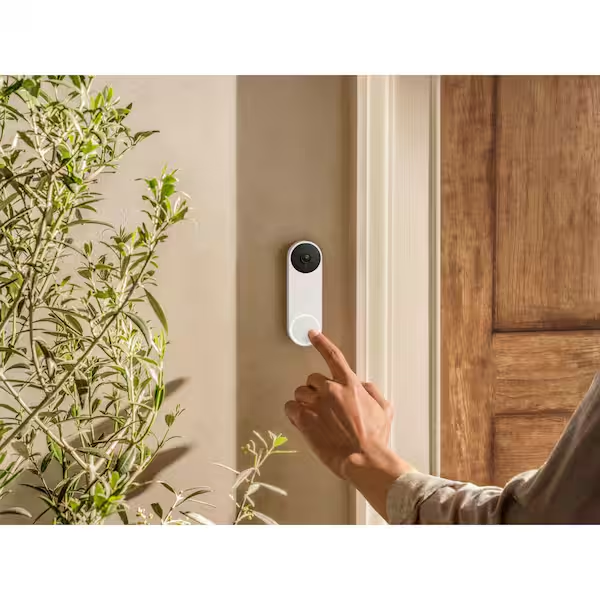
Now that your doorbell is securely installed, turn the power back on at the circuit breaker. Next, you’ll need to download the Nest app from either the App Store or Google Play if you haven’t done so already. The Nest app will play a vital role in managing your doorbell and customizing its features. After downloading the app, open it and create or log into your Nest account, where you will manage your doorbell settings and notifications.
Connecting to Wi-Fi
Follow the prompts in the Nest app to start the setup process for your doorbell. The app will guide you through selecting your device type, connecting the doorbell to your home Wi-Fi network, and ensuring everything is ready for use. The doorbell may take a few moments to establish a connection, so be patient. Once connected, the app will usually notify you. This is also the point where you can customize alerts, adjust camera settings, and set up notification preferences, which enhances your overall user experience.
Test Your Installation and Finalize Settings
Run a Functionality Test
With the setup complete, it’s time to test whether everything is functioning as expected. Press the doorbell button and pay attention to whether you receive an instant notification on your smartphone through the Nest app. This will help confirm that the connectivity is working and that you’re receiving alerts as intended. Additionally, check the live video feed through the app; ensure that the camera captures a clear view and that the angles are appropriate.
Adjust Notification and Camera Settings
After confirming that the basic functions work, dive into the settings within the app to fine-tune your preferences. Consider adjusting notifications to receive alerts only for specific types of activity, ensuring you stay informed without feeling overwhelmed. You can create activity zones that focus on areas directly in front of your door while filtering out less significant parts of your surroundings. This customization is useful in preventing unnecessary motion alerts, providing a more streamlined experience and allowing you to focus on what truly matters.
Enjoy Peace of Mind
Congratulations! You have successfully installed your Nest Video Doorbell and are ready to experience enhanced security and convenience. With features like live video access, motion alerts, and two-way audio, you can monitor your front porch and interact with visitors no matter where you are. Take some time to explore all the app features to maximize your experience. While using the doorbell, remain aware of any updates that Nest may roll out; keeping your software current ensures optimal performance and enhances the capabilities of your system. Enjoy the peace of mind that comes from knowing you can keep an eye on your home with the help of your new Nest Video Doorbell, and rest assured knowing you have taken a significant step in securing your home environment. Happy monitoring!
