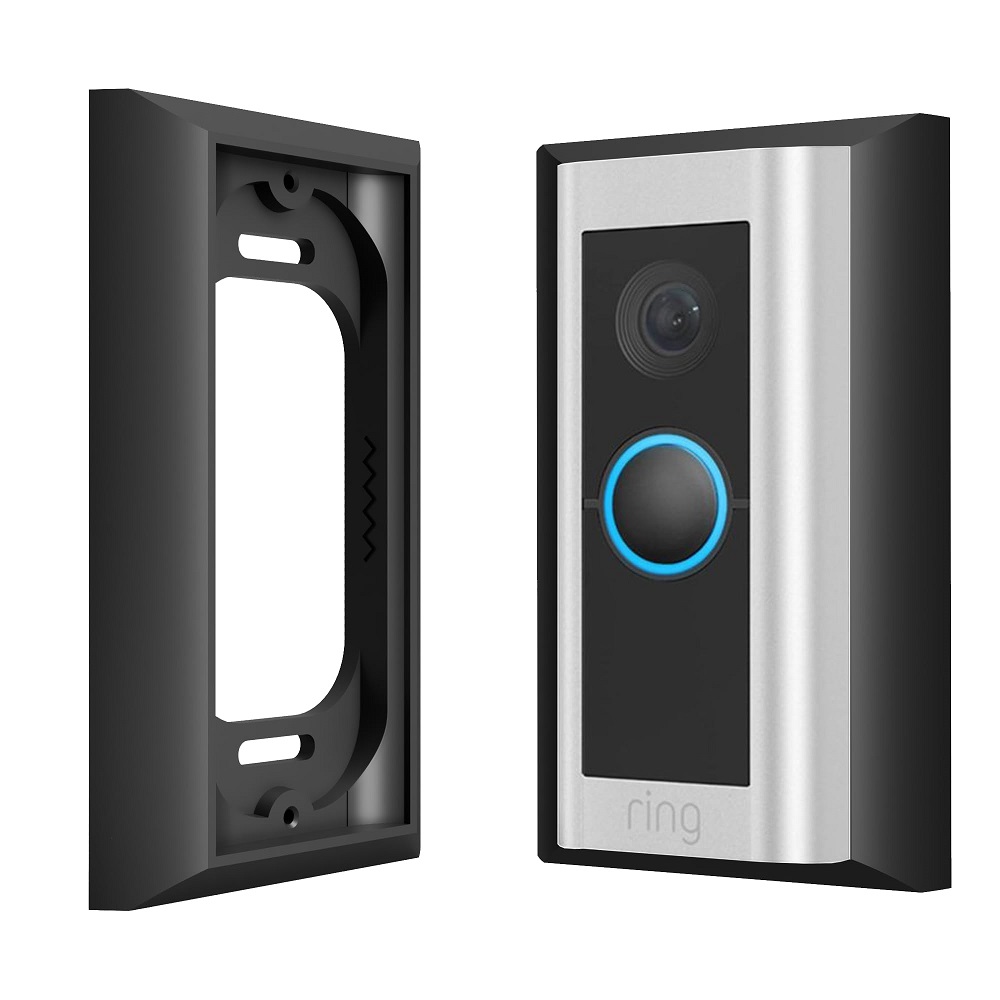
The Ring Video Doorbell Pro 2 is a popular choice among homeowners for enhancing home security. With its advanced video capabilities, motion detection, and integration with smart home systems, it provides a comprehensive security solution. However, the installation process may seem daunting to some. This guide will walk you through the step-by-step process of installing your Ring Video Doorbell Pro 2, ensuring a smooth setup from start to finish.
Gather Your Tools and Equipment
Necessary Tools for Installation
Before beginning the installation, gather the tools you’ll need to ensure a smooth process. You’ll require:
- A screwdriver (Phillips)
- A power drill (if necessary)
- A level
- Wire cutters and strippers
- A measuring tape
- A pencil for marking
Check the Package Contents
Once you have your tools ready, check the contents of the Ring Video Doorbell Pro 2 package. You should find the following items inside:
- The Ring Video Doorbell Pro 2
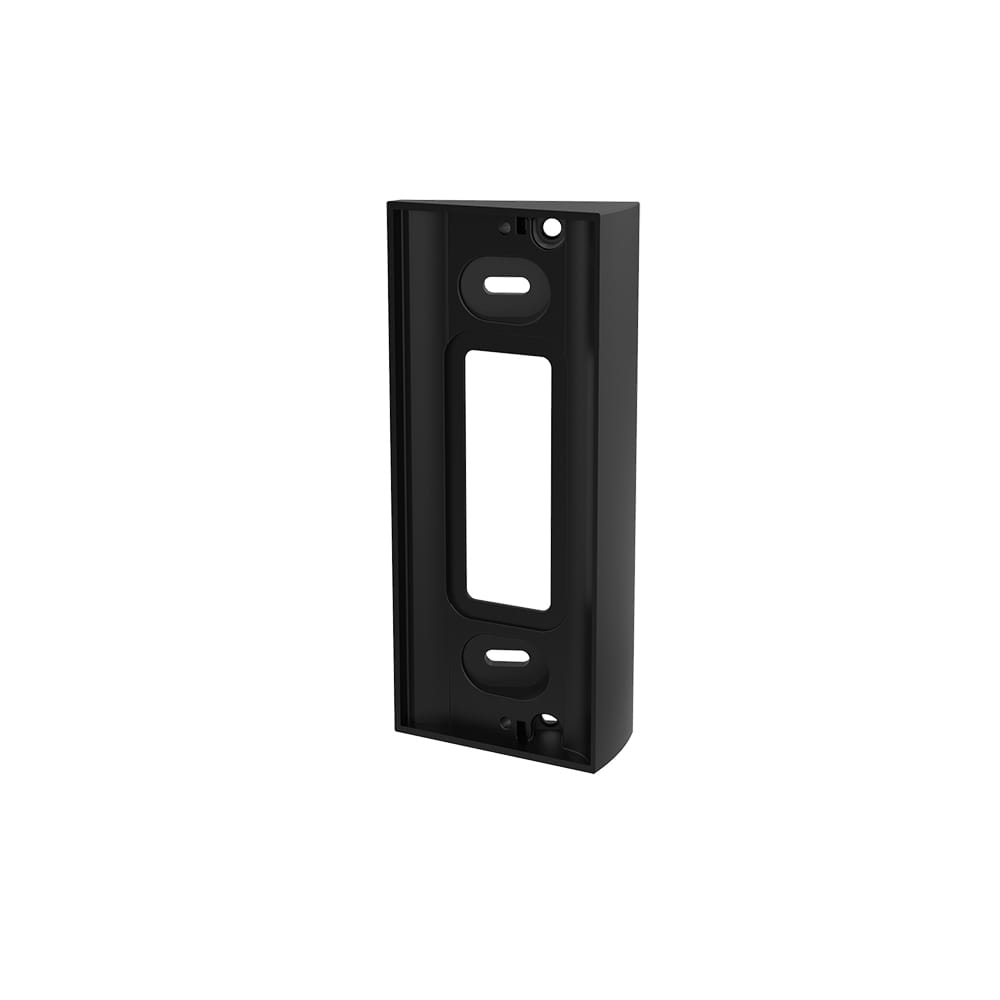
- Mounting bracket
- Installation tools (screws, anchors, etc.)
- Wi-Fi Quick Start Guide
- User manual
Ensure that everything is included before proceeding with the installation. Having all the necessary components at hand will save you time and frustration later on.

Prepare for Installation
Choosing the Right Location
The next step involves selecting the best location for your Ring video doorbell. Ideally, this should be at your front door or wherever you want to monitor visitors. Consider factors such as the height at which you mount the doorbell, visibility, and proximity to your Wi-Fi router for stable connectivity.
For optimal performance, aim to install the doorbell at about 48 inches above the ground. This height allows for a clear view of visitors and ensures the camera captures their faces without obstruction.
Ensure Power Supply
The Ring Video Doorbell Pro 2 requires a power source to function correctly. It can connect to your existing doorbell wiring, or you can use the optional Ring Plug-In Adapter. Before proceeding with the installation, check if your doorbell wiring is functional. You’ll need to identify the voltage of your existing doorbell system. The Pro 2 works with most existing doorbell systems that provide between 8 to 24 volts of AC power.
To check your voltage, remove the cover of your existing doorbell button and use a multimeter to measure the voltage across the two wires. If you find you have the correct voltage, you’re ready to move forward. If not, you may need to consult an electrician.
Set Up the Ring App
Download and Install the App
To manage your Ring Video Doorbell Pro 2, you’ll need the Ring app installed on your smartphone or tablet. Available for both iOS and Android, the app allows you to view recordings, receive notifications, and adjust settings.
Download the app from the App Store or Google Play Store and install it on your device. Once installed, create a Ring account or log in to your existing account if you have one.
Add Your Device
After logging into the app, you’ll want to add your new doorbell. Tap the “Set Up a Device” option and choose “Doorbells” from the list. Follow the prompts to connect your phone to your doorbell. The app will guide you through the setup process, including connecting to your Wi-Fi network.
Make sure your phone is connected to the same Wi-Fi network you plan to use with the doorbell. This step is essential for ensuring smooth connectivity and functionality.

Removing the Old Doorbell
Safety First: Turn Off Power
Before removing your existing doorbell, it’s crucial to turn off the power to avoid any risk of electrical shock. Locate the circuit breaker that controls your doorbell and switch it off. Once you’ve turned off the power, use a voltage tester to ensure that the wires are not live.
Detaching the Old Doorbell
Once confirmed that there’s no power, remove the existing doorbell button. Unscrew it from the wall and gently pull it away, exposing the wires. Take note of how the wires are connected, as you’ll need to replicate this when wiring the Ring Video Doorbell Pro 2.
If your old doorbell was attached with anchors, consider filling these holes with suitable wall plugs for the new installation. This preparation ensures a clean and secure fit for your new doorbell.
Installing the Mounting Bracket
Marking the Installation Area
With the old doorbell removed, it’s time to install the mounting bracket for the Ring Video Doorbell Pro 2. First, hold the mounting bracket against the wall at the desired installation height. Use a level to ensure it’s straight, then mark the screw holes with a pencil.
Drilling Holes
Using a power drill, create holes in the marked locations. If you’re drilling into brick, stucco, or concrete, consider using a masonry bit and wall anchors to ensure a stable installation. After drilling the holes, insert wall anchors if necessary.
Once the anchors are secure, align the mounting bracket over the holes and use the provided screws to attach it to the wall. Make sure it’s firmly in place before proceeding to the next step.
Connecting the Wires
Wiring the Doorbell
Now comes the crucial part—connecting the wires. Take the exposed wires from your old doorbell and connect them to the terminals on the back of the Ring Video Doorbell Pro 2. The screws on the doorbell are generally labeled for easy identification.
You typically connect the two wires to the terminals without worrying about polarity. Ensure that the connections are tight and secure to provide a reliable power supply. If you’re using the Ring Plug-In Adapter instead of hardwiring the doorbell, follow the instructions provided with the adapter.
Tucking Away the Wires
Once the wires are connected, carefully tuck them into the wall to avoid pinching them when attaching the doorbell to the mounting bracket. This step helps maintain a clean appearance while preventing any potential damage to the wires.

Finalizing the Installation
Attaching the Doorbell
With the wires connected and tucked away, it’s time to attach your Ring Video Doorbell Pro 2 to the mounting bracket. Line up the top of the doorbell with the bracket, and press down until you hear a click. This sound indicates that the doorbell is securely fastened to the mount.
Powering Up and Testing
Once the doorbell is attached, turn the power back on at the circuit breaker. If everything is connected correctly, you should see a light on the front of the doorbell, indicating it has powered up.
Open the Ring app on your smartphone and follow any prompts to finalize the setup. Test the doorbell by pressing the button and checking the app for a notification. You should see a live view from the camera and receive an alert on your phone, confirming that the installation was successful.
Adjusting Camera Settings
After confirming everything is working, take a moment to explore the settings in the Ring app. You can adjust various functions, such as motion sensitivity, video quality, and notification preferences. Customizing these settings ensures that your Ring Video Doorbell Pro 2 meets your specific needs and preferences.
Enjoy Your Enhanced Security
Installing the Ring Video Doorbell Pro 2 can significantly enhance your home security while providing peace of mind. By following these step-by-step instructions, you’ve successfully set up your new doorbell, allowing you to monitor visitors and keep an eye on your property.
With its impressive features, including high-definition video, two-way audio, and real-time alerts, the Ring Video Doorbell Pro 2 will keep you connected to your home no matter where you are. Enjoy the benefits of your new device and feel confident in the security enhancements it offers.


