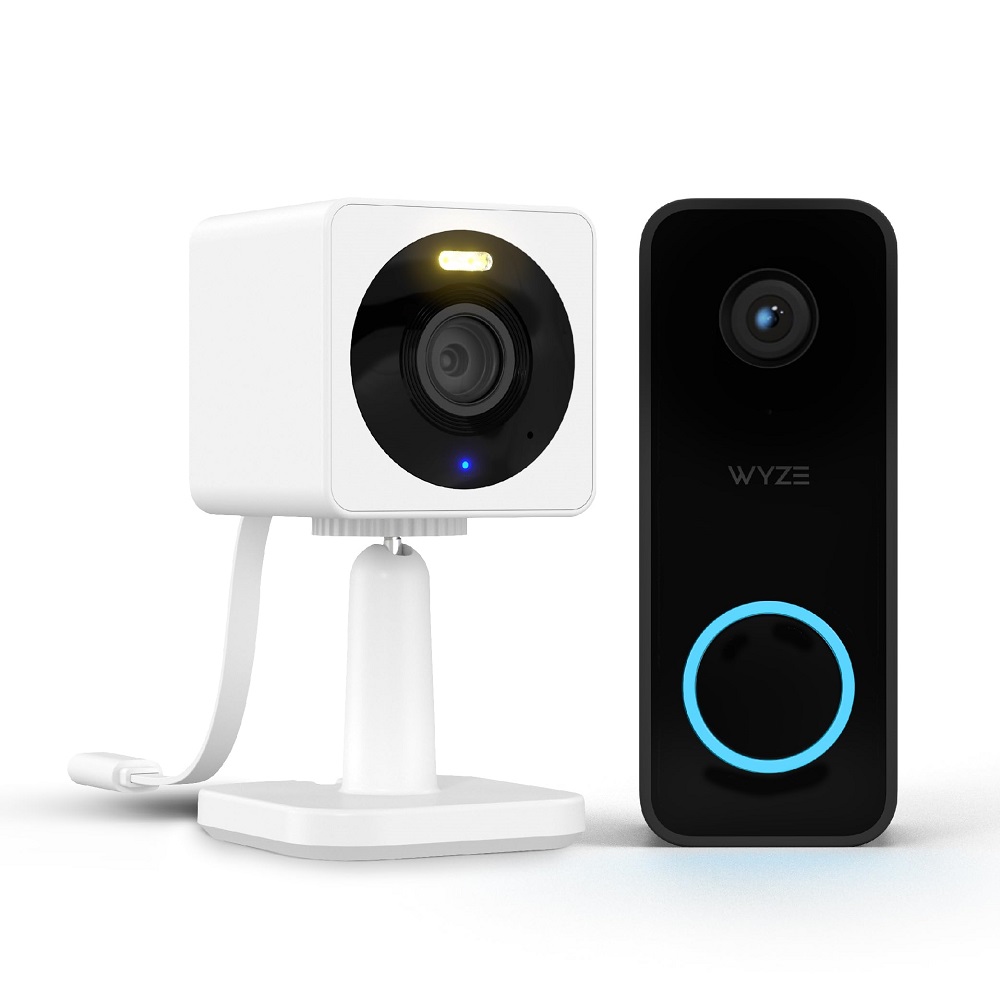
In today’s world, smart home devices are essential for enhancing security and convenience. The Wyze Video Doorbell V2 stands out as an excellent choice for homeowners looking to improve their home security. This doorbell not only provides real-time video feeds but also integrates seamlessly with the Wyze ecosystem, offering advanced features like motion detection, two-way audio, and night vision. If you’re considering upgrading your home security with the Wyze Video Doorbell V2, this comprehensive guide covers everything you need to know about installation, setup, and best practices.
What You Need for Installation
Essential Tools and Equipment
Before you start the installation process, gather all the necessary tools and equipment to make the process smooth and efficient. Here’s a checklist of items you’ll need:
- Screwdriver: A flathead or Phillips screwdriver will be needed to mount the doorbell.
- Drill: If you’re mounting the doorbell on a hard surface such as brick or concrete, a drill will help create the necessary holes for the screws.
- Level: A level helps ensure that the doorbell is installed straight, improving its look and function.
- Smartphone: You need your smartphone to download the Wyze app and configure the doorbell.
Additionally, check if your existing doorbell system is compatible with the Wyze Video Doorbell V2. If you plan on hardwiring the device, you’ll need an existing doorbell chime and transformer to power the unit.
Unboxing Your Wyze Video Doorbell V2
Once you have all your tools ready, it’s time to unbox the Wyze Video Doorbell V2. Inside the box, you’ll find the doorbell itself, a mounting bracket, screws, anchors, and a quick start guide. Familiarize yourself with these components as they will be essential for the installation process. The mounting bracket is particularly important for aligning the doorbell correctly to get the best video angle.

Preparing for Installation
Checking Compatibility
Before you begin installing your Wyze Video Doorbell V2, check the compatibility of your current doorbell system. The Wyze doorbell works with most common doorbell setups, but it’s best to confirm a few things:
- Voltage: Ensure your existing doorbell transformer outputs between 16-24 volts AC. Compatibility with this voltage ensures proper functioning of the Wyze Video Doorbell V2.
- Chime Type: The doorbell should be compatible with mechanical and digital chimes. Refer to the Wyze website or your doorbell’s manual for guidance if unsure.
If your current doorbell setup does not meet these requirements, consider consulting a professional or purchasing a compatible transformer.
Pausing Your Existing Doorbell
Before you start handling wires and disconnecting components, turn off the power to your existing doorbell at the circuit breaker. This step is essential for your safety and will prevent any electrical shocks during installation. Use a multimeter to verify that the power is off before proceeding to the next steps.
Installing the Mounting Bracket
Positioning the Bracket
Once you’ve confirmed that you have the right tools and ensured all electrical safety precautions, you can begin installing the mounting bracket for your Wyze Video Doorbell V2. Choose a position that allows for a clear view of the area outside your front door. Ideally, the camera should be mounted about 48 inches off the ground for optimal video angles and coverage.
Use a level to mark the points where you will need to drill holes for the screws. It’s crucial to ensure the bracket is straight to avoid an awkward angle that can hinder the camera’s effectiveness.
Securing the Bracket
Drill the necessary holes for the screws and use the provided anchors if you’re mounting the doorbell on a brick or concrete surface. Once the anchors are in place, attach the mounting bracket securely with the screws. Ensure that it’s tightly fastened, as the Wyze Video Doorbell V2 will be held in place by this bracket.
Afterwards, double-check that the bracket is level once more. This final verification helps to ensure a professional-looking installation while maximizing your video feed’s effectiveness.

Connecting the Wires
Disconnecting Existing Wires
If you are replacing an existing doorbell, carefully disconnect the wires from the old doorbell unit. Take note of how these wires are connected, as you will need to connect them to the Wyze Video Doorbell V2 in the same manner. It may help to take a photo of the old doorbell’s wiring for future reference.
Wiring the Wyze Video Doorbell V2
Once the old doorbell is disconnected, it’s time to connect the wires to your new Wyze Video Doorbell V2. The Wyze doorbell has two terminals, labeled “Front” and “Trans.” Connect the wires from your existing setup to these terminals. Use wire nuts or connectors to secure the connections, ensuring they are tight to prevent any loss of connection.
After securing the connections, gently tuck the wires back into the wall to keep everything neat and organized. This step helps protect the wires from damage while contributing to a polished final appearance once the doorbell is installed.
Mounting the Wyze Video Doorbell V2
Securing the Doorbell
Now that the wires are connected, it’s time to attach the Wyze Video Doorbell V2 to the mounting bracket. Align the doorbell with the bracket and slide it into position. Once it’s securely connected, push gently until you hear a click. This sound indicates the doorbell has locked into place on the mounting bracket.
Check that the doorbell sits flush against the wall and that no gaps exist that would maintain the exposed wiring. A snug fit not only looks better but also prevents water or debris from entering the unit.
Powering On
With the doorbell mounted, it’s essential to turn the power back on at the circuit breaker. The doorbell should power up and indicate that it’s ready to be configured. Check the LED indicator on the doorbell for status, ensuring there’s no immediate error or malfunction.

Setting Up the Wyze App
Downloading the Wyze App
After installing the device and checking its functionality, it’s time to configure the doorbell through the Wyze app. If you don’t already have it, download the Wyze app from the Google Play Store or Apple App Store. The Wyze app is user-friendly and designed to facilitate seamless integration of various Wyze products, including the Video Doorbell V2.
Adding Your Device
Once the app is installed, create an account or log in if you already have one. Follow the on-screen instructions to add your Wyze Video Doorbell V2. The app will prompt you to scan the QR code displayed on your phone using the doorbell’s camera. This step links the device to your app, allowing you to monitor your doorbell feed and receive notifications through your smartphone.
Once linked, you can customize settings such as sensitivity, notification preferences, and video quality to suit your needs. This customization makes it easy to personalize your experience based on your lifestyle and preferences.
Best Practices for Use and Maintenance
Regular Checks and Updates
To ensure that your Wyze Video Doorbell V2 continues to function optimally, conduct regular checks. Regularly inspect the camera’s lens for dirt or obstruction that might impair video clarity. Clean it gently with a soft cloth or paper towel whenever necessary. Additionally, check connection points and the overall integrity of the device during your routine home maintenance.
The Wyze app will notify you about any firmware updates available for your doorbell. Take time to apply these updates for improved performance, security fixes, and added features. Keeping the firmware up-to-date will guarantee that you maximize the functionality of your Wyze Video Doorbell V2.
Utilizing Advanced Features
Make the most of your Wyze Video Doorbell V2 by utilizing its advanced features. Enable motion detection alerts to receive notifications whenever someone approaches your door. Customize the detection zones to avoid false alerts from passing cars or pedestrians. For extra security, consider setting up the two-way audio feature to communicate with visitors at your door, ensuring you remain vigilant without opening the door.
Additionally, keep an eye on the recording history through the Wyze app for any noteworthy occurrences. These recordings can serve as evidence in case of suspicious activity, providing you with a greater level of security and peace of mind.
Conclusion
Installing the Wyze Video Doorbell V2 is a straightforward process that provides an invaluable level of security for any home. By preparing adequately and following the steps outlined in this guide, you can easily install the doorbell and benefit from its smart features. With the combination of video monitoring, two-way audio functionality, and seamless integration into the Wyze ecosystem, this doorbell offers significant enhancements to your home’s safety.
Remember to remain proactive about maintenance and regularly check the device’s functions to ensure everything works smoothly. By doing so, you’ll not only protect your home effectively, but you’ll also enhance your overall smart home experience. Upgrading to the Wyze Video Doorbell V2 means enjoying improved convenience and security, giving you greater peace of mind.


