As the world becomes increasingly connected, smart home devices have gained popularity. One such device that stands out for its utility is the Ring Video Doorbell. This innovative gadget enhances home security while providing convenience in monitoring visitors. Installing a Ring Video Doorbell can seem daunting, but with careful planning and the right tools, it is a manageable task. This guide will walk you through the DIY installation process, offering everything you need to know to set up your Ring Video Doorbell effectively.
Understanding the Ring Video Doorbell
What is a Ring Video Doorbell?
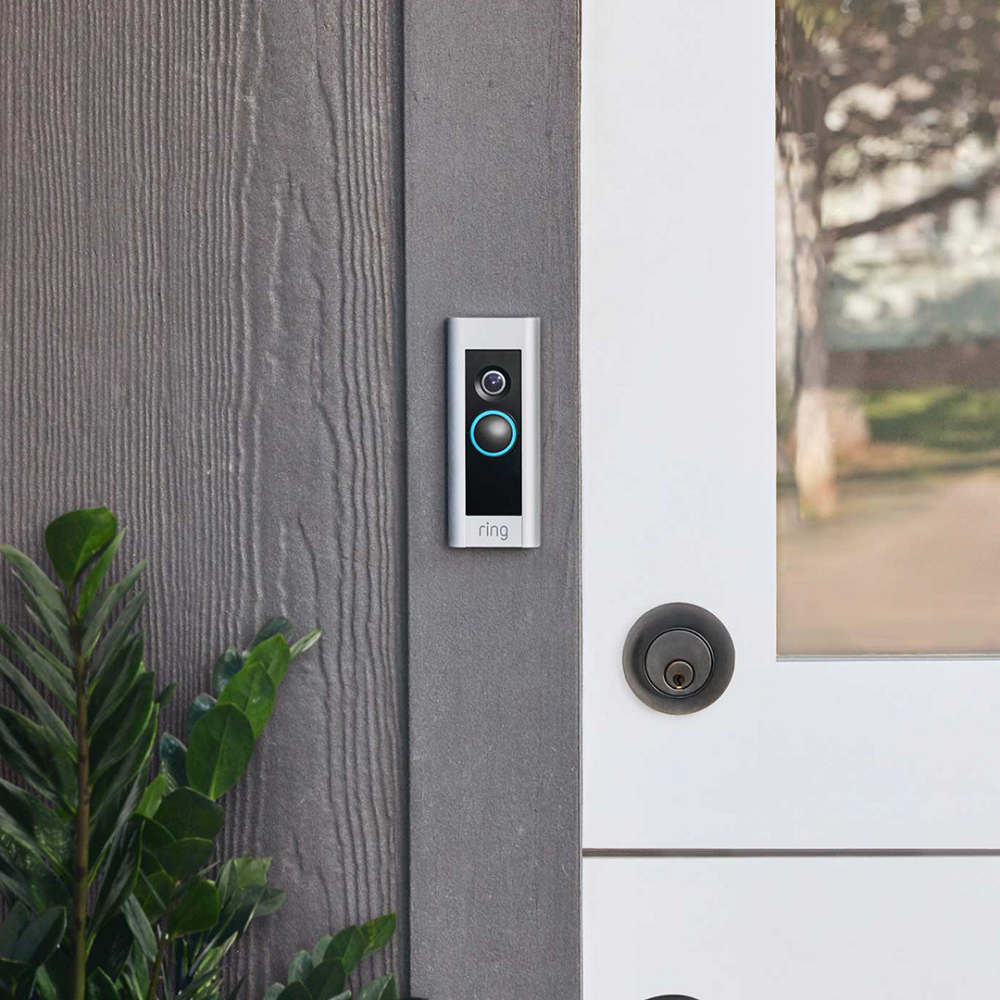
The Ring Video Doorbell is more than just a doorbell. It features a high-definition camera, motion detection, and built-in two-way audio. This means that homeowners can see and speak to visitors from their smartphones, regardless of where they are. The device connects to your home’s Wi-Fi network, sending real-time alerts whenever someone approaches your door. With this technology, you can manage deliveries, greet guests, and deter potential intruders.
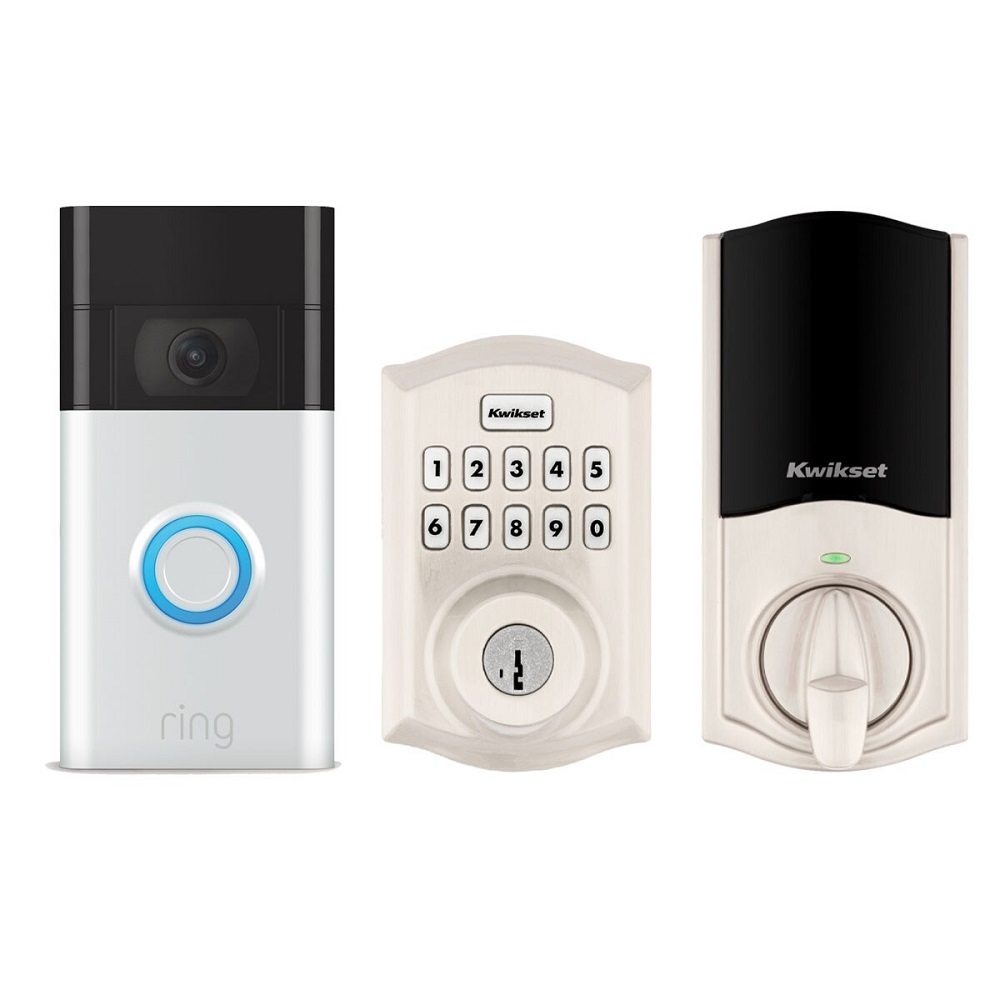
Ring offers a variety of models, each designed to meet different user needs. From battery-operated versions to hardwired models that connect to existing doorbell systems, there is likely a Ring doorbell that fits your requirements. Understanding the specific features of your selected model helps in utilizing its full potential and enhancing your home security.
Benefits of Using a Ring Video Doorbell
Installing a Ring Video Doorbell provides numerous benefits, making it a worthwhile investment. One major advantage is the added layer of security that comes from being able to see who is at your door before opening it. The HD video quality ensures clear visibility, while night vision capabilities allow for monitoring even in low-light situations.
Additionally, Ring’s motion detection feature can alert you to any movement outside your door, even if individuals do not press the bell. This functionality helps in tracking deliveries and keeping an eye on unfamiliar visitors. Considering these advantages, many homeowners find that a Ring Video Doorbell enhances their safety and peace of mind significantly.

Preparing for Installation
Tools You Will Need
Before beginning the installation of your Ring Video Doorbell, gather the necessary tools. Having everything on hand will streamline the process and prevent interruptions. Here is a list of essential tools for this project:
- Drill: A power drill will be used for making holes in your wall for mounting.
- Screwdriver: You will require either a Phillips or flathead screwdriver depending on the screws included in the installation kit.
- Level: A level is crucial to ensure that your doorbell is mounted straight.
- Measuring Tape: Use a measuring tape to ensure proper height and spacing during installation.
Materials to Have Ready
In addition to tools, there are materials that you should have prepared to facilitate a smooth installation:
- Ring Video Doorbell: Ensure you have the appropriate model that suits your needs.
- Mounting Bracket: The package usually includes a mounting bracket designed for your specific model.
- Screws and Anchors: These are generally provided within the Ring package. They are essential for securing the doorbell.
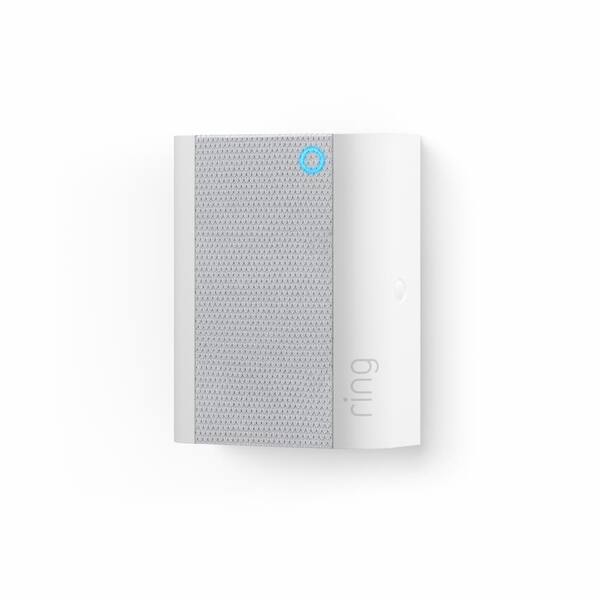
- Chime Kit (if applicable): If you want your existing doorbell chime to sound when someone presses the button, ensure you have the Ring chime kit.
By gathering all tools and materials beforehand, you will make the installation process much more efficient.
Charging and Setting Up the Device
Charging the Ring Doorbell
For battery-operated Ring Video Doorbells, the first step is to charge the device fully. Plug the charging cable into the doorbell and connect it to a power source. A full charge typically takes five to six hours. While waiting for the battery to charge, you can start working on downloading the Ring app.
Setting Up in the Ring App
While your doorbell charges, download the Ring app from the Apple App Store or Google Play Store. Create an account or log in if you already have one. Follow the prompts to set up your new device in the app. Select “Set Up a Device” and choose the type of Ring doorbell you are installing. You will then be guided through connecting the doorbell to your home Wi-Fi network.
Make sure to have your Wi-Fi password handy, as you will need it to connect the doorbell. Completing this step while waiting for the battery to charge will save time later and prepare you for the installation process.

Choosing the Best Location
Selecting the Right Height
When deciding on the location to install your Ring Video Doorbell, it’s important to consider the height and angle. The recommended height for mounting a doorbell is about 48 to 56 inches from the ground. This height helps in capturing the faces of visitors and ensures a clear view of the entrance.
Assess your entryway to determine the best mounting location. If the doorbell camera has an obstructed view due to walls or existing fixtures, adjust your angle or distance from the door.
Ensuring a Clear View
Once you’ve identified a suitable height, it’s important to ensure that the area is free from obstructions. Check for plants, decorations, or furniture that may block the field of vision. It might be helpful to hold the doorbell temporarily in the desired spot to visualize its coverage. Use the Ring app to view the camera feed during this test. This allows for any adjustments to be made before making permanent fixes.
Mounting the Bracket
Marking the Drill Points
With the desired location established, it is time to install the mounting bracket. Begin by holding the bracket against the wall where you wish to install the doorbell. Use a level to ensure that it is straight. After confirming that the bracket is correctly positioned, use a pencil to mark the drill holes.
Double-check your markings to ensure accuracy. Make sure everything is aligned properly, as misaligned holes can lead to a difficult installation process.
Drilling Holes
Next, use a drill to create holes at your marked points. Choose a drill bit that matches the size of the anchors you’ll be using. As you drill, be cautious of any hidden electrical wires or plumbing within the walls. Once the holes are drilled, insert the provided anchors into the wall.
After securely inserting the anchors, attach the mounting bracket with the included screws. Check to see if the bracket is firmly secured and level. It is essential that the bracket is solid enough to hold the weight of your Ring Video Doorbell.

Connecting Wires (For Hardwired Models)
Preparing the Existing Doorbell Wires
If you are installing a hardwired Ring Video Doorbell, you will need to connect it to your existing doorbell wiring. First, turn off power to your doorbell at the circuit breaker to ensure safety during the installation. Remove your old doorbell and expose the wiring.
Examine the wires carefully. Typically, there will be a positive (often marked as “C” for common) and a negative wire. Ensure that your hands are dry and that you are working in a safe environment.
Making Connections
Connect the wires from your existing doorbell to the corresponding wires on the Ring Video Doorbell. The terminals are usually labeled, making the process straightforward. Secure the connections, ensuring they are tight and will not come loose.
Once your connections are made, restore power at the circuit breaker. Use the Ring app to check if the doorbell is receiving power and functioning as it should. Be attentive to any error messages indicating a wiring issue.
Finalizing the Installation and Testing
Attaching the Ring Doorbell
After ensuring that your hardwired connections are secure and functional, it is time to attach the Ring Video Doorbell to the mounted bracket. Align the doorbell with the bracket and secure it using the small screws provided in the package. This additional fastener provides stability and prevents removal of the doorbell.
Once the doorbell is securely attached, review the device to ensure everything is aligned correctly. Once again, check that the angle and field of view are satisfactory.
Conducting a Functionality Test
Conduct a test to confirm that your installation is successful. Use the app to check the live video feed and verify that the video and audio functions are clear. To see how it works, have a family member or friend press the doorbell to test notifications. This will ensure that alerts are received promptly on your mobile device.
Finally, review the motion detection settings and adjust them according to your preferences. This functionality allows you to receive alerts when unexpected visitors approach your door, further bolstering your security.
Conclusion
In conclusion, installing a Ring Video Doorbell is a rewarding DIY project that significantly enhances home security. By following this comprehensive guide, you can ensure a successful setup. From gathering tools and preparing your space to conducting thorough tests after installation, each step contributes to effective operation.
Once installed, enjoy the peace of mind that comes from monitoring your property and communicating effectively with visitors at your door. With a functional Ring Video Doorbell, you will feel more secure in your home and stay connected with what happens at your front door. Embrace your new technology and enjoy the advantages it offers to your daily life.


