Install a Ring Video Doorbell is an excellent way to enhance the security of your home. This smart device allows you to see, hear, and speak to visitors at your door from anywhere. With integrated video, motion detection, and two-way audio, it adds a significant layer of protection and convenience. This step-by-step guide will walk you through the installation process, ensuring you can set up your Ring Video Doorbell efficiently and effectively.
Gather Your Tools and Materials
Tools You Will Need
Before beginning the installation of your Ring Video Doorbell, gather all the necessary tools. Having everything on hand will make the process smoother and more efficient. You will need the following tools:
- Drill: A power drill will help you make holes for screws and anchors.
- Screwdriver: A Phillips or flathead screwdriver, depending on your screws, will be needed to secure the device.
- Level: This tool ensures that your doorbell is mounted straight on the wall.
- Tape Measure: A tape measure helps you find the right height for mounting.
Materials to Prepare
In addition to tools, make sure to have the materials required for installation. Here’s a list of what you will need:
- Ring Video Doorbell: Ensure you have the Ring device itself, along with any included accessories.
- Mounting Bracket: Most Ring Video Doorbells come with a mounting bracket that you will need to secure the device.
- Screws and Anchors: Typically provided with your Ring package, these will hold the doorbell in place.
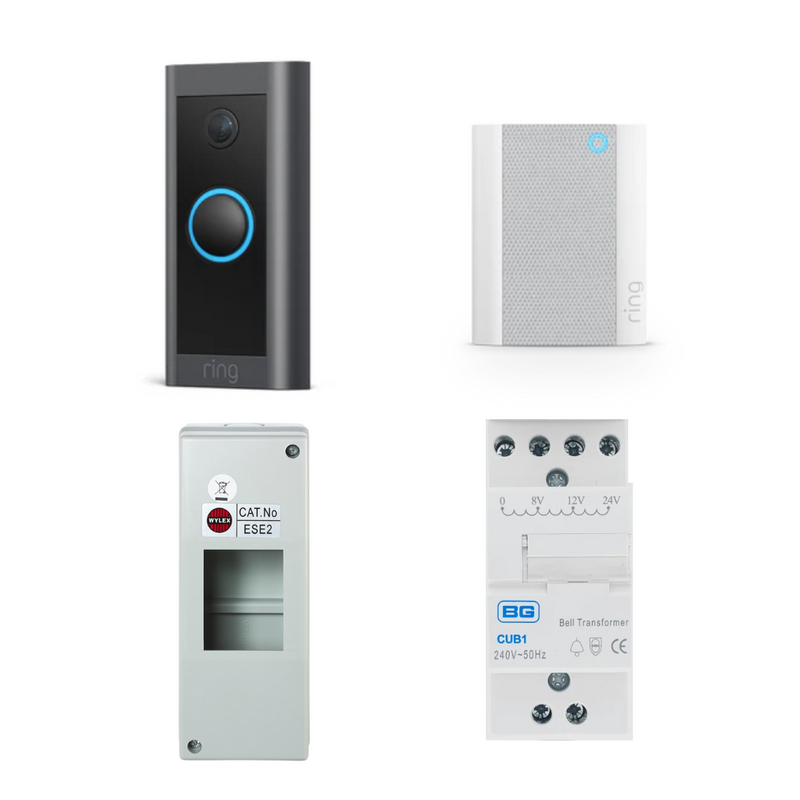
- Chime Kit: If you want your existing doorbell chime to sound when someone rings the doorbell, ensure you have the Ring chime kit installed.
Having all tools and materials ready will save you time and avoid interruptions during the installation process.
Charge Your Ring Doorbell
Initial Charging
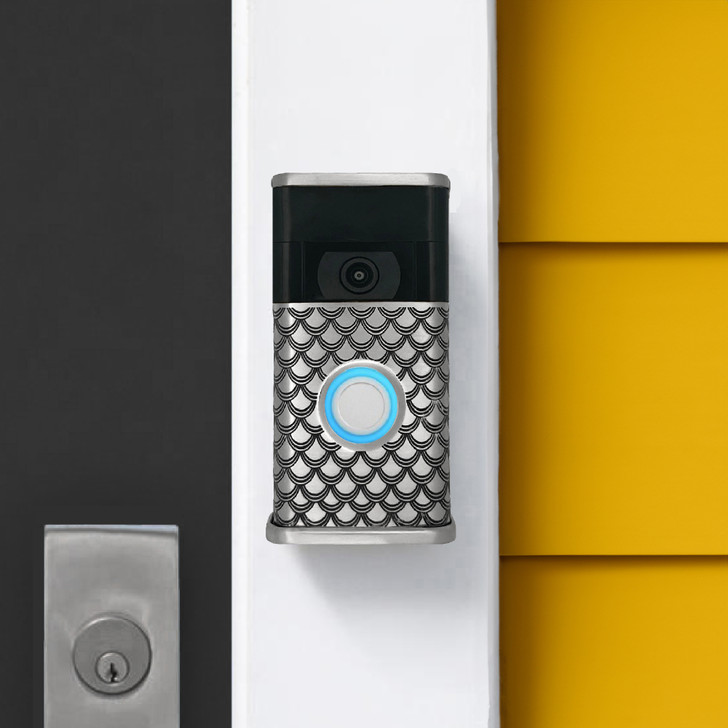
If you purchased a battery-operated Ring Video Doorbell, the first step is to charge the battery. Connect the provided charging cable to the device and plug it into a power source. Charging usually takes about five to six hours for a full charge.
While many users may want to skip this step and proceed with installation, it’s crucial to keep in mind that a fully charged battery is necessary for proper operation. The battery is also important during the setup process to ensure the device connects to your home Wi-Fi network without issues.
Setup in the Ring App
Once your doorbell battery is charged, download the Ring app from the Apple App Store or Google Play Store. Create an account or log in if you already have one. Follow the on-screen instructions to set up your device in the app. Select “Set Up a Device,” then choose the type of Ring doorbell you are installing.
Ensure that you have your Wi-Fi network information handy, as you will need to connect the device to your home Wi-Fi. This connection will allow you to receive alerts and view live footage from your doorbell.
Choose the Right Location for Your Doorbell
Ideal Height and Placement
Next, you will want to decide on the ideal height and placement for your Ring Video Doorbell. The recommended height for mounting a doorbell camera is between 48 to 56 inches above the ground. This height ensures that most visitors’ faces are captured clearly on the camera.
Consider the location of existing doorbells and the nature of your entrance. If you have a porch, it may be necessary to install the doorbell closer to the edge of the porch for clearer visibility. Ensure that your doorbell will have an unobstructed view of the area you want to monitor.
Testing the Location
Before drilling any holes, it’s helpful to do a test run. Hold the doorbell in the intended location and use the Ring app to check the camera’s view. This testing will provide an idea of the field of vision and potential blind spots. Make any necessary adjustments to ensure you capture the desired camera view.
Install the Mounting Bracket
Marking the Installation Points
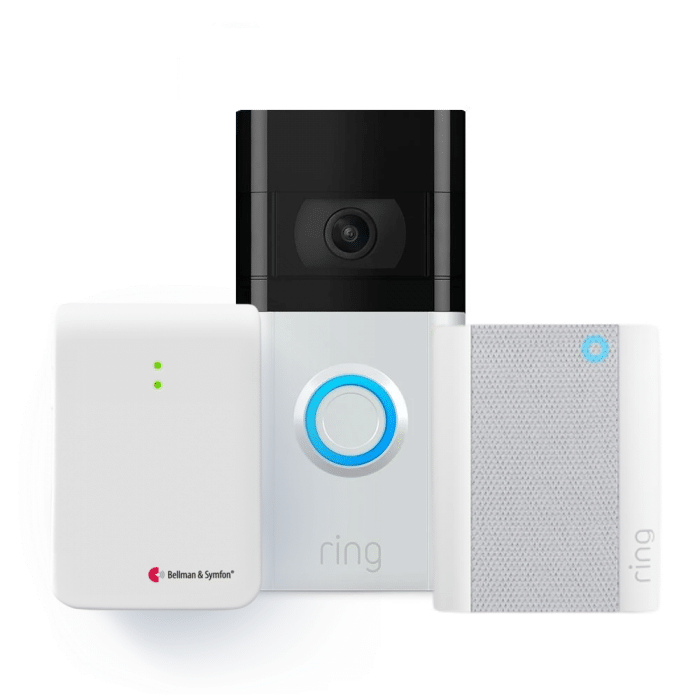
Once you have determined the appropriate location, it’s time to install the mounting bracket. Begin by holding the bracket against the wall. Use a level to ensure it is straight. Using a pencil, mark the screw holes for the mounting bracket.
After marking the holes, take a moment to double-check the markings. Accurate placement guarantees an easy installation process and helps prevent unsightly holes in the wall.
Drilling Holes and Installing Anchors
With your marks confirmed, it’s time to drill the holes. Use a drill bit that matches the size of your anchors. Drill at the marked points, taking care to avoid any electrical wiring or plumbing that might be hidden within the wall.
After drilling the holes, insert the provided anchors into the wall for added support. Alignment is important, so make sure that the anchors are flush with the wall and that they are secure. Finally, attach the mounting bracket using the screws included in the package. Ensure that the bracket is firmly attached and level.
Connect the Wires (If Applicable)
Wiring for Hardwired Installations
If you have a Ring Video Doorbell designed for hardwiring, you will need to connect it to your existing doorbell wiring. First, turn off the power to your existing doorbell at the circuit breaker to ensure safety during installation.
Once the power is off, remove your old doorbell from the wall and expose the wiring. Connect the wires from your existing doorbell to the corresponding wires in the Ring Video Doorbell. The device typically has marked terminals for easy connection.
Testing Connections
After connecting the wires, ensure that the connections are secure. You can wrap electrical tape around the wires to prevent any accidental disconnection. Once everything is connected properly, restore power to the doorbell at the circuit breaker.
Use the Ring app to test whether the doorbell is receiving power and functioning correctly. You should hear a sound or see a light indicating that the device is powered up. If there are any issues, double-check your wiring connections and ensure that the power is on.
Secure the Doorbell to the Mounting Bracket
Aligning the Doorbell
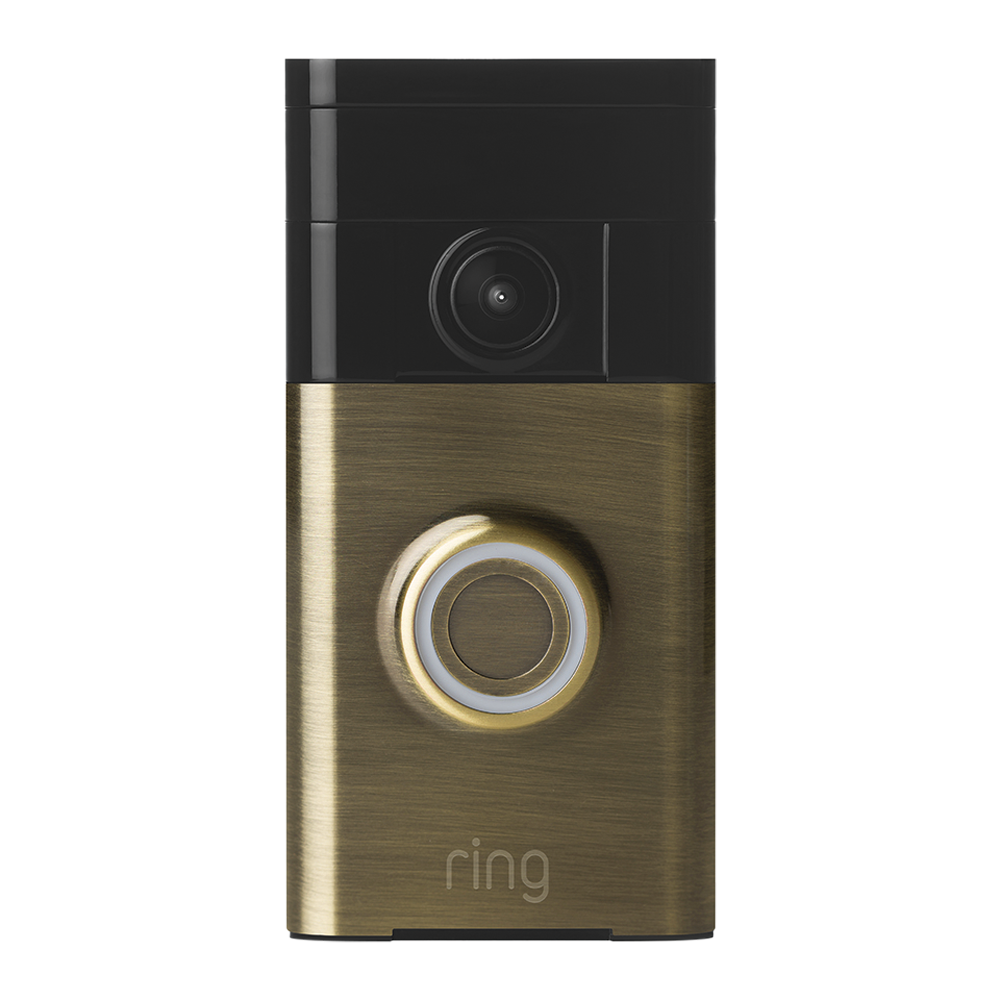
After ensuring that your power connection is successful, it’s time to secure the Ring Video Doorbell to the mounting bracket. Align the doorbell with the brackets, ensuring that it fits snugly against the wall.
Most Ring Video Doorbells come with a securing screw that helps fasten the device to the bracket. Check the manufacturer’s instructions for specific guidance on how to attach your device properly. It’s essential to tighten the screw enough to keep the doorbell secure without overtightening, which could damage the mounting bracket.
Final Adjustments
Once the doorbell is in place, check the angle to ensure it captures the desired view. If any angle adjustments are necessary, consult the instructions for optimal positioning. Finally, give the device a gentle tug to ensure that it is securely installed and will not fall off.
Testing and Finalizing the Setup
Configuring Notifications and Motion Alerts
With your Ring Video Doorbell securely installed, the final steps include configuring the settings in the Ring app. Open the app and select your device. Navigate to the settings menu to enable notifications and motion alerts.
You can customize these settings based on your preferences. For instance, set the motion sensitivity and choose how you want to receive notifications. The ability to adjust settings will enhance your experience and ensure that you are aware of any visitor at your door.
Conducting a Test Run
Lastly, conduct a test run to ensure everything is functioning correctly. Have a friend or family member ring the doorbell while you monitor the app. Check for video quality, audio clarity, and responsiveness.
Testing this functionality will allow you to identify any issues before relying on the doorbell for security. After confirming that everything works well, enjoy the convenience and peace of mind that your new Ring Video Doorbell provides.
Wrap-Up
In conclusion, install a Ring Video Doorbell is a manageable project that can significantly improve your home security. By following this step-by-step guide, you can ensure your doorbell is installed correctly and systematically. From gathering tools to modifying settings, each step is crucial for a successful installation. With your Ring doorbell in place, you will be better equipped to monitor activity around your home and engage with visitors from anywhere. Enjoy the benefits of your new smart device and stay connected!
