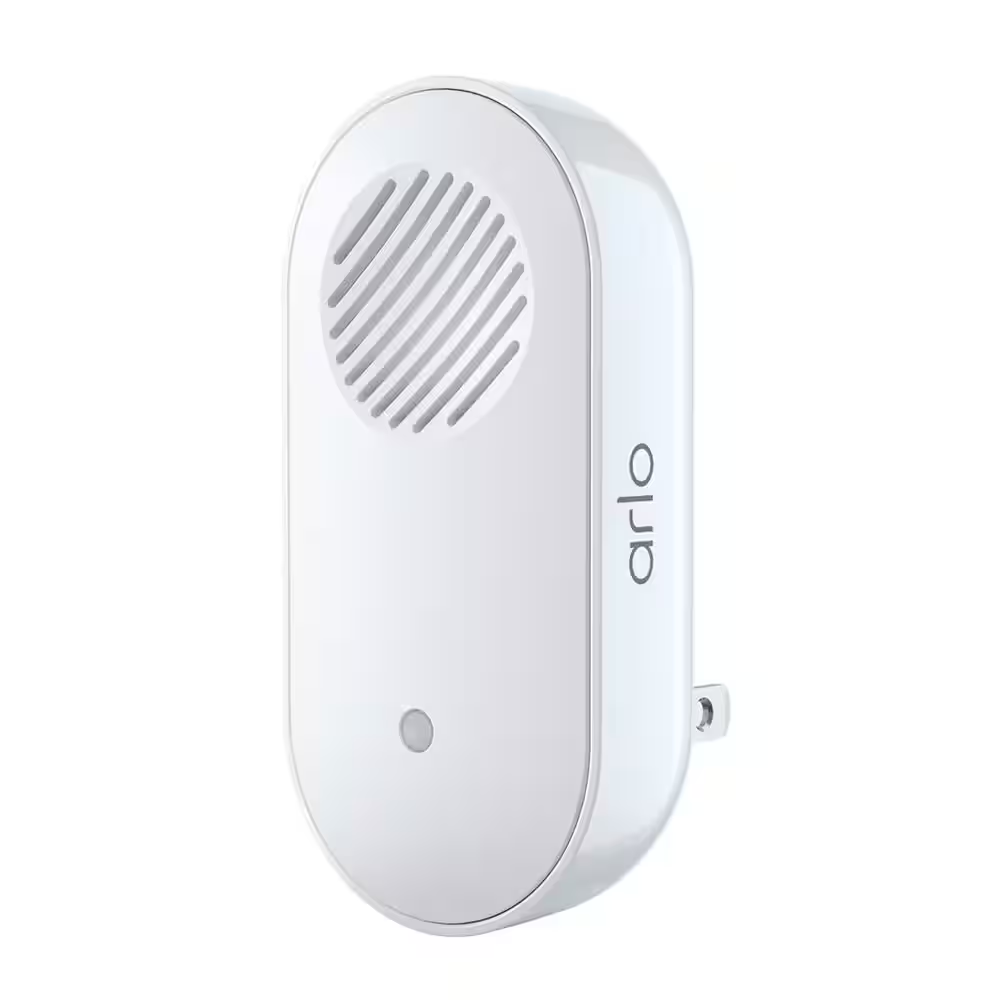
In today’s world, security is a top priority for many homeowners. The Arlo Video Doorbell is a great solution for increasing the safety of your property while adding convenience to your daily life. With its advanced features, including HD video, two-way audio, and motion detection, this smart device allows you to monitor your front door from anywhere. This guide will provide a step-by-step approach to Arlo Video Doorbell installation correctly and effectively.
Understanding the Benefits of Arlo Video Doorbell
Enhanced Security Features
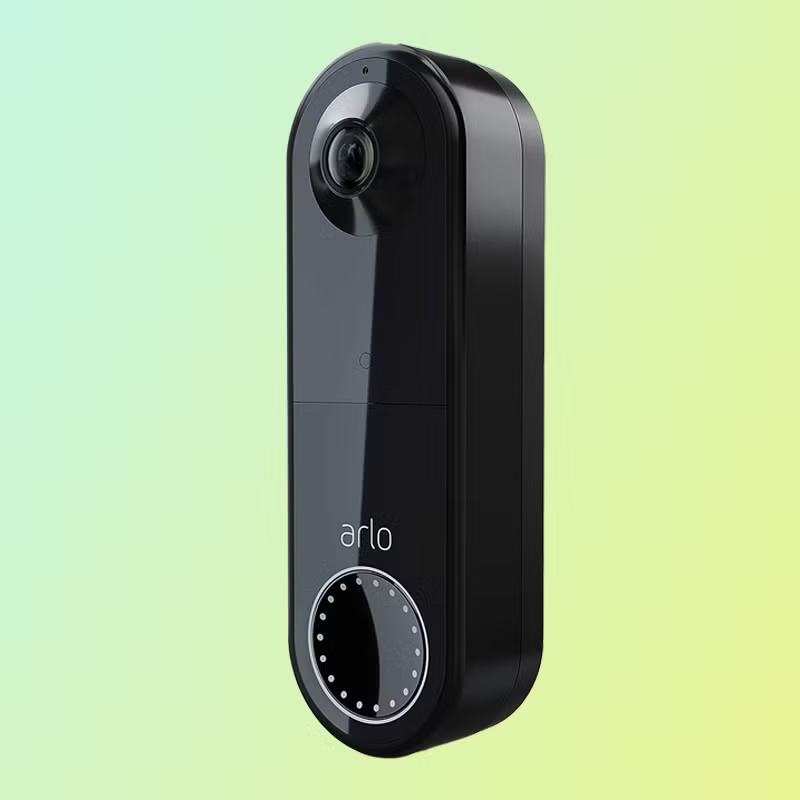
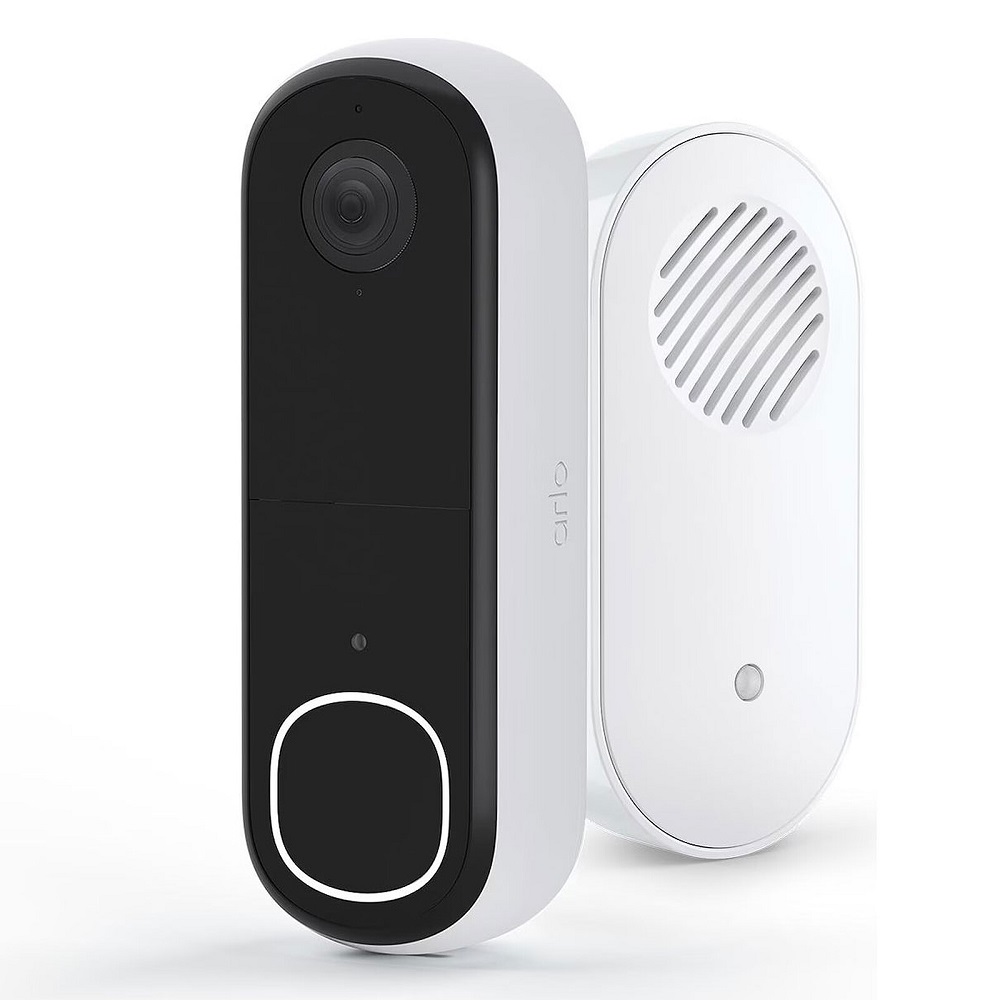
The Arlo Video Doorbell offers a variety of features that significantly enhance home security. One of the primary advantages is its high-definition video recording capabilities. With a 1536p resolution, users can enjoy crystal clear visuals. The wide-angle lens captures more of the scene, ensuring that movement around your doorstep is clearly visible.
Additionally, the doorbell includes HDR technology. This feature allows the camera to handle varying lighting conditions more effectively. Whether it is bright sunlight or nighttime darkness, you will receive a clear view of your front door at all times. This level of visibility provides peace of mind and makes it easier to identify visitors or intruders.
Two-Way Audio and Motion Alerts
Another excellent feature is the two-way audio functionality. This allows you to communicate with visitors directly through the doorbell camera. If you’re busy or not at home, you can easily converse with package delivery personnel or guests without opening the door. This element enhances convenience and adds an extra layer of security by allowing you to assess who is at your door before interacting.
The Arlo Video Doorbell also comes equipped with motion detection capabilities, sending instant alerts to your smartphone whenever movement is detected. This means you can keep track of activity around your home even when you are away. The combination of these features makes the Arlo Video Doorbell an invaluable addition to any home’s security system.
Gathering Required Tools and Materials
Tools Needed for Installation
Before beginning the installation process, it is important to gather all necessary tools and materials. Having everything on hand will streamline the installation and reduce any potential stress. The essential tools you will need include:
- A Philips-head screwdriver
- A flathead screwdriver
- Wire cutters or strippers
- A drill (if necessary)
- A level tool (for proper alignment)
- Optional: A voltage tester to ensure safe electrical work
Make sure that your tools are in good condition and easily accessible. Having the correct tools will make the process much easier and more efficient as you move forward with the installation.
Additional Materials
In addition to tools, gather any additional materials you might need. The Arlo Video Doorbell typically comes with mounting hardware. Double-check to ensure all parts are included in the package. These may include screws, wall anchors, and wire connectors.
Depending on whether you are replacing an existing doorbell, you may also need additional wiring. If your current installation does not suit the Arlo Video Doorbell, you will need wire to accommodate the new device. Prepare these materials before starting to ensure a smooth installation process.
Preparing for Installation
Safety First
Before proceeding, prioritize safety throughout the installation process. If you are working with existing doorbell wiring, it is crucial to turn off the power to the doorbell at the circuit breaker. This step prevents danger from electrical shocks and ensures a secure working environment. Use your voltage tester to confirm that no current is flowing through the wires before touching them.
Once you have confirmed that the power is off, take account of your working area. Ensure there is adequate lighting to see clearly, and clear away any obstructions that may hinder your movements. Preparing your workspace sets the stage for a more organized and efficient installation.
Choosing the Right Location
Selecting the proper location for your Arlo Video Doorbell is vital. Ideally, the doorbell should be mounted at a height of about 48 inches from the ground. This height allows for optimal video capturing and ensures that it can be easily reached for maintenance if necessary.
Consider the angle of the doorbell and how it may capture motion. If possible, position the camera so that it can view the approach to your front door as well as the mailbox or driveway. Ensuring a clear line of sight will maximize the security features of the device, allowing you to monitor more area effectively.
Wiring the Doorbell
Connecting Existing Wires
If you are replacing an existing doorbell, begin by disconnecting the old device. Carefully remove the old doorbell cover using your screwdriver. Once the cover is off, detach the wires connected to the old doorbell. Remember to note which wire connects to which terminal, as this will help during the installation of the Arlo Video Doorbell.
After the old doorbell has been removed, attach the new wires to the Arlo Video Doorbell. The device will typically have two connectors labeled ‘Trans’ and ‘Front’, or similar indicators. Double-check the instructions that came with your device to ensure proper connection. It is crucial to maintain correct polarity to ensure the video doorbell functions correctly.
Running New Wires
If you are installing the doorbell for the first time or need to run new wires, you may need to drill holes into your exterior wall to allow the wiring to reach your indoor chime. Plan the route carefully to avoid damage to existing structures. Use your drill while ensuring that you do not compromise the integrity of your home’s exterior.
Be mindful of building codes and regulations in your area regarding electrical work and doorbell installations. Following these guidelines will help you avoid potential pitfalls and ensure that your installation is up to standard.
Mounting the Doorbell
Installing the Mounting Plate
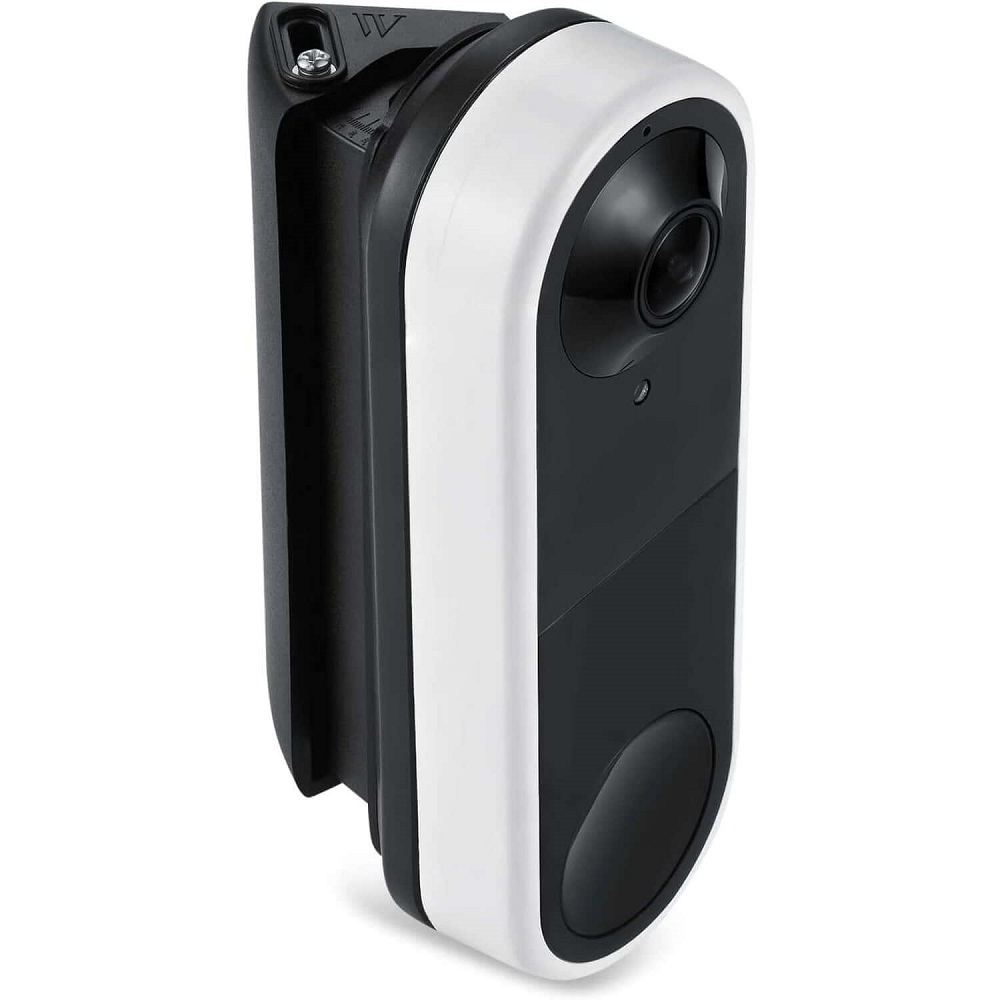
Once you have the wiring in place, it is time to mount the Arlo Video Doorbell. Most Arlo devices come with a mounting bracket. Start by aligning the bracket with the marked location and making sure it is level. Use a level tool to confirm that it is straight before securing it to the wall.
After aligning the bracket, use your drill to install the screws that hold it in place. Make sure the bracket is firmly attached to the wall, as it will hold the weight of the doorbell and endure weather exposure. Once the mounting plate is securely in place, you are ready to attach the doorbell itself.
Attaching the Doorbell
After securing the mounting plate, carefully attach the Arlo Video Doorbell to the bracket. Most models will click into place, providing a secure fit. Once the doorbell is attached, double-check that it is aligned properly and retains any necessary wiring connections that you made earlier.
After positioning the doorbell securely, you can restore power to the circuit. With the power back on, the Arlo Video Doorbell should power up and prompt you with a setup process. Make sure to keep an eye on the LED indicators, as they will provide valuable information during the installation.
Connecting to Wi-Fi and Setting Up the App
Downloading the Arlo App
Once the doorbell is installed and powered, it’s time to connect it to your Wi-Fi network. Ensure that your smartphone or tablet is connected to the Wi-Fi network you want the doorbell to use. The next step is to download the Arlo app from the Apple App Store or Google Play Store. The app is the hub for managing your doorbell and other Arlo devices.
After downloading the app, create an account if you do not already have one. Follow the prompts to complete the registration and sign in. This process allows you to gain access to the features available within the app.
Connecting the Doorbell to Wi-Fi
Inside the app, you will find the option to add new devices. Select the option to add your Arlo Video Doorbell and follow the on-screen instructions. The app will guide you through connecting the doorbell to your Wi-Fi network. Ensure you input the correct Wi-Fi password when prompted.
Once connected, the app will take you through the setup process, allowing you to customize alerts and other settings. This step is crucial as it allows you to take full advantage of the features the Arlo Video Doorbell has to offer. Within the app, you can adjust settings, view live video feeds, and manage notifications based on your preferences.
Finalizing Installation and Testing
Testing Functionality
With the installation complete, it’s essential to test the doorbell to ensure everything functions correctly. Press the doorbell button to trigger the chime and video recording. Verify that the app receives an alert and that you can view the live video feed.
Additionally, test the two-way audio feature. Engage with the doorbell through the app to confirm clear audio transmission both ways. If there are any issues, check the wiring and settings to troubleshoot any problems.
Maintaining Your Device
After confirming that everything is working well, familiarize yourself with the maintenance requirements for the Arlo Video Doorbell. Regularly check for software updates through the app. These updates help improve functionality and security over time.
Furthermore, periodically clean the camera lens and ensure that the doorbell is free from debris. Weather conditions might affect performance, so routine maintenance will keep your device functioning optimally. By taking these steps, you can enjoy the benefits of your Arlo Video Doorbell for years to come, maximizing security for your home.
Conclusion
Arlo Video Doorbell installation is an excellent investment in home security. By following this quick guide, homeowners can easily install the doorbell themselves. With features that enhance safety and convenience, the Arlo Video Doorbell provides peace of mind. From high-definition video and two-way audio to motion detection, this device makes it easy to monitor and manage visitors effectively.
By properly preparing for the installation and navigating each step with care, you will be well-equipped to enjoy the benefits of your new device. Maximizing security with the Arlo Video Doorbell enhances the protection of your home while adding a modern touch to your entrance. Enjoy the confidence that comes with knowing who is at your door, even when you are not home.
