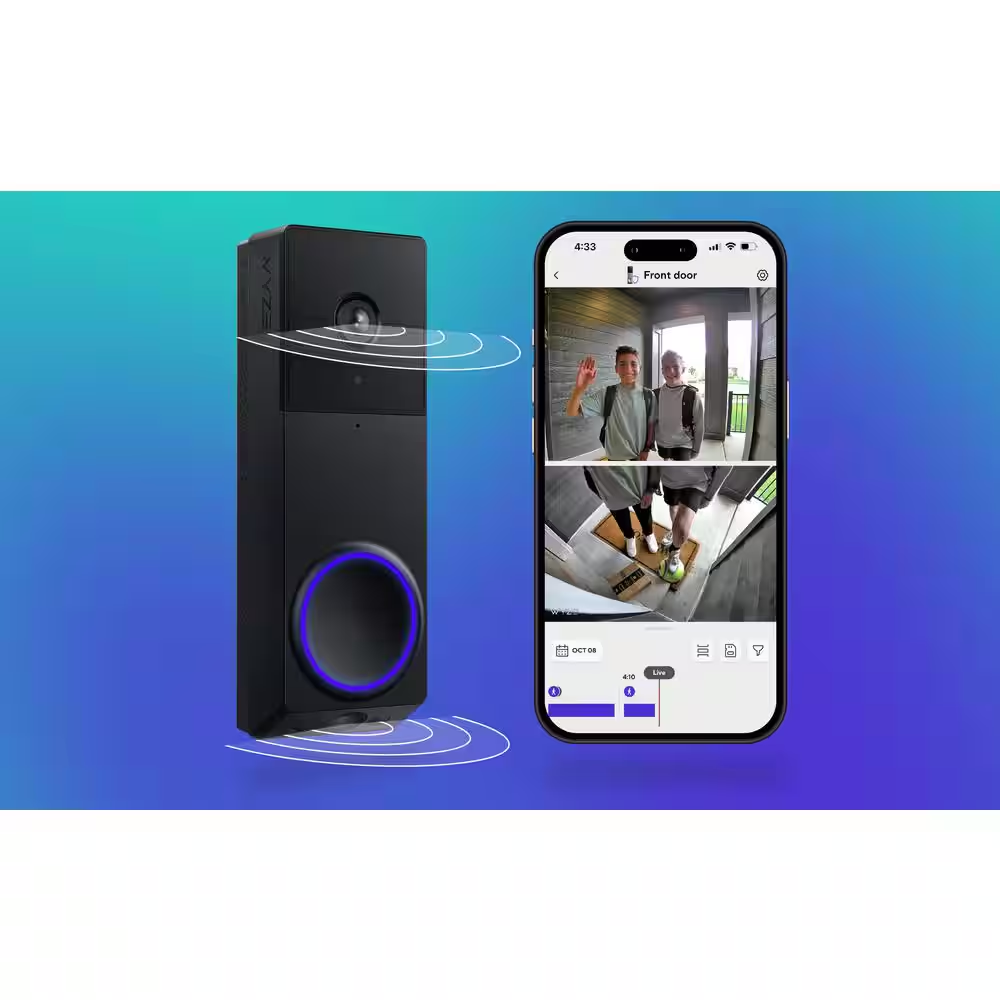
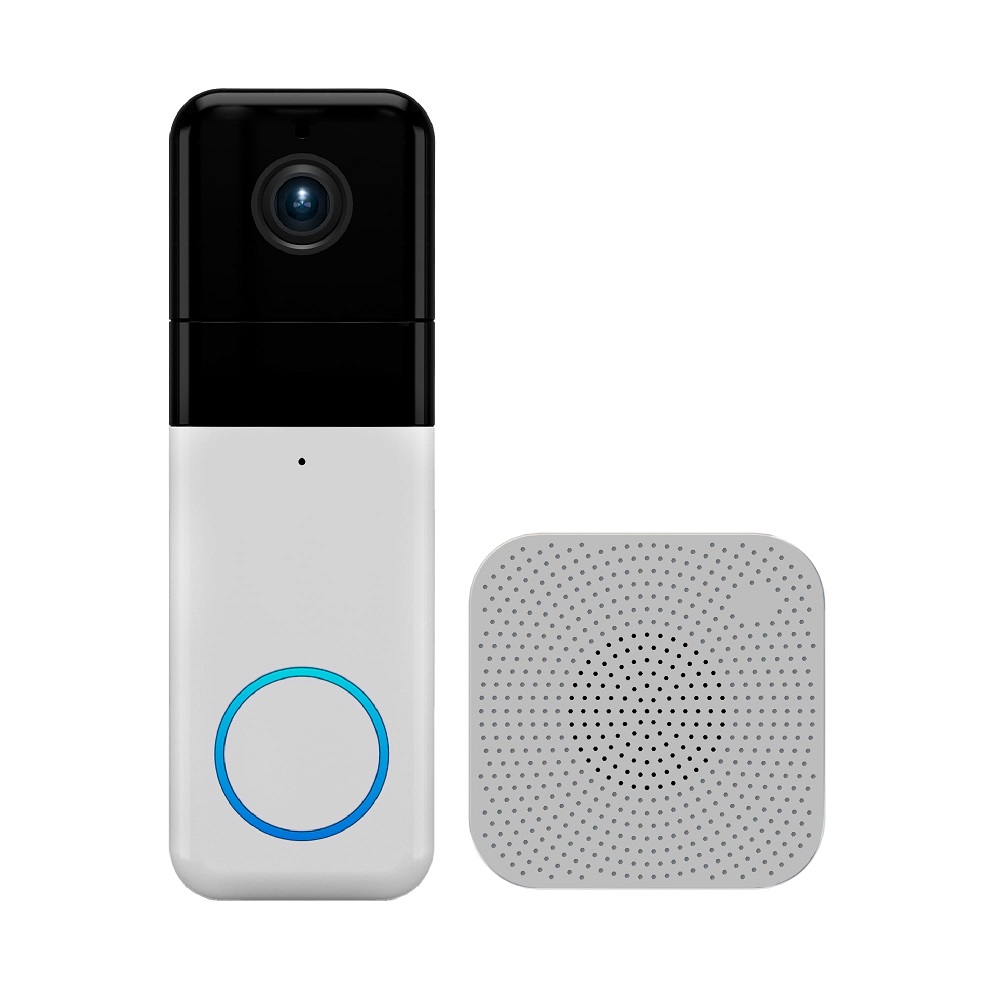
The Wyze Video Doorbell V2 is an excellent addition to your home security system. It provides high-definition video, two-way audio, and various smart features that let you see and communicate with visitors right from your smartphone. While installing a video doorbell may seem daunting, the Wyze Video Doorbell V2 installation is designed for straightforward setup. This guide will provide you with essential tips for a seamless installation process.
Preparing for Installation
Gather Required Tools
Before you begin the Wyze Video Doorbell V2 installation process, gather all necessary tools and materials. You will need a few basic tools, including a screwdriver, a drill (if mounting on hard surfaces), and possibly a level. Having everything nearby will streamline the setup process. Most installations will also require some electrical knowledge, especially if wiring the doorbell to an existing chime.
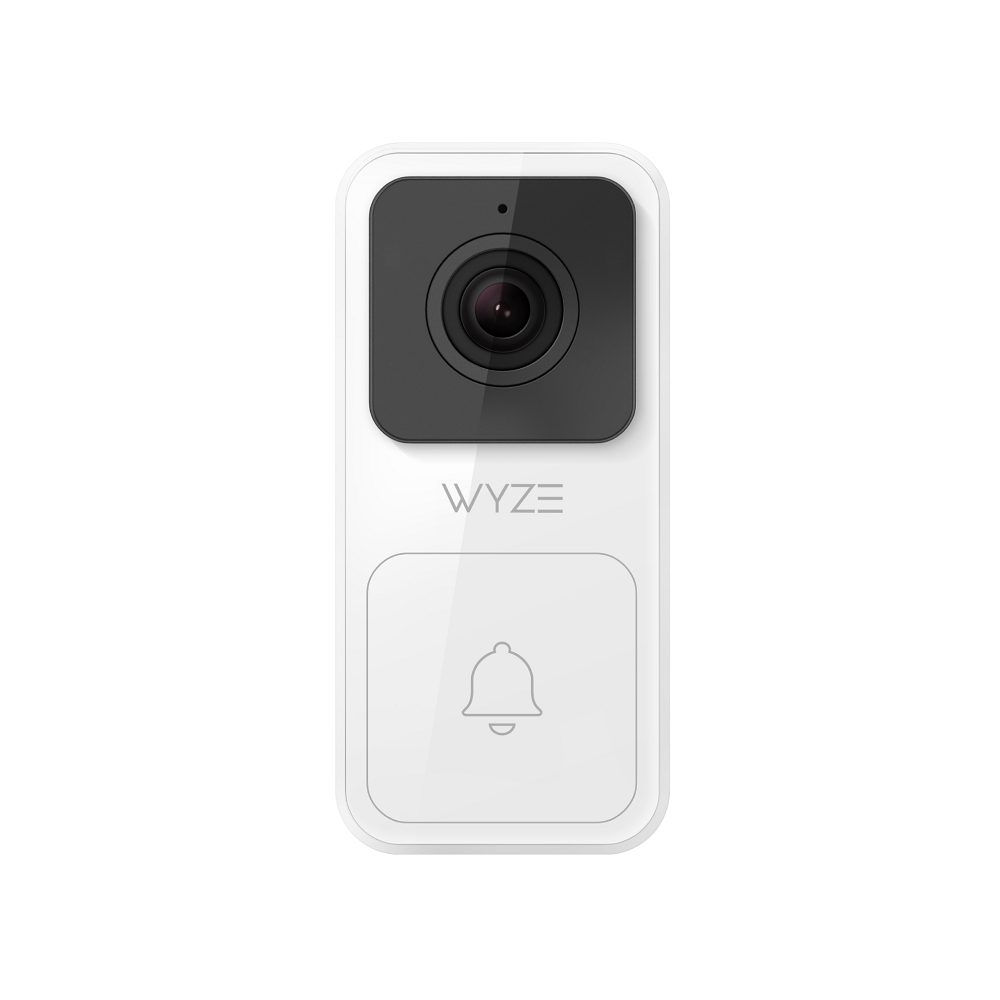
In addition to tools, have the Wyze Video Doorbell V2 installation box handy, which contains the doorbell unit, mounting plate, and screws. The package typically includes a user manual, which offers additional helpful information. Familiarizing yourself with the components before installation will minimize confusion later on.
Check Compatibility
Before proceeding, check whether your existing doorbell system is compatible with the Wyze Video Doorbell V2. The doorbell requires a wired connection for power, making it essential to confirm that your setup includes a compatible doorbell transformer. If you plan to use the doorbell with an existing wired chime, ensure that it operates at a voltage level compatible with the Wyze unit.
If you will be replacing an old doorbell, ensure that the electrical wiring is in good condition and the voltage levels meet the requirements. Confirming compatibility will save you time and effort during the installation.
Installation Location
Selecting the Right Location
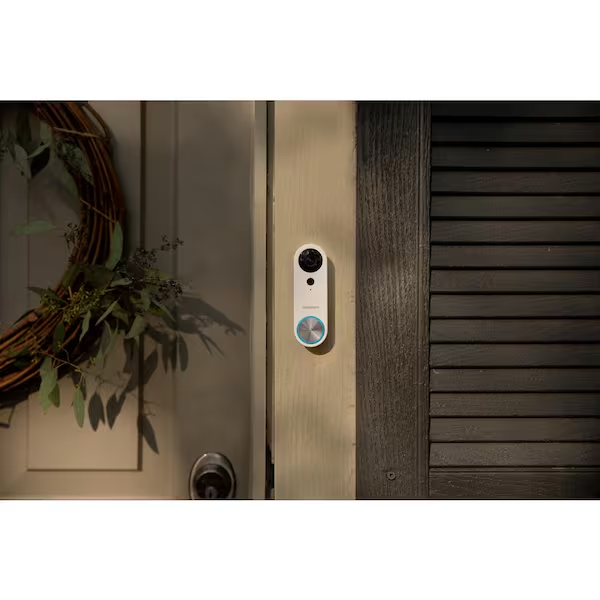
Choosing the right location for your Wyze Video Doorbell V2 is critical for optimal performance. Mount the doorbell at a height of 48 inches from the ground, which is the standard height for doorbells. This height allows most people to comfortably interact with the video camera without obstruction.
Consider your home’s layout when selecting a location. Ensure the doorbell is positioned to capture video footage of visitors as they approach. It is also essential to ensure that the main entrance or pathway is clearly visible through the camera lens. Avoid placing the camera too close to walls or objects that might obstruct the view.
Ensuring Good Wi-Fi Signal
The Wyze Video Doorbell V2 connects to your home Wi-Fi network to operate effectively. Before mounting the doorbell, check the Wi-Fi signal strength in the area. A weak signal can lead to connectivity issues, causing video delays or interruptions. To test the signal strength, use your smartphone or tablet to check the Wi-Fi connection in the intended installation location.
If you find that the Wi-Fi signal is weak in the desired location, consider relocating your router or investing in a Wi-Fi extender to enhance coverage. A stable and strong connection is crucial for the doorbell’s performance and features.
Removing the Old Doorbell
Safety First
If you are replacing an existing doorbell, safety should always be a priority. Start by turning off the power to the doorbell at your home’s circuit breaker. This step prevents any risk of electric shock during installation. Check the power status by pressing the old doorbell button; if it does not light up, the power is off.
After turning off the power, remove the old doorbell unit carefully. Generally, this involves unscrewing the doorbell from its mounting plate. Make sure to keep the screws and mounting hardware in a safe place, as they can be reused for the new doorbell if applicable.
Disconnecting Wires
Once the old doorbell is removed, disconnect the wires carefully. Typically, you will find two wires connected to the unit. Note which wire is connected to the “trans” (transformer) and “front” terminals (for the front door). Labeling the wires can be helpful to avoid confusion during the new installation.
Use wire nuts or electrical tape to secure any exposed wires while you complete the installation. This step will prevent accidental contact and ensure safety throughout the process. Once you’ve disconnected the old unit, you are ready to install the new Wyze Video Doorbell V2.
Mounting the Wyze Video Doorbell V2
Attach the Mounting Bracket
The Wyze Video Doorbell V2 comes with a mounting bracket that must be attached first. Start by holding the bracket against the wall and using a level to ensure it is straight. Once properly aligned, mark the screw holes with a pencil to indicate where you will drill.
Drill holes where you marked, depending on the type of wall you have. If mounting on wood, use screws directly. For masonry, use appropriate anchors after drilling the holes. This ensures that the doorbell is securely mounted.
Secure the Doorbell Unit
After attaching the mounting bracket, connect the wires from the wall to the corresponding terminals on the doorbell unit. Follow the label markings—the two wires should connect to their respective terminals (“trans” and “front”). Ensure the connections are snug and secure to prevent any disconnection.
Once the wires are attached, slide the Wyze Video Doorbell V2 onto the mounting bracket until you hear a click. This audible cue lets you know that the unit is securely in place. After mounting, the next step is to restore power to the doorbell.
Setting Up the Wyze App
Downloading the App
Before you can start using the Wyze Video Doorbell V2, you need to configure it through the Wyze app. If you haven’t already, download the app from the Apple App Store or Google Play Store. The app is essential for controlling the doorbell’s features, receiving notifications, and viewing live feeds.
Once the app is installed, create an account or log in if you already have one. Follow the on-screen prompts to set up your profile. This step allows you to customize notifications, privacy settings, and other features.
Adding the Doorbell to Your Account
After logging in, you can add the Wyze Video Doorbell V2 to your account. Select the “+” sign in the app to add a new device. Follow the prompts to choose “Doorbell” from the list of devices. The app will guide you through the setup process, requesting you to scan the QR code displayed on the app interface with the doorbell camera.
Ensure that your smartphone is connected to the same Wi-Fi network that you intend to use for the doorbell. Once connected, the app will indicate when the device is successfully added. By following these steps, you will ensure a smooth integration of the doorbell into your smart home ecosystem.
Configuring Settings and Features
Customizing Notifications
Once your Wyze Video Doorbell V2 is connected to the app, take a moment to configure the notification settings. The app allows you to customize alerts based on your preferences. You can choose to receive notifications for motion detection, video recordings, and package deliveries. Adjust these settings according to your needs for optimal convenience.
Make sure to enable the “Person Detection” feature if available. This feature uses advanced algorithms to help minimize false alerts by distinguishing between humans and other moving objects. Customizing these features ensures that you only receive important notifications, allowing for a more efficient experience.
Exploring Additional Features
The Wyze Video Doorbell V2 installation comes with a variety of additional features that enhance usability. The two-way audio function allows you to communicate with visitors through your smartphone directly. Familiarize yourself with this feature to ensure that you can converse with guests at your door easily.
Additionally, explore the options for recording time. You can set recording schedules that suit your needs, ensuring that you capture important moments. The app also allows you to view recorded videos, which is helpful for security purposes.
Troubleshooting and Maintenance Tips
Common Issues and Solutions
Like any electronic device, the Wyze Video Doorbell V2 may encounter occasional issues. If you find that the video feed is lagging, ensure that your Wi-Fi signal is strong. A weak connection can impact performance significantly. If necessary, relocate your Wi-Fi router or invest in a Wi-Fi extender to enhance signal strength.
Another common issue is receiving delayed notifications. Ensure that you have enabled the necessary permissions for the Wyze app on your smartphone. Also, check your phone’s notification settings to make sure alerts are not being suppressed.
Regular Maintenance
To ensure your Wyze Video Doorbell V2 continues functioning optimally, perform regular maintenance checks. Clean the lens periodically to remove dust and debris, as this can affect the camera quality. Use a soft, lint-free cloth for this task to avoid scratching the lens.
Additionally, check your Wi-Fi connection regularly and confirm that the device remains securely mounted on the wall. Keeping the firmware updated ensures that you benefit from the latest features and security upgrades. Staying alert to these maintenance tasks will help you enjoy your video doorbell for years to come.
In conclusion, installing the Wyze Video Doorbell V2 installation can be a straightforward process if you follow these tips. From preparing your space and gathering tools to ensuring proper setup and maintenance, taking the time to do it right will lead to long-term satisfaction. By enhancing your home security with this modern video doorbell, you can enjoy peace of mind knowing that you can see and communicate with visitors anytime, anywhere. Happy installing!
