Signs That Your Doorbell Camera Battery Needs Replacement
A well-functioning doorbell camera depends on a healthy battery. Identifying signs of a failing battery early can prevent security interruptions. Below, we cover common symptoms and how to check battery health on popular cameras.

Common indicators of a failing battery
- Shortened Battery Life: If charging intervals become frequent, your battery may be deteriorating.
- Inconsistent Performance: The camera may disconnect or shut down unexpectedly.
- Lag or Delays: Video or notifications might lag, indicating low battery power.
- Reduced Night Vision: Power-hungry features, like night vision, may stop working properly.
- Warning Alerts: Many cameras display low-battery notifications or send alerts to your phone.
Watch for these signs to address battery issues before they affect your doorbell camera’s reliability.
How to check battery health on popular doorbell cameras
Different brands offer different ways to monitor battery health. Here’s how to check on some popular models:
- Ring:
- Open the Ring app.
- Visit the device section.
- Check the battery meter displayed.
- Arlo:
- Launch the Arlo app.
- Tap on the camera.
- Battery status is shown on the device settings page.
- Nest:
- Open the Google Home app.
- Select the doorbell camera.
- Find battery details under “Power settings.”
Regularly reviewing battery health ensures longevity and consistent performance for your doorbell camera.
Tools and Materials You?ll Need for Battery Replacement
Having the right tools and materials ensures a smooth battery replacement process for your doorbell camera. Below, we list essential items and guide you on where to purchase compatible replacement batteries.
Essential tools for the process
- Screwdriver: Most doorbell cameras need a precision or Phillips-head screwdriver to remove screws.
- Replacement Battery: Have a compatible battery ready for your specific doorbell model.
- Battery Charger (if applicable): Ensure the new battery is fully charged before installation.
- Soft Cloth or Brush: Use this to clean the camera’s internal compartment.
- Small Container for Screws: Prevent losing screws by keeping them in a safe container.
- Instruction Manual: Refer to the guide for brand-specific steps during battery replacement.
Where to purchase compatible replacement batteries
- Manufacturer’s Website: Purchase batteries directly from trusted brands like Ring, Arlo, or Nest.
- Electronics Stores: Retailers such as Best Buy or Home Depot often stock compatible batteries.
- Online Marketplaces: Platforms like Amazon or eBay may offer genuine options at competitive prices.
- Specialty Stores: Battery or security stores may carry replacements specifically for doorbell cameras.
Ensure the battery matches your doorbell’s model to avoid compatibility issues. Always prioritize genuine products for safety and optimal performance.
Preparing Your Doorbell Camera for Battery Replacement
Proper preparation ensures the battery replacement process is quick and smooth. Follow these steps for safety.
Steps to safely turn off your doorbell camera
Turning off the camera prevents accidental damage and ensures safe handling during replacement. Here’s how:
- Check the User Manual: Refer to your doorbell camera’s guide for specific shutdown instructions.
- Disable Power Supply: Disconnect the camera from the power source, such as a battery pack or wiring.
- Deactivate the Camera: Use the app to place the camera in standby mode or switch it off entirely.
- Confirm Complete Shutdown: Verify the camera’s LED indicators are off to ensure it is powered down.
Removing the doorbell camera from its mount
Detaching the camera allows easy access to the battery compartment. Follow these steps:
- Locate the Screws: Identify the screws securing the doorbell to the mount or wall.
- Unscrew Carefully: Use a precision screwdriver and keep screws in a container to avoid losing them.
- Detach the Camera: Gently remove the camera from its bracket while ensuring no wires are pulled.
- Inspect for Damage: Check the mount and camera for wear or debris before continuing.
These steps keep your doorbell camera safe and ready for replacement.
Step-by-Step Guide to Replacing the Battery
Replacing your doorbell camera battery involves careful steps. Follow the guide below for a seamless process.
How to access the battery compartment
- Locate the Battery Compartment: Check the user manual to find the battery compartment’s location.
- Open the Cover or Panel: Use the appropriate screwdriver to unscrew and remove the compartment cover.
- Inspect the Area: Before proceeding, check for debris or damage around the battery compartment.
- Review Guide Instructions: Refer to your device manual for specific battery access information.
Correctly removing and inserting the new battery
- Remove the Old Battery: Gently disconnect and pull out the worn battery without damaging connectors.
- Check Battery Contacts: Ensure the terminals or contacts inside the compartment are clean and intact.
- Prepare the New Battery: Check its compatibility, and charge it fully if needed before installation.
- Insert the Battery: Align it correctly with the terminals and securely place it inside the compartment.
- Secure the Cover: Close the compartment and tighten screws carefully to avoid overtightening.
- Power On the Camera: Switch the camera back on and verify that it functions properly.
Following these steps ensures a safe and successful battery replacement process.
Tips for Extending Your Doorbell Camera Battery Life
Proper care can maximize your doorbell camera battery life. Implement these tips for optimal performance.
Optimizing camera settings for better battery performance
- Adjust Motion Sensitivity: Lower sensitivity to reduce unnecessary recordings and save power.
- Set Activity Zones: Configure the camera to monitor only critical areas, minimizing energy use.
- Enable Power-Saving Mode: Many cameras offer modes to conserve battery life efficiently.
- Turn Off Unused Features: Disable features like live view or frequent updates unless absolutely needed.
- Adjust Recording Length: Shorter video clips consume less battery than prolonged recordings.
Check your camera’s settings regularly and tweak them for optimal efficiency.
Maintenance habits to improve battery longevity
- Clean Camera Regularly: Dust can block sensors, causing extra stress on the battery.
- Charge Fully: Always recharge the battery to its maximum capacity.
- Check Connections: Ensure all connections are secure to avoid energy loss.
- Monitor Usage Patterns: Review the app to identify battery-draining activities.
- Protect from Extreme Weather: Avoid exposing the camera to extreme heat or cold, which can damage the battery.
By following these maintenance habits, you can prevent frequent replacements and extend battery life.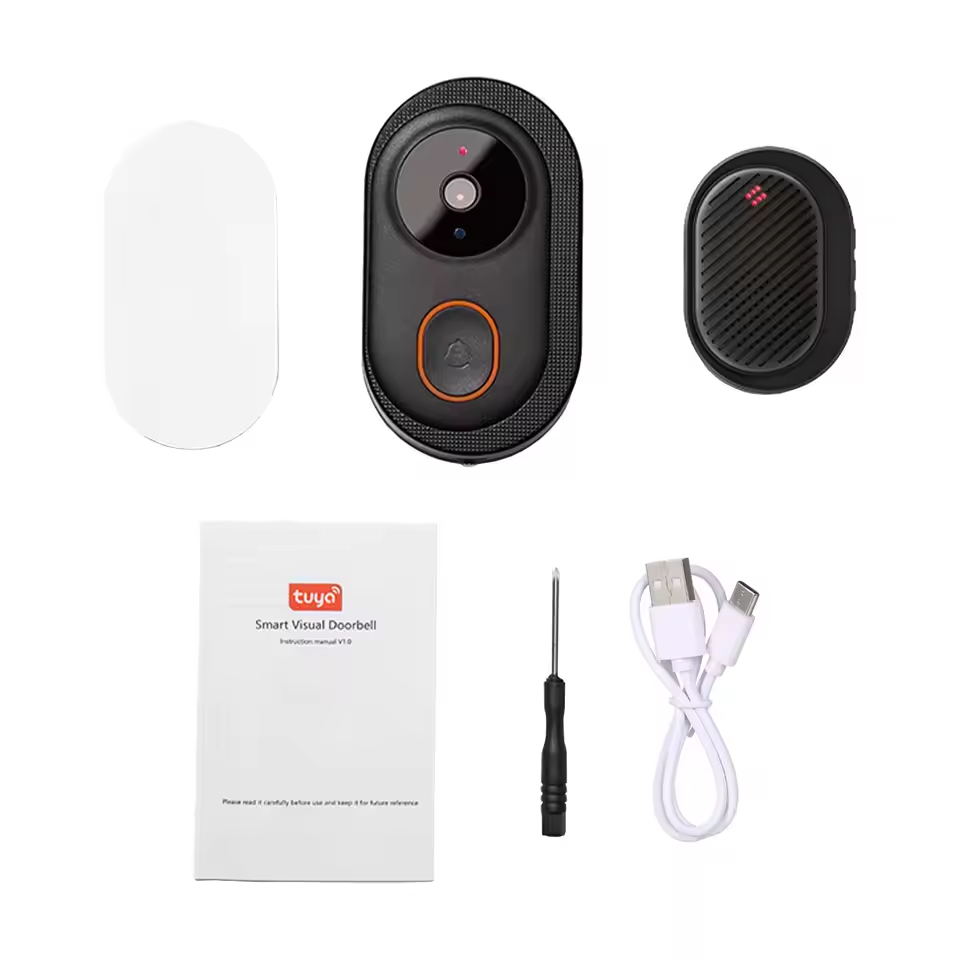
Troubleshooting Common Issues During Battery Replacement
Even with careful preparation, you may encounter problems during battery replacement. This guide covers common issues and their solutions to help you get your doorbell camera back in working order quickly.
What to do if the camera does not power on
If your doorbell camera doesn’t turn on after replacing the battery, follow these steps:
- Check Battery Position: Ensure the battery is properly aligned with the terminals.
- Inspect Connections: Verify there are no loose or disconnected wires in the battery compartment.
- Test the Battery: Charge the new battery fully and confirm it holds power.
- Restart the Camera: Turn the camera off and back on to reset the system.
- Review the Manual: Refer to the user guide for additional troubleshooting tips specific to your model.
- Try Another Battery: Use a different compatible battery if the issue persists to rule out defects.
If none of these steps work, inspect the camera for internal damage or consider professional support.
How to handle improper fit or connection issues
Sometimes, new batteries may not fit correctly or fail to connect properly. Here’s how to address this:
- Verify Compatibility: Ensure the battery is designed for your specific doorbell camera model.
- Double-Check Orientation: Align the positive and negative terminals correctly as shown in the manual.
- Remove Obstructions: Clean the compartment to clear dirt or debris that could block the battery.
- Check for Physical Damage: Look for bent connectors or warped compartments that may prevent proper fit.
- Secure the Battery: Push gently but firmly to ensure the battery is fully inserted in its slot.
If improper fit or connection issues persist, test the battery in another device (if compatible) to rule out defects. For structural issues, reach out to the camera’s manufacturer for advice or replacement options.
When to Seek Professional Help for Battery Replacement
Sometimes, replacing a doorbell camera battery on your own is challenging. In such cases, seeking professional help might be the best solution. Let’s explore these scenarios and compare the costs of DIY and professional services.
Identifying situations that require professional assistance
- Battery Won’t Fit or Connect Properly: If the new battery doesn’t fit, seek expert support to avoid damage.
- Camera Still Malfunctions: Persistent issues after replacement might indicate internal device damage needing expert attention.
- Damaged Components: Cracked compartments or bent connectors require professional repair services for safe handling.
- Unfamiliar Technology: New users unsure of handling or opening the device may benefit from assistance.
- Warranty Concerns: DIY replacements may void warranties. Let authorized technicians handle the replacement if risks exist.
If you encounter these challenges, consider consulting a professional or the manufacturer.
Cost comparison: DIY versus professional service
- DIY Replacement Cost: Typically, this includes only the price of the new battery and possibly tools. For most models, DIY cost ranges between $20 and $50.
- Professional Replacement Cost: Services range from $50 to $150, depending on the brand and complexity. It may be higher for high-end doorbell cameras.
- Hidden Costs: Professional services may include additional costs, such as travel fees or inspection charges. DIY may incur costs for specific tools if you don’t already own them.
- Long-Term Value: A professional ensures proper installation and eliminates risks of future damage, improving device lifespan.
Weigh the costs and benefits carefully. Professional help might save time and prevent further expenses in critical situations.
Popular Doorbell Cameras and Their Battery Replacement Processes
Replacing a doorbell camera battery varies by brand. Here are specific instructions for popular models.
Specific instructions for top brands like Ring, Arlo, and Nest
- Ring Doorbell Cameras:
- Open the Ring app and check the battery level.
- Unscrew and remove the camera from its mount.
- Locate the battery compartment on the back.
- Remove the old battery by sliding it out.
- Insert the fully charged replacement battery.
- Reattach the camera to the mount and test its operation.
- Arlo Doorbell Cameras:
- Access the Arlo app to view battery status.
- Detach the camera from its mounting bracket.
- Locate and open the battery compartment at the back.
- Remove the old battery and replace it with a charged one.
- Ensure a secure fit and reattach the camera to the mount.
- Nest Doorbell Cameras:
- Check battery health in the Google Home app under “Power Settings.”
- Use the provided key to unlock and remove the camera from the mount.
- Inside the compartment, remove the old battery carefully.
- Connect a fully charged battery compatible with Nest models.
- Secure the camera back on the wall and confirm functionality.
Differences between rechargeable and replaceable batteries
- Rechargeable Batteries:
- Found in models like Ring and Arlo.
- Require removal to recharge using a proprietary charger.
- Convenient since the same battery can be reused.
- Replaceable Batteries:
- Common in some Nest devices.
- Designed for quick swap with a pre-charged battery.
- Ideal for minimizing downtime during replacement.
Understanding your doorbell camera’s battery type simplifies maintenance. Always follow brand-specific instructions for seamless replacement.