Benefits of Installing a Doorbell Camera
Installing a doorbell camera offers many benefits for your home. It improves security and peace of mind. How to install a doorbell camera in your home?
1. Enhanced Home Security
A doorbell camera lets you monitor visitors and packages anytime. It deters potential burglars and unwanted guests.
2. Real-Time Alerts
Receive instant notifications on your phone when someone is at the door. View live footage or recorded videos anytime.
3. Package Safety
Protect your packages from theft. A doorbell camera helps you track deliveries and identify package thieves.
4. Convenience and Control
Answer your door remotely. Speak to delivery drivers or guests using a two-way audio feature.
5. Evidence Collection
Record video footage for potential incidents. This can be helpful for law enforcement or insurance claims.
By installing a doorbell camera, you make your home safer and more connected. The added convenience can simplify daily life while increasing protection.
Tools and Equipment Needed for Installation
Installing a doorbell camera requires specific tools and equipment. Having everything ready can save time.
Essential Tools for Installation
- Screwdriver Set: Required to remove screws and install the mounting bracket.
- Drill and Drill Bits: Used to drill holes for securing the bracket.
- Voltage Tester: Ensures safe handling of electrical wiring.
- Wire Strippers: Needed to prepare wires for connection.
- Level Tool: Helps align the doorbell camera.
Equipment You’ll Need
- Doorbell Camera: Choose a model suited to your needs.
- Mounting Bracket: Included with most doorbell camera kits.
- Anchors and Screws: Used for securing the bracket.
- Power Source: A compatible battery or wired connection.
- Smartphone or Computer: For configuring the camera software.
Safety Gear
- Rubber Gloves: Provides grip and insulation.
- Safety Goggles: Protects your eyes during drilling.
Prepare these tools and equipment in advance for a smooth installation process.
Choosing the Right Doorbell Camera for Your Home
Selecting the right doorbell camera ensures optimal performance and meets your specific needs. Consider several important factors to make an informed decision.
Key Features to Look For
- Video Quality: Choose a camera with HD or 4K resolution for clear footage.
- Two-Way Audio: Enable communication with visitors remotely using this feature.
- Night Vision: Ensure visibility in low-light conditions for added security.
- Motion Detection: Get alerts when movement is detected near your door.
- Field of View: Select a camera with a wide-angle lens for better coverage.
Compatibility with Your Home Setup
- Wireless or Wired: Decide between battery-powered or hardwired options based on your setup.
- Smart Home Integration: Ensure compatibility with devices like Alexa, Google Assistant, or Apple HomeKit.
Durability and Weather Resistance
- Waterproof Design: Choose a camera that can withstand rain and snow.
- Temperature Range: Verify the camera’s ability to function in your climate conditions.
Budget and Price Considerations
- Affordable Options: Some entry-level models offer essential features at a lower price.
- Premium Features: Advanced options may include facial recognition or cloud storage.
Brand and Warranty
- Reputable Brands: Select trusted manufacturers like Ring, Nest, or Arlo.
- Warranty Coverage: Look for warranties that protect your investment.
Research your options carefully to find a camera tailored to your home and security needs.
Preparing Your Doorbell Camera for Installation
Proper preparation is critical for a smooth camera installation process. Follow these steps to get ready.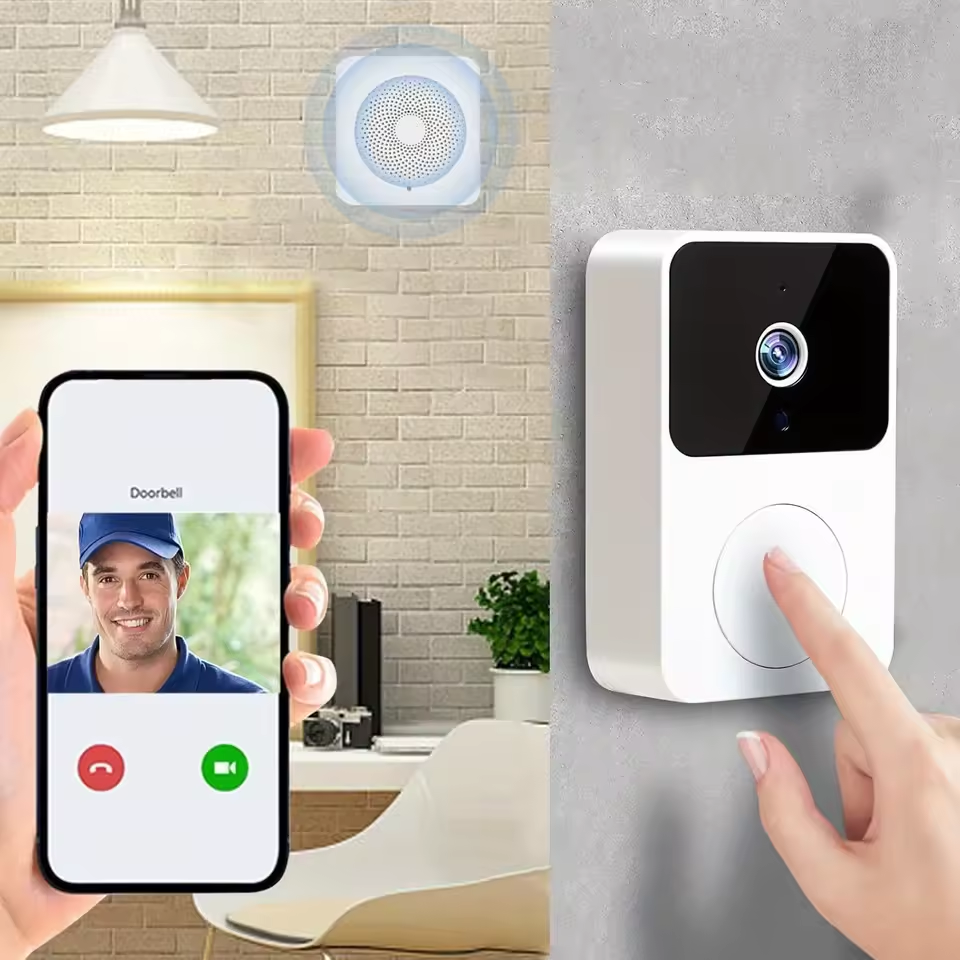
Verify Compatibility with Your Setup
Check if the doorbell camera works with your current wiring or power source. Ensure compatibility with your home’s wireless network. Review the camera’s specifications for seamless integration.
Review the Instruction Manual
Read the manufacturer’s manual carefully before beginning. Familiarize yourself with the components provided in the kit. Follow instructions closely to avoid missteps during installation.
Charge or Test the Power Source
If your doorbell camera is battery-powered, fully charge the battery. For wired cameras, check the wiring using a voltage tester. Confirm the power source is functioning properly before proceeding.
Prepare the Installation Area
Clean the area around your existing doorbell. Remove any debris or obstacles that may affect installation. Ensure the surface where the camera will be mounted is flat and stable.
Gather Tools and Equipment
Ensure you have all required tools, like a screwdriver, drill, and level tool. Lay out items like screws, anchors, and the mounting bracket for easy access. Double-check that everything needed is on hand.
Test Your Internet Connection
Confirm your Wi-Fi network is strong near the installation site. A stable connection is needed for live video streaming. If required, install a Wi-Fi extender to boost the signal.
Preparation ensures your doorbell camera installation is hassle-free. Completing these steps avoids delays and ensures optimal performance.
Step-by-Step Installation Process
Follow these steps to successfully install your doorbell camera at home.
Removing the Old Doorbell (If Applicable)
- Turn off the power at the circuit breaker to ensure safety.
- Unscrew and remove the old doorbell unit from the wall.
- Carefully disconnect the wires attached to the old doorbell.
- Use tape to label the wires to avoid confusion during installation.
- Inspect the existing wires for any damage and repair or replace if necessary.
Installing the Mounting Bracket
- Position the mounting bracket on the desired spot near your door.
- Use the included level tool to ensure the bracket is straight.
- Mark the screw holes on the wall using a pencil.
- Drill holes at the marked points and insert anchors if required.
- Secure the mounting bracket to the wall using screws provided in the kit.
Wiring and Connecting the Doorbell Camera
- Attach the labeled wires to the doorbell camera’s terminals as per the instructions.
- Tighten the screws on the terminals to secure the wires.
- Use a voltage tester to confirm the connections are live after turning the power back on.
- Bundle the wires neatly behind the camera to avoid obstruction.
Securing the Doorbell Camera in Place
- Align the doorbell camera with the mounted bracket.
- Slide or snap the camera into the bracket as instructed.
- Tighten any included security screws to lock the camera in place.
- Test the camera to ensure it is stable and properly connected.
- Clean the camera lens to ensure clear video footage.
These steps help you securely install a doorbell camera. Double-check each step for accuracy and safety.
Setting Up the Doorbell Camera Software
Setting up the software is a crucial step. It ensures your doorbell camera works as intended. Follow these easy steps to get your camera ready for use.
Download the App
- Find the app compatible with your doorbell camera model.
- Download it from the App Store or Google Play.
- Install the app on your smartphone or tablet.
Create or Log into Your Account
- Open the app and create an account if you don’t already have one.
- Use a strong, unique password for security.
- If you have an account, log in with your credentials.
Connect the Doorbell Camera to Wi-Fi
- Follow the app’s prompts to connect the camera to your network.
- Place your phone near the camera for a strong signal.
- Ensure the Wi-Fi password is entered correctly.
Sync the Doorbell Camera with the App
- Use the app to scan the QR code or follow pairing instructions.
- Wait for the camera to sync with the app.
- Test the connection by accessing the live camera feed.
Configure Camera Settings
- Adjust video resolution and motion detection sensitivity.
- Enable notifications to get alerts on your phone.
- Set zones to focus on specific areas.
Perform a Final Test
- Ring the doorbell to check if notifications arrive promptly.
- Ensure the video and audio features work smoothly.
- Verify all settings meet your security needs.
Setting up the software ensures seamless performance for your doorbell camera. Double-check configurations for optimal results.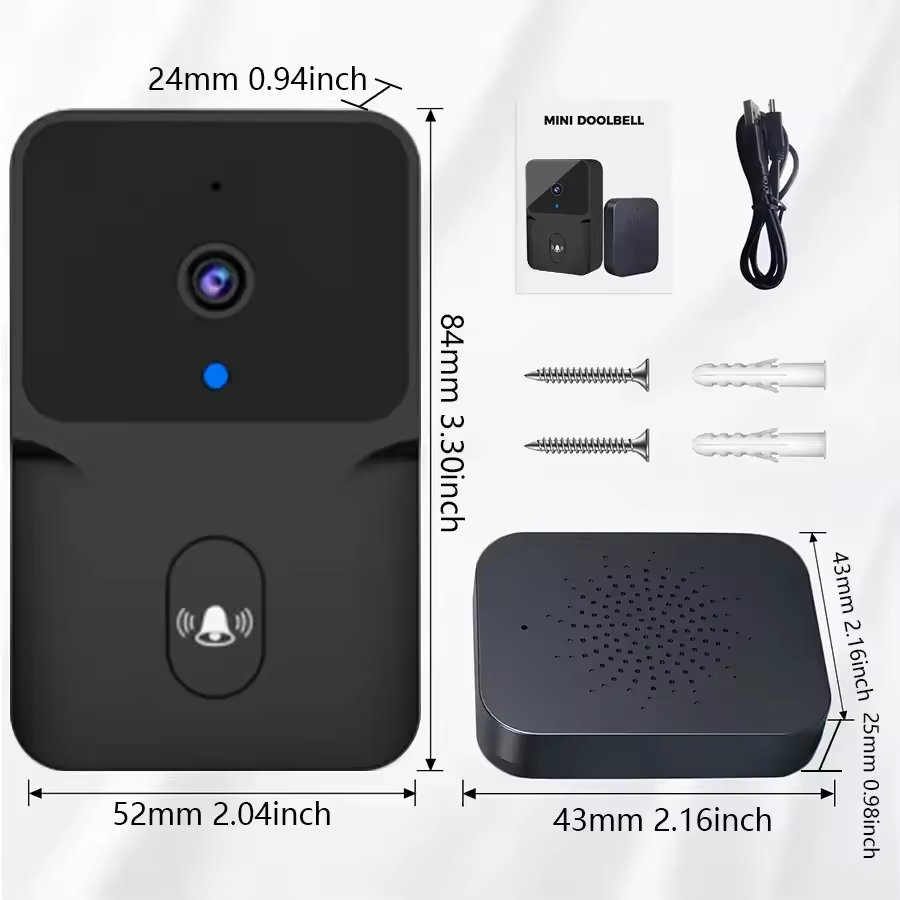
Tips for Optimizing Your Doorbell Camera Placement
Proper placement of your doorbell camera is vital for optimal performance and security. Follow these tips to ensure it captures clear footage and functions effectively.
1. Choose a Strategic Height
- Install the camera at chest level or around 4-5 feet above ground.
- This provides a clear view of faces and packages.
- Avoid placing it too high, as this can miss important details.
2. Ensure Unobstructed Visibility
- Clear away any obstacles like plants or decorations.
- Avoid placing the camera near walls or corners that block its view.
- Ensure there’s a wide field of view covering the doorstep and nearby area.
3. Consider Lighting Conditions
- Avoid pointing the camera directly at bright lights or the sun.
- Install it in a shaded area to reduce glare and improve video clarity.
- Use external lights for better nighttime visibility if needed.
4. Test Motion Detection Zones
- Adjust motion detection sensitivity and zones to focus on critical areas.
- Exclude public pathways or roads to minimize unnecessary alerts.
- Test these settings by observing how the camera responds.
5. Maintain Network Signal Strength
- Ensure the Wi-Fi signal is strong at the installation site.
- Test the connection before finalizing the placement.
- Consider using a Wi-Fi extender for areas with weak signals.
6. Prioritize Weather Protection
- Choose a location under a porch or awning to protect it from rain and snow.
- Ensure the camera is designed to handle your local climate conditions.
7. Optimize for Two-Way Audio
- Check that the microphone and speaker aren’t blocked.
- Place it to minimize ambient noise for clear communication.
Proper placement enhances the effectiveness of your doorbell camera. Take time to plan for the best location.
Troubleshooting Common Installation Issues
Ensuring your doorbell camera works flawlessly can involve solving common problems. Identify and fix issues with simple steps.
Power Supply Problems
- Issue: The camera does not turn on.
- Solution: Check the wires and power connections. Ensure power is flowing using a voltage tester.
Connectivity Troubles
- Issue: The camera won’t connect to Wi-Fi.
- Solution: Verify the Wi-Fi signal strength. Check the password and network compatibility.
Poor Video Quality
- Issue: The footage appears blurry or pixelated.
- Solution: Clean the camera lens. Adjust the video resolution in the settings.
Motion Detection Errors
- Issue: Motion alerts are too frequent or missing.
- Solution: Adjust motion sensitivity. Configure zones to focus on critical areas only.
Audio Not Working
- Issue: Two-way audio is unclear or not functioning.
- Solution: Ensure microphones and speakers are unobstructed. Check audio settings in the app.
Mounting Misalignment
- Issue: The camera doesn’t capture the desired area.
- Solution: Reinstall the mounting bracket. Use a level tool for perfect alignment.
App Malfunction
- Issue: The app freezes or fails to sync with the camera.
- Solution: Update the app or reinstall it. Restart your phone and retry syncing.
Battery Drain
- Issue: The battery depletes too quickly.
- Solution: Turn off non-essential features. Check for firmware updates to optimize usage.
Troubleshoot systematically to get your doorbell camera running smoothly. Regular maintenance also prevents recurring issues.