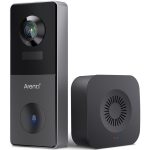
Tools and Equipment Needed for Installation
Before starting your doorbell camera installation, gather all necessary tools and equipment. This ensures a smooth and hassle-free process.
Checklist of Tools Required
To install a doorbell camera, you’ll need the following tools:
- Screwdrivers: A flat-head and a Phillips screwdriver are essential.
- Drill and Drill Bits: For mounting the camera, a drill with bits is critical.
- Level: Ensures the camera is positioned straight.
- Tape Measure: Helps identify accurate mounting distances.
- Wire Strippers: For handling and connecting wires if using a wired system.
- Voltage Tester: Verifies if the power is turned off for safety.
- Anchor Screws and Wall Anchors: Secure the camera firmly to any surface.
- Ladder: Needed if mounting the camera at a high location.
Having all these tools ready can save time and reduce interruptions.
Choosing the Right Doorbell Camera
Selecting the ideal doorbell camera depends on your home’s needs and setup. Here are key factors to consider:
- Wired vs. Wireless: Decide based on your home’s layout and electrical wiring.
- Video Quality: Look for cameras offering HD resolution for clear video footage.
- Field of View: Choose a camera with wide-angle coverage for maximum area monitoring.
- Night Vision: Ensure it works well in low-light conditions for 24/7 security.
- Two-Way Audio: Enables real-time conversation with visitors.
- Smart Features: Features like motion detection and app integration enhance usability.
- Compatibility: Confirm compatibility with your home Wi-Fi or smart home systems.
By selecting the right camera and tools, you set the foundation for a successful installation.
 Preparing for Installation
To ensure a seamless doorbell camera installation, preparation is essential. Proper planning saves time and avoids unnecessary obstacles.
Assessing Your Doorbell Location
Choosing the right location for your doorbell camera is critical. Follow these steps to assess your spot:
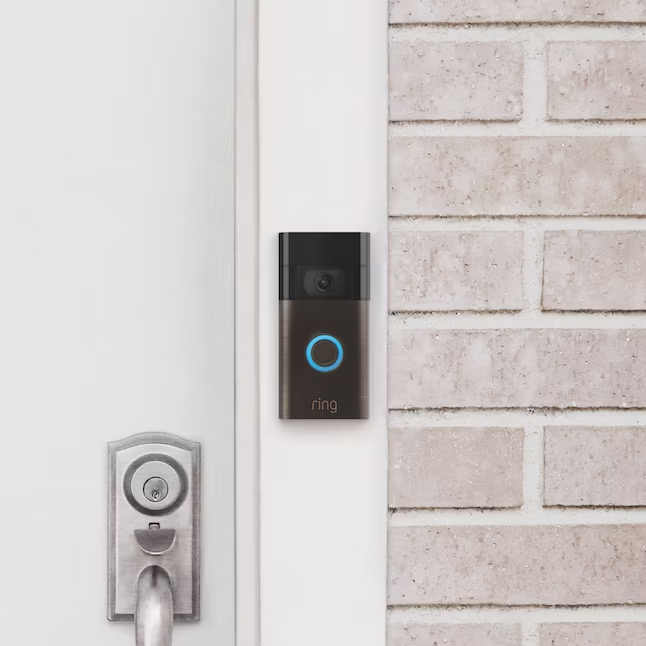
- Think About Visibility: Ensure the camera captures a clear view of your front door and entryway.
- Ideal Mounting Height: Mount the camera about 48 inches from the ground for optimal coverage of faces and packages.
- Lighting Conditions: Avoid direct sunlight or extremely shaded areas to prevent poor video quality.
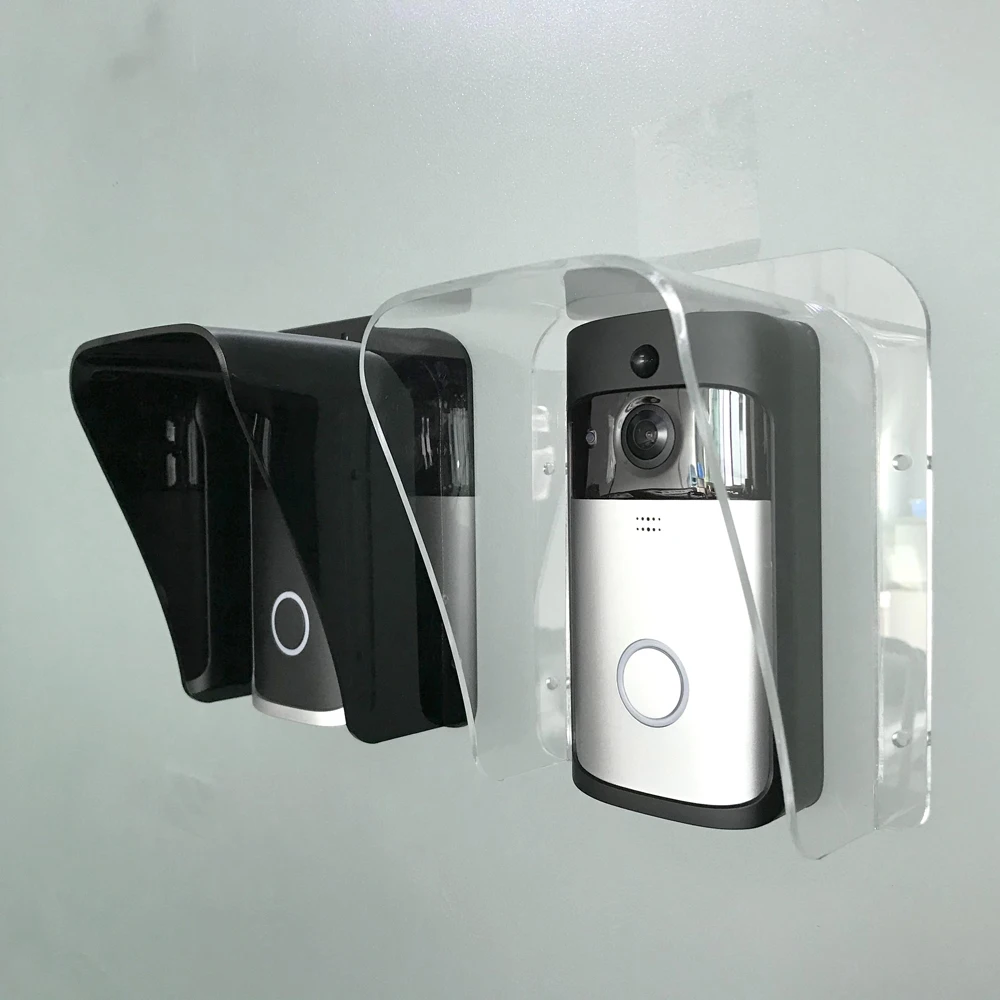
- Weather Protection: If exposed to harsh weather, consider a location with some form of cover.
- Accessibility: Choose a spot that’s easy to access for cleaning or maintenance tasks.
Proper assessment ensures your camera meets security needs and works effectively.
Ensuring Compatibility with Existing Wiring
If you are installing a wired doorbell camera, ensure it is compatible with your current wiring. Here’s how to check:
- Inspect Voltage Levels: Use a voltage tester to verify your existing doorbell wiring meets the camera’s power requirements (usually 16-24V AC).
- Review Transformer Compatibility: Ensure your transformer can handle the camera’s power load. Upgrade if necessary.
- Eliminate Wire Damage: Check for frayed or damaged wires to avoid connectivity issues later.
- Confirm Chime Unit Support: Ensure your existing chime unit is compatible with the camera model. Some cameras include chime modules if needed.
- Wireless Option if Unsuitable: If current wiring doesn’t work, opt for a wireless doorbell camera.
Preparing your location and wiring correctly guarantees a smoother installation process.
 Installing a Wired Doorbell Camera
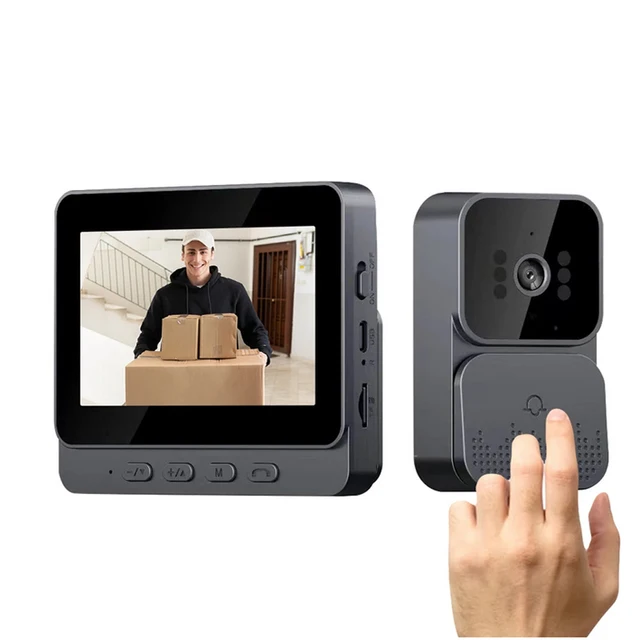
Installing a wired doorbell camera ensures reliable power and connectivity. Follow these steps for proper installation.
How to Turn Off Power Safely
Before starting, ensure safety by turning off electricity to your existing doorbell system:
- Locate the Circuit Breaker: Find the breaker controlling your doorbell system.
- Switch Off Power: Flip the breaker switch to cut power to the doorbell.
- Test for Voltage: Use a voltage tester to confirm power is off at the doorbell wiring.
- Double-Check: Recheck before proceeding to avoid electrical hazards.
Turning off power minimizes risks and provides a safe workspace.
Connecting Camera Wiring to Existing Doorbell System
To connect the doorbell camera, follow these wiring steps:
- Remove the Old Doorbell: Unscrew and detach the current doorbell unit.
- Locate the Wires: Identify the two wires used for your old doorbell.
- Strip Wire Ends: Strip the insulation off both wires using wire strippers.
- Attach Wires to Camera: Connect the wires to the doorbell camera terminals as per instructions.
- Check Polarity: Ensure the wires are firmly connected and follow the correct polarity.
- Secure Wire Connections: Use screws to tighten the connections.
Proper wiring ensures the camera receives sufficient power and operates effectively.
Mounting the Camera to the Wall
After wiring, mount the camera securely to the wall:
- Mark Drill Holes: Use a pencil to mark the spots for screws using the mounting bracket as a guide.
- Drill Pilot Holes: Drill small pilot holes for easier screw insertion.
- Install Wall Anchors: Insert anchors if mounting on drywall or masonry.
- Fix the Mounting Plate: Attach the camera’s mounting plate to the wall using screws.
- Mount the Camera: Snap or attach the camera to the mounting plate securely.
- Check Stability: Ensure the camera is stable and firmly in place.
Once installed, restore power to test your wired doorbell camera. Adjust its position if needed for optimal visibility.
 Installing a Wireless Doorbell Camera
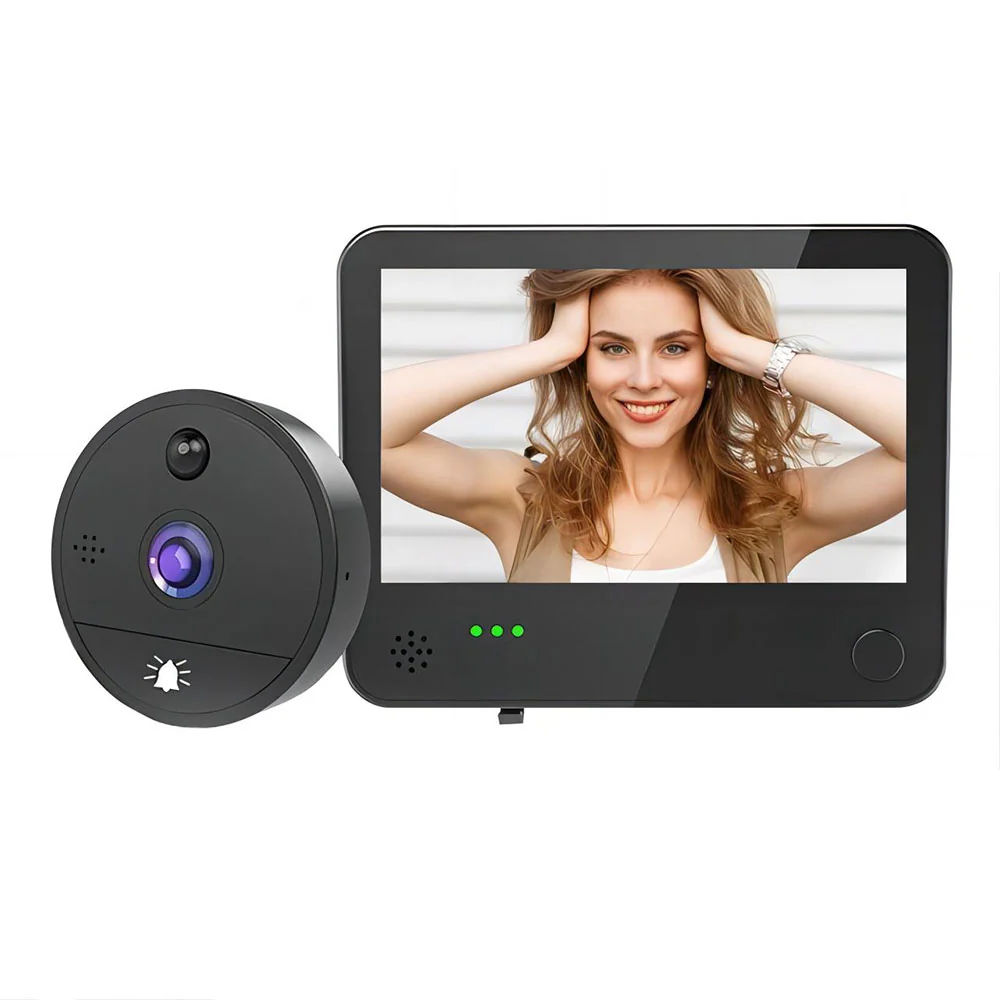
Installing a wireless doorbell camera is often easier than its wired counterpart. Wireless options offer greater flexibility since they do not rely on existing electrical wiring. Here are the steps to successfully install your wireless doorbell camera.
Choosing a Location with Strong Wi-Fi Signal
Selecting the right location is crucial for your wireless doorbell camera to function efficiently:
- Ensure Strong Wi-Fi Signal: Test the signal strength near your chosen location.
- Avoid Obstructions: Place the camera in an area with minimal walls or barriers to the router.
- Optimal Height: Mount the camera about 48 inches from the ground.
- Clear View of Entryway: Position the camera to capture visitors clearly.
- Weather Considerations: Choose a location protected from harsh weather if it’s outdoors.
Strong Wi-Fi ensures consistent connectivity and uninterrupted video streaming.
Mounting the Wireless Doorbell
After finalizing the location, follow these steps to mount the wireless doorbell:
- Mark the Holes: Use the mounting bracket as a guide to mark drill holes.
- Drill Pilot Holes: Drill small holes where needed to secure the mounting bracket.
- Install Wall Anchors: Use anchors if mounting on brick, drywall, or concrete.
- Screw in the Bracket: Attach the mounting bracket securely to the wall.
- Snap the Camera in Place: Secure the wireless doorbell camera onto the bracket.
- Stability Check: Make sure the camera is tightly mounted and doesn’t jiggle.
Proper mounting guarantees the camera stays fixed and functions optimally.
Pairing the Camera with Your Wi-Fi Network
Connect your wireless doorbell camera to your Wi-Fi network by following these steps:
- Download the Camera App: Install the manufacturer’s app on your smartphone.
- Follow Setup Instructions: Use the app to guide you through the pairing process.
- Enter Wi-Fi Credentials: Input your network name and password during setup.
- Test the Connection: Check for stable video and audio streaming on the app.
- Update Firmware: Ensure the camera firmware is up-to-date for best performance.
A successful pairing process ensures seamless integration with your home network, providing real-time updates and monitoring capabilities.
Testing the Doorbell Camera
Testing your doorbell camera is a crucial step after installation. This ensures everything works correctly and provides optimal security.
Ensuring Proper Video and Audio Functionality
Follow these steps to verify your camera’s video and audio performance:
- Check Video Feed: Open the app provided by the manufacturer. Ensure the live video feed is clear and smooth.
- Test Video Resolution: Confirm you’re receiving videos in the camera’s specified quality, such as HD.
- Audio Test: Speak through the app to test the two-way communication feature. Ensure you can hear and respond clearly.
- Night Vision Check: Test the camera in low-light conditions to confirm its night vision works effectively.
- Motion Detection: Trigger the motion sensor by walking in front of the camera. Ensure notifications are sent to your smartphone.
Confirming these aspects ensures reliable functionality, improving your camera’s effectiveness.
Adjusting Camera Angle for Best Coverage
Setting the correct camera angle ensures maximum visibility of your entryway. Here’s how to fine-tune it:
- View the Live Feed: Use the app to monitor the real-time camera view while adjusting.
- Focus on Entry Points: Align the camera to cover the door, visitors, and package delivery areas.
- Prevent Blind Spots: Adjust to see all critical areas without missing corners.
- Optimize Height: Ensure the camera captures faces clearly by maintaining the recommended height (48 inches).
- Avoid Glare and Reflections: Tilt the camera to minimize glare from sunlight or outdoor lighting.
Regularly testing and adjusting your doorbell camera ensures it remains an effective security tool.
 Troubleshooting Common Installation Issues
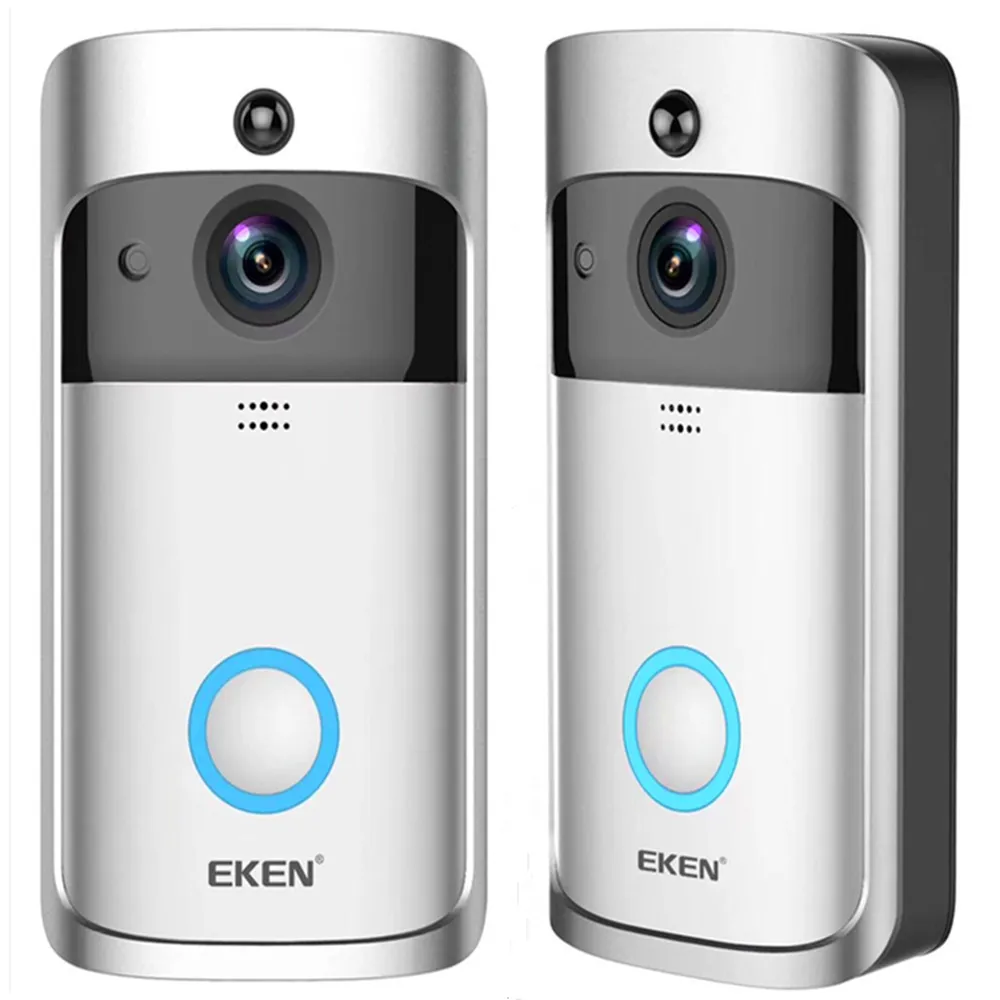
Even with accurate installation, issues can arise with your doorbell camera. Troubleshooting ensures smooth functionality.
Fixing Connectivity Problems
Connectivity issues are common with doorbell cameras. Solve them effectively using these steps:
- Check Wi-Fi Signal Strength: Test signal strength near the camera using your smartphone.
- Adjust Camera Location: Move the camera closer to the router if the signal is weak.
- Restart Devices: Restart your router and camera to refresh network connections.
- Verify Wi-Fi Credentials: Ensure the camera is connected to the correct network and password.
- Update Firmware: Check for updates in the camera app for improved connectivity.
- Minimize Interference: Remove nearby devices that may interfere with the Wi-Fi signal.
- Use Extenders: If the camera is far from the router, consider installing a Wi-Fi extender.
Regularly monitoring Wi-Fi ensures the camera stays connected and streams smoothly.
Addressing Power Supply Issues
Power issues can affect both wired and wireless doorbell cameras. Follow these steps for resolution:
- Check Wiring Connections: For wired cameras, inspect all connections for loose or damaged wires.
- Test Voltage Levels: Use a voltage tester to confirm the correct power supply (usually 16-24V AC).
- Inspect Battery Level: For wireless cameras, check if the battery is fully charged or needs replacement.
- Replace Transformer: If the current transformer fails, install one with the required voltage.
- Avoid Overloading Circuits: Ensure the doorbell system isn’t overloaded with additional devices.
- Perform a Reset: Reset the camera to restore functionality if power issues persist.
Addressing power supply concerns promptly ensures reliable performance of your doorbell camera.
Tips for Maintaining Your Doorbell Camera
Proper maintenance keeps your doorbell camera functional and extends its lifespan. Follow these essential tips.
Regular Cleaning and Inspection
Routine cleaning ensures the camera delivers clear images and works effectively:
- Clean the Lens: Wipe the lens gently with a microfiber cloth to remove dirt or smudges.
- Inspect for Damage: Check the camera body for cracks or wear caused by weather or accidents.
- Check Mountings: Ensure screws and anchors are tight to keep the camera securely in place.
- Remove Debris: Clear away spider webs, dust, or leaves around the camera.
- Test Features: Regularly verify motion detection, audio, and night vision functionality.
A clean and well-secured camera provides reliable video and monitoring performance.
Software Updates and Security Precautions
Updating and securing your software keeps your doorbell camera protected and efficient:
- Enable Automatic Updates: Turn on automatic updates for the camera’s software via the app.
- Set Strong Passwords: Use strong, unique passwords for your camera and connected Wi-Fi network.
- Update Firmware: Always install the latest firmware to fix bugs and enhance features.
- Monitor Security Alerts: Stay informed about security threats or vulnerabilities from the manufacturer.
- Secure Camera Access: Limit camera access to trusted devices and users.
Regular updates and security practices ensure your camera and data remain safe from potential threats.
Future Trends in Doorbell Camera Technology
AI and Machine Learning Enhancements
As technology continues to advance, doorbell camera systems are increasingly incorporating artificial intelligence (AI) and machine learning. These enhancements enable cameras to recognize faces, differentiate between people and animals, and provide more accurate motion detection. AI-driven features can reduce false alerts and improve the overall efficiency of your security system by prioritizing significant events.
Enhanced Battery Life and Power Efficiency
Future developments in battery technology aim to extend the battery life of wireless doorbell cameras, reducing the need for frequent recharging or battery replacements. Improved power efficiency ensures that wireless models remain reliable and functional over longer periods, making them even more convenient and user-friendly.
Advanced Integration with Smart Home Ecosystems
The future of doorbell camera installation lies in deeper integration with comprehensive smart home ecosystems. Enhanced compatibility with a wider range of smart devices and platforms will provide users with more seamless control and automation options. For instance, doorbell cameras might interact more intelligently with smart locks, lighting systems, and home assistants, creating an interconnected and highly functional smart home environment.
Augmented Reality (AR) and Virtual Reality (VR) Applications
Emerging technologies like augmented reality (AR) and virtual reality (VR) hold potential for revolutionizing doorbell camera interfaces. AR could allow users to visualize camera placements and adjust angles using their smartphone or tablet, while VR might enable immersive monitoring experiences from remote locations. These innovations could further enhance the usability and appeal of doorbell camera systems.
 Conclusion
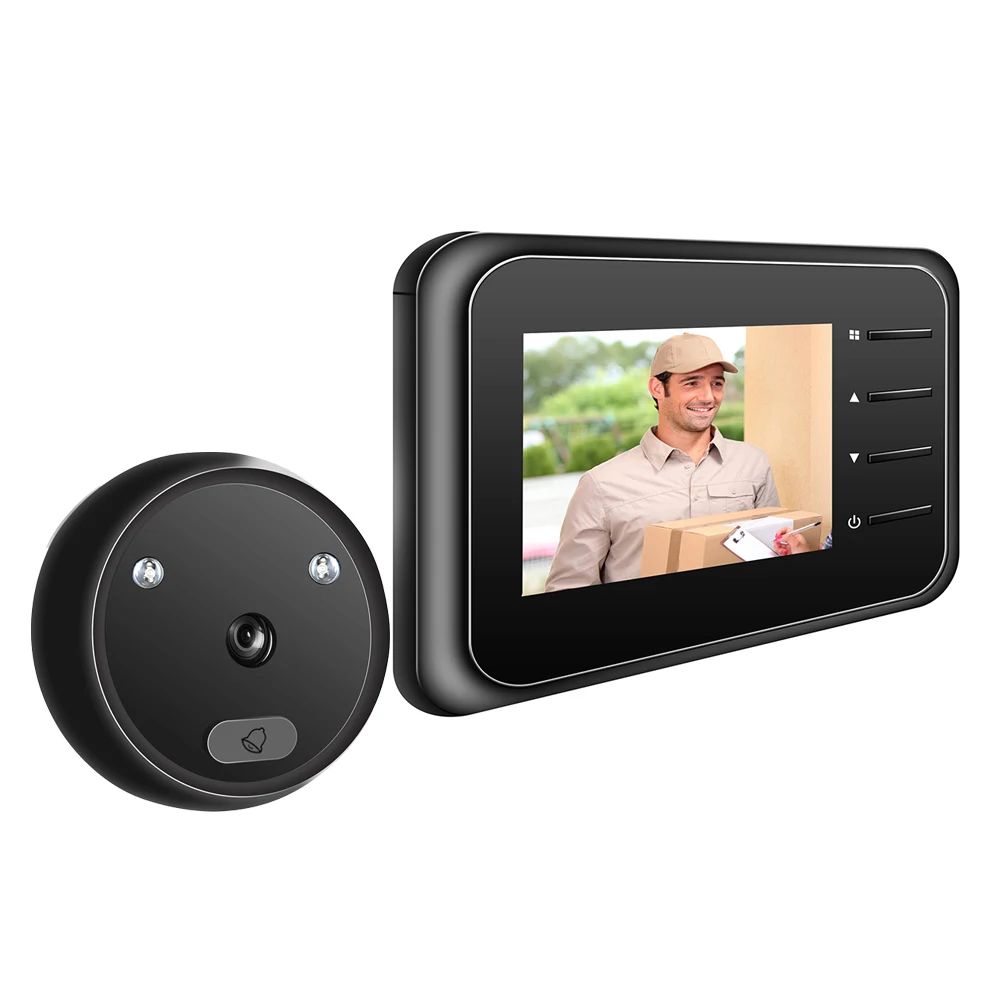
In conclusion, doorbell camera installation offers a robust and versatile solution for enhancing your home security and convenience. By understanding the benefits, selecting the right device, and following a thorough installation process, you can create a reliable and efficient security system tailored to your specific needs. Whether you choose to undertake the installation yourself or seek professional assistance, investing in a doorbell camera is a proactive step towards safeguarding your home and providing peace of mind. Embrace the advancements in doorbell camera technology and enjoy the enhanced security and connectivity that come with a well-installed system.
