Introduction
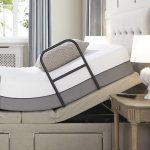
When it comes to ensuring the safety of children sleeping in bunk beds, bunk bed rails are an essential feature. These safety accessories prevent falls and provide peace of mind to parents and caregivers. Installing these rails correctly is crucial, as improper installation can lead to safety risks. In this comprehensive guide, we will walk you through the step-by-step process of installing bunk bed rails, covering everything from selecting the right rail type to ensuring a secure fit.
Importance of Proper Installation
Correct installation is vital for maximizing the effectiveness of bunk bed rails. With proper setup, you can significantly reduce the risk of accidents and enhance your child’s comfort while sleeping. This guide aims to empower parents with the knowledge and tools they need for a successful installation, allowing children to enjoy their bunk beds safely.
Choosing the Right Bunk Bed Rail
1. Assessing Your Bunk Bed Type
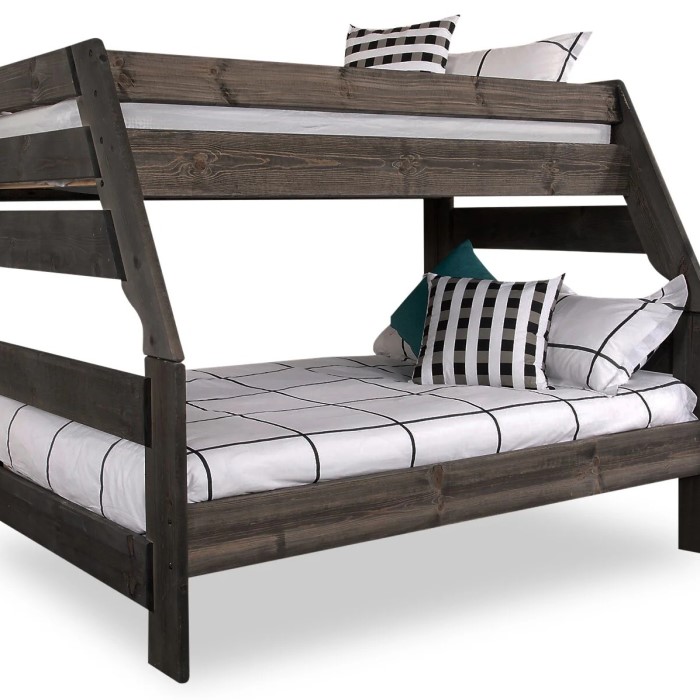
Before you purchase a bunk bed rail, it’s essential to understand the specific type of bunk bed you have. There are various designs, including:
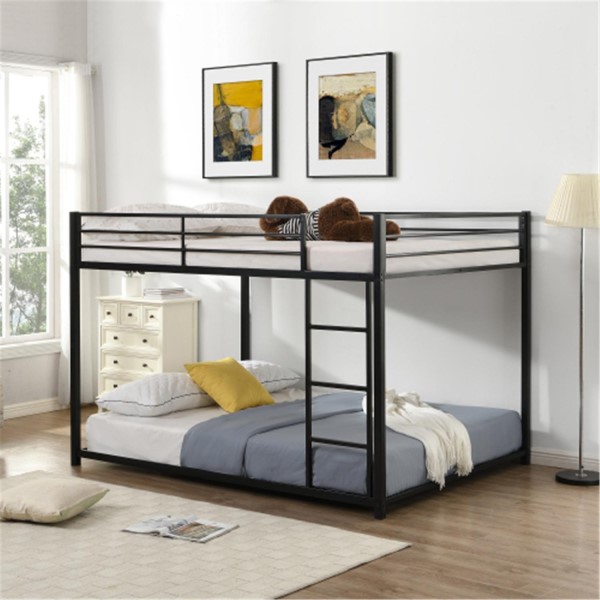
- Lofted Beds: These beds have space underneath for a desk or play area. Rails need to fit snugly against the mattress without obstructing the area below.
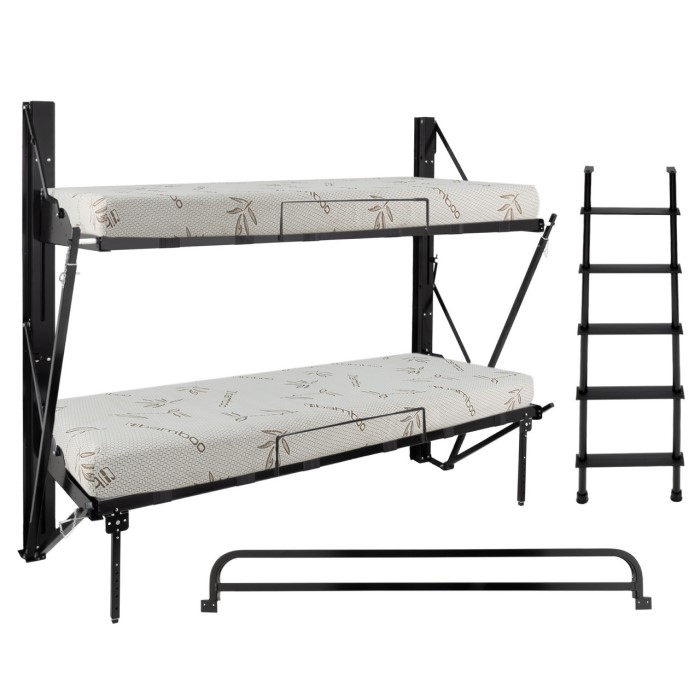
- Standard Bunk Beds: These have a top and bottom sleeping area. Ensure the rail can support both mattress sizes (twin, full, etc.).
2. Selecting the Rail Type
Bunk bed rails come in several types, each suited for different circumstances:
- Fixed Rails: These are permanently attached and are ideal for long-term use. They provide a high level of stability and security.
- Adjustable Rails: If your bunk bed height varies, consider adjustable rails that can be modified according to the mattress height.
- Removable Rails: These rails can be taken off when not in use. They are suitable for older children who may no longer need a barrier.
3. Evaluating Material Quality
Look for bunk bed rails made from durable materials. High-quality steel or sturdy plastic provides strength and longevity. Avoid flimsy options that might not effectively secure the child during sleep. Always check if the materials meet safety certifications to ensure reliable performance.
Tools and Materials Needed for Installation
1. Essential Tools
Gather the following tools before you begin installation:
Screwdriver
- Types of Screwdrivers Needed: When installing bunk bed rails, you typically need either a flathead or Phillips screwdriver. The type required depends on the specific design of your rail and the screws used in the installation process.
- Identifying the Right Tool: Check the screws included with your bunk bed rail kit. If they have a straight, flat top, use a flathead screwdriver. If the screws have a cross shape, then a Phillips screwdriver is the correct choice.
- Ensuring Proper Fit: Using the right screwdriver is crucial for effective installation. A mismatched screwdriver can strip the screw heads, making them difficult to tighten securely or remove later if needed.
Allen Wrench
- Purpose of the Allen Wrench: Many bunk bed rails utilize specific bolts that require an Allen wrench for proper installation. This tool allows you to tighten or loosen these bolts effectively.
- Check for Included Tools: Most bunk bed rail kits come with the necessary Allen wrench. Ensure you have it on hand before starting the installation. If your kit does not include one, purchase a set that offers various sizes to accommodate different bolts.
- Advantages of Using an Allen Wrench: The design of the Allen wrench allows for greater torque when tightening bolts, providing a sturdy installation. This secure fit is essential for maintaining the stability of the bunk bed rails.
Level
- Importance of Using a Level: A level is an essential tool for ensuring that the bunk bed rail is installed straight and properly aligned. An uneven rail can compromise safety, leading to potential falls.
- How to Use a Level: Place the level on top of the installed rail. Check that the bubble is centered between the lines on the level indicator. If the bubble shifts to one side, make adjustments to the rail until it is level.
- Benefits of Proper Alignment: By ensuring the rail is straight, you increase the effectiveness of the guard. A properly aligned rail not only looks better but also functions more reliably by providing a secure barrier against rolling out of bed.

2. Materials Checklist
Make sure you have all the necessary materials on hand:
- Bunk Bed Rail Kit: Purchase a complete railing kit compatible with your bunk bed design. This kit should include the rail, brackets, screws, and installation guide.
- Protective Padding: If you wish, you might also want padding for the rails to prevent any injuries from bumps.
Step-by-Step Installation Guide
Step 1: Read the Instructions
Before starting, carefully read the manufacturer’s installation instructions. Different brands may have unique requirements, and understanding them will ensure proper setup.
Step 2: Measure Your Mattress Height
Measure the height of your mattress from the top to the bed frame. This measurement is crucial for determining where the rail will sit.
Step 3: Position the Rail
Position the rail next to the mattress, ensuring it aligns properly with the edge of the bed. It should fit snugly against the mattress without creating gaps.
Step 4: Attach the Rails to the Bed Frame
Using the provided brackets:
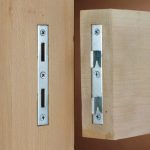
Secure the Fixed Brackets
- Attach the Brackets to the Bed Frame: Begin the installation by taking the fixed brackets and securely attaching them to the bed frame. Position each bracket in line with the designated mounting holes on the frame to ensure a proper fit.
- Align with the Appropriate Holes: Carefully align the brackets with the appropriate holes. This alignment is crucial, as it ensures that the bed rail will sit securely against the frame. Failing to line them up correctly can lead to instability later.
- Use the Correct Fasteners: Insert the provided screws into the holes of the fixed brackets and use a screwdriver to tighten them adequately. Make sure not to overtighten, as this could strip the screws or damage the bracket material.
- Check Stability of the Bracket: After you complete the attachment, give the brackets a gentle shake to verify their stability. If they wobble or shift, re-check the alignment and tighten any loose screws to secure them properly.
Install Adjustable or Removable Rails
- Gather Necessary Screws and Brackets: For adjustable or removable rails, identify the accompanying screws and brackets in your bunk bed rail kit. These components are essential for securing the rail to the mounted brackets.
- Position the Rails Against the Frame: Hold the adjustable or removable rail next to the mounted brackets and position it so that it fits snugly against the bed frame. Proper positioning ensures that there is no gap that could pose a safety risk.
- Use Screws to Secure the Rails: Insert the screws into the designated bracket holes of the adjustable or removable rail. Use a screwdriver to tighten them securely. As you do this, ensure that the rail fits tightly against the frame to prevent any movement during use.
- Check for Stability Once Installed: After securing the adjustable or removable rails, gently test their stability by shaking or pulling them slightly. They should feel firmly attached and not shift or move. If you notice any looseness, tighten the screws further to ensure a safe installation.
Step 5: Tighten All Screws
Ensure all screws are tightened securely. Use the appropriate tools to fasten the screws without stripping them, creating a safe and stable installation.
Step 6: Test Stability
After installation, gently test the stability of the rail by shaking it slightly. The rail should not move or wobble. If it does, revisit the installation to ensure all screws and brackets are correctly secured.
Step 7: Use a Level
Utilize a level to check that the railing is properly aligned. A level rail ensures maximum safety and prevents any unevenness that could pose a risk.
Step 8: Final Safety Check
Conduct a final check to ensure that everything is secured properly. Review the installation guide one last time to make sure nothing is overlooked.
Maintenance Tips for Bunk Bed Rails
1. Regular Inspections
Conduct regular inspections of the bunk bed rails. Check for any loose screws or signs of wear. Tighten any loose components as needed to maintain a secure setup.
2. Clean as Necessary
Keep the bed rail clean by wiping it down with a damp cloth. Avoid harsh chemicals that could damage the materials. Regular cleaning helps maintain both appearance and longevity.
3. Monitor for Overuse
As children grow, their needs change. Periodically assess whether the bed rail is still necessary. For older children, removable rails may be more appropriate as they develop independence.

FAQ Section
What is a bunk bed rail?
A bunk bed rail is a safety accessory installed on bunk beds to prevent children from rolling out of bed while sleeping.
Are bunk bed rails easy to install?
Yes, most bunk bed rails come with user-friendly installation instructions and require minimal tools for assembly.
Can I use a bunk bed rail on different bed types?
Many bunk bed rails are adjustable and designed to fit various bed styles, but always check compatibility with your specific model.
Conclusion: Ensuring Safety with Bunk Bed Rails
In conclusion, proper installation of bunk bed rails is crucial for the safety and security of children who sleep in bunk beds. By following this step-by-step guide, parents can create a safe sleep environment, significantly reducing the risk of falls and injuries.
As you choose and install bunk bed rails, prioritize high-quality materials and robust designs. Make informed decisions based on compatibility, safety features, and thorough product reviews.
Taking these steps ensures your child enjoys their bunk bed safely while nurturing their independence during sleep. With the right bunk bed rails installed, you can provide peace of mind, knowing your child is secure as they rest peacefully.