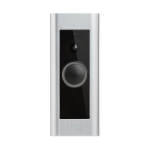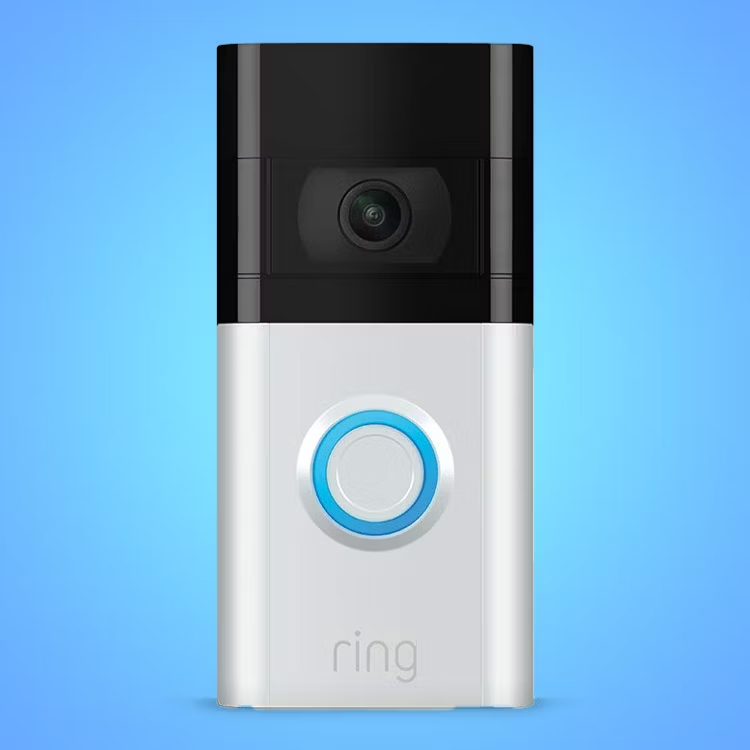
Installing a video doorbell can greatly enhance your home security, allowing you to monitor your entrance directly from your smartphone or tablet. The Xfinity Video Doorbell offers impressive features, including high-definition video, motion detection, and two-way audio, making it a popular choice among homeowners. This tutorial will provide a step-by-step guide to installing your Xfinity Video Doorbell installation easily, ensuring you can enjoy added peace of mind.
Gather Your Tools and Equipment
Essential Tools
Before you start, it’s crucial to gather all necessary tools to ensure a smooth installation process. For the Xfinity Video Doorbell, you will typically require:
- A Philips screwdriver
- A drill with a drill bit (if you’re mounting on a hard surface)
- A level
- A pencil or marker for marking holes
Having these tools ready will minimize interruptions and streamline your installation.
Check Your Package
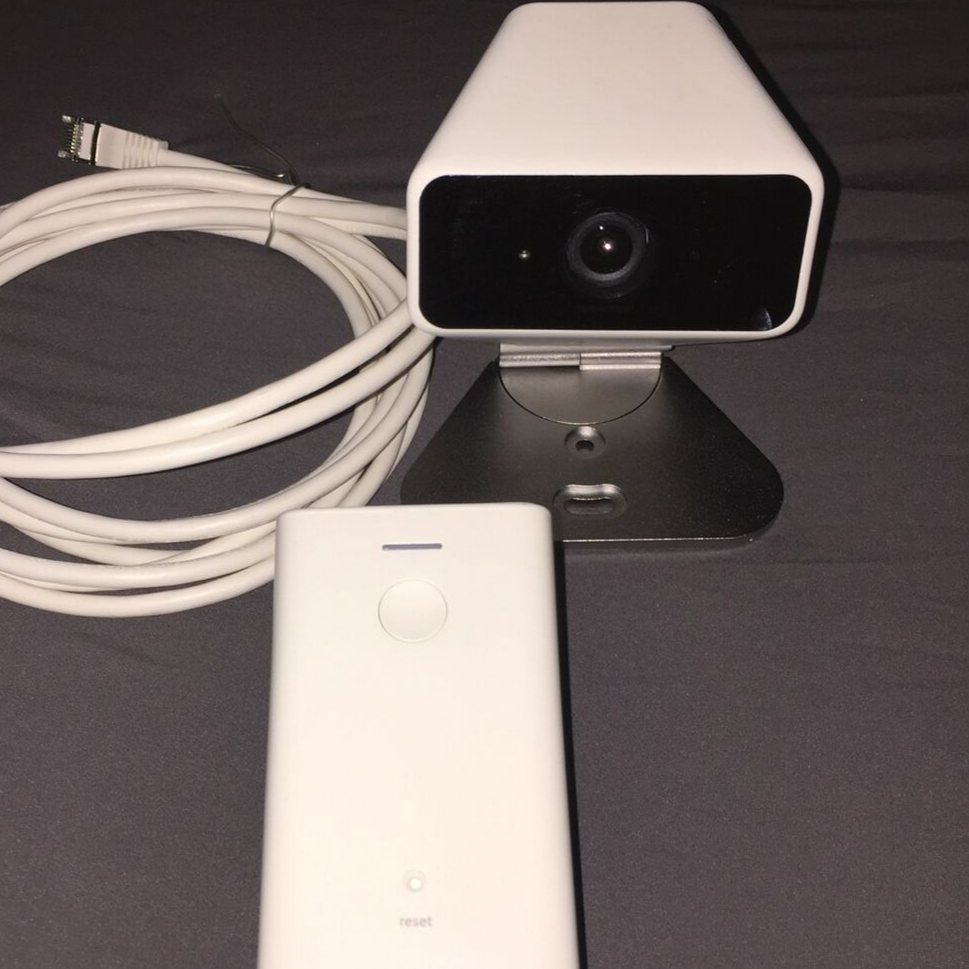
Once you have your tools in hand, unpack the Xfinity Video Doorbell and check the contents of the package. Ensure you have all necessary items, including:
- The video doorbell unit
- The mounting bracket
- Screws and wall anchors
- User manual
- Any additional accessories, such as adhesive tape or a wedge for angle adjustment
Carefully reading the manual will provide insights into the installation process and the doorbell’s specific features. Familiarizing yourself with the setup can help you anticipate any potential issues down the line.

Prepare for Installation
Choose the Right Location
Selecting the correct location for your Xfinity Video Doorbell is crucial for functionality. Ideally, the camera should be mounted at a height of 48 inches from the ground and directly facing your front entrance for optimal visibility. This height ensures that visitors are captured clearly in the frame without obstructions.
Also, consider the angle of the mounting surface. If your doorbell will be installed on a sloped surface, you may need to use a wedge to adjust the angle towards the entrance. Take a moment to visualize how the doorbell will look once installed, as proper positioning can greatly affect the performance and appearance of the device.
Turn Off Power Supply
Safety should always be your top priority during installation. If your existing doorbell requires wiring, switch off the power supply from your home’s circuit breaker to avoid any electrical hazards. Use a voltage tester to confirm that the power is indeed off. Performing this simple step can help prevent shocks or injuries during installation.
If you’re not replacing an existing wired doorbell, you can skip this step and proceed with a battery-powered option. However, make sure to check your package details since different configurations may be available.
Mount the Bracket
Mark the Position
With the camera’s ideal location determined and the power off, it’s time to mount the bracket. Hold the mounting bracket against the wall at your chosen height. Use a level to ensure the bracket is straight. Once you’re satisfied with the positioning, use a pencil to mark the locations of the screw holes.
Taking the time to measure and ensure even spacing will help prevent any misalignment of the doorbell once installed. Properly marking the position allows for a cleaner, more professional installation.
Drill the Holes
Using a drill, create holes at the marked locations. If you’re drilling into drywall, you may need wall anchors to securely hold the screws. For brick or concrete surfaces, use a masonry drill bit to create appropriate holes for your anchors or screws.
Once the holes are ready, position the mounting bracket over them and secure it in place using the included screws. Ensure the bracket is tightly fitted to prevent any wobbling, as loose installations can hinder this device’s functionality and aesthetics.
Connect the Wiring
Wiring the Video Doorbell
If you’re installing a wired Xfinity Video Doorbell, the next step involves connecting the existing doorbell wires to your new unit. Remove any old doorbell and detach the wires from the terminals. Your new video doorbell will have input terminals for connecting these wires.
Carefully strip the ends of the existing wires and twist them to make secure connections. Attach them to the corresponding terminals of the video doorbell, typically marked as “Front” or “Trans” for the transformer wire.
Ensuring Proper Connection
Make sure the connections are tight and secure, as any loose wires can lead to operational issues. Once the wiring is complete, tuck the wires neatly behind the video doorbell and gently press the unit onto the mounted bracket.
For battery-powered models, simply insert batteries according to the instructions and proceed to attach the doorbell to the bracket without connecting any wires. Follow your specific model’s guidelines closely to ensure proper installation.
Install the Video Doorbell
Attaching the Unit
After ensuring that the wiring is securely connected (if applicable), it’s time to attach the video doorbell unit to the mounted bracket. Align the doorbell with the bracket and gently press the top of the unit until it clicks into place. Most models will have an audible click or visual cue indicating that it has been properly secured.
If the unit is equipped with a tamper-proof screw, use the provided tool to fasten it securely at the bottom, preventing easy removal by unauthorized individuals. This added security feature helps keep your video doorbell firmly in place.
Powering Up
Once installed, it’s time to power up the device. If you wired the doorbell, turn the power supply back on at the circuit breaker. For battery-powered models, ensure the batteries are fully charged. Many devices feature an LED indicator that will light up, indicating the doorbell is powered and ready to go.
At this stage, it is advisable to consult the video doorbell’s manual to familiarize yourself with its features and settings. Each model may have unique functionalities worth exploring before you proceed.
Set Up the App
Downloading the Xfinity App
To take full advantage of your Xfinity Video Doorbell, download the Xfinity Home app on your smartphone or tablet. This app allows you to view live footage, receive alerts, and manage various settings for your video doorbell. Available on both iOS and Android, the app is user-friendly and designed for easy navigation.
Once downloaded, create an account or log in if you already have one. The app may prompt you to allow specific permissions, such as accessing your camera or location, to facilitate proper functioning. These permissions are essential for alerting you to activity at your door and maintaining a seamless streaming experience.
Connecting the Doorbell to the App
Follow the app’s instructions to pair your Xfinity Video Doorbell with your account. You will need to scan the QR code located on the doorbell or enter a code manually. This interaction connects the device to your home network, enabling remote access to the video feed.
Once connected, customize the notifications settings according to your preferences. Many users opt to receive push notifications whenever someone approaches their door, adding an extra layer of security. With the app set up, you can enjoy monitoring your entrance via your smartphone at any time.
Final Adjustments and Testing
Camera Positioning
After everything is installed and set up, take a moment to test the video doorbell functionality. Open the app and check the live feed to see if the camera angle captures your desired view. If necessary, make fine adjustments to the camera positioning. Some doorbells come with a slight angle adjustment feature that can help improve the field of view.
Ensure the camera captures the full entrance area as well as any pathways or driveways that lead up to your home. A nice tip is to stand in various spots while someone watches the feed to confirm that the coverage effectively captures the areas you want to monitor.
Video and Audio Quality Checks
Testing the two-way audio feature is also essential. Speak into your app and verify that the sound reaches the doorbell clearly. Similarly, ask a friend or family member to approach the doorbell, allowing you to test the motion detection and video quality. Observing the responsiveness of notifications will confirm that you’re set for optimal performance.
Once satisfied with the configuration, take a moment to appreciate your installation success. The Xfinity Video Doorbell will serve as a valuable asset for monitoring your home, offering peace of mind and ease of access remotely.
Enjoy Peace of Mind
Installing the Xfinity Video Doorbell may initially seem daunting, but following this step-by-step guide simplifies the process. By gathering the necessary tools, understanding your installation needs, and carefully executing each step, you’ll have a fully functional video doorbell in no time.
The benefits of having an Xfinity Video Doorbell installation extend beyond convenience; it can significantly enhance your home security. With the ability to monitor your entrance from anywhere, communicate with visitors, and receive alerts, you’ll enjoy peace of mind about your home’s safety. Embrace modern technology and enhance your security today!