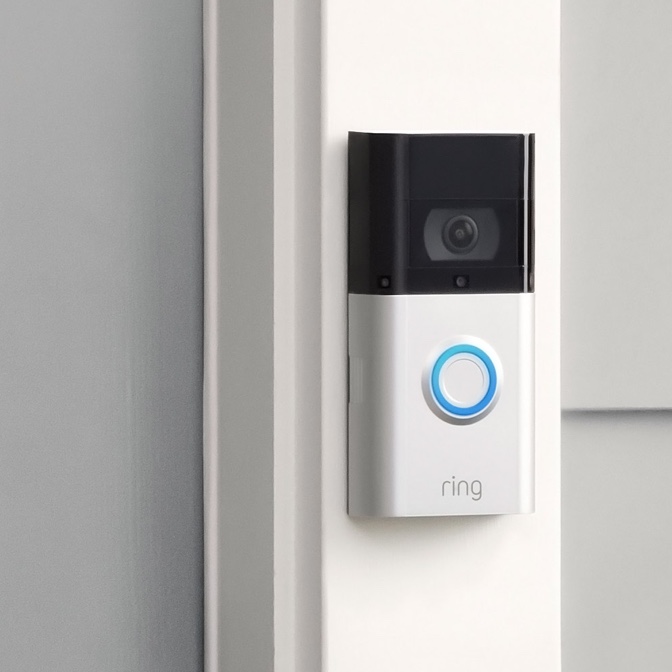
The Ring Video Doorbell 3 is a fantastic device that enhances your home security by providing real-time video feed, two-way audio, and motion detection alerts. By allowing you to see and communicate with visitors through your smartphone, it offers convenience and peace of mind. However, the installation process may seem overwhelming if you’re tackling it for the first time. This guide breaks down the installation of your Ring Video Doorbell 3 into manageable steps, helping ensure a smooth setup and integration into your smart home.
Understanding the Components
What’s in the Box?
Before starting the installation, check the contents of the Ring Video Doorbell 3 package. You should find the doorbell unit itself, a mounting bracket, screws, a screwdriver, and the user manual. Additionally, there’s a quick-start guide that can help you get up and running efficiently. Familiarize yourself with each component to ensure you have everything necessary for the installation process. Understanding the elements you’ll be working with helps you assemble the device with confidence.
Ring App Installation
To take full advantage of your new doorbell, download the Ring app on your smartphone. The app is available for free on both iOS and Android devices. Once installed, create an account or log in to your existing Ring account. The app will guide you through the setup process, allowing you to connect your doorbell to your home Wi-Fi network and manage your settings. Ensure that your phone is connected to the 2.4GHz Wi-Fi network, as the Ring Video Doorbell 3 operates best on this frequency.
Preparing for Installation
Choosing the Right Location
Location is crucial when it comes to the installation of your Ring Video Doorbell 3. Position it at a height of approximately 4 feet from the ground, which is the optimal level to capture the faces of visitors. Ensure that the doorbell has a clear view of the entrance area without any obstructions such as plants or overhangs.
Consider the angle of the doorbell. Ideally, it should be mounted so that it captures a wide field of view without any obstructions. If you need more range, consider using the included wedge kit to adjust the angle of your doorbell. The angle can make a significant difference in how much area is covered by the device.
Gathering Tools
To install your Ring Video Doorbell 3, you will need some basic tools. These include a level (to ensure the doorbell is mounted straight), a drill (if installing on masonry), and a Phillips screwdriver for securing screws. Using the right tools will make the installation process smoother and prevent any potential mishaps.
Hardwired vs. Battery Power
Choosing Your Power Source
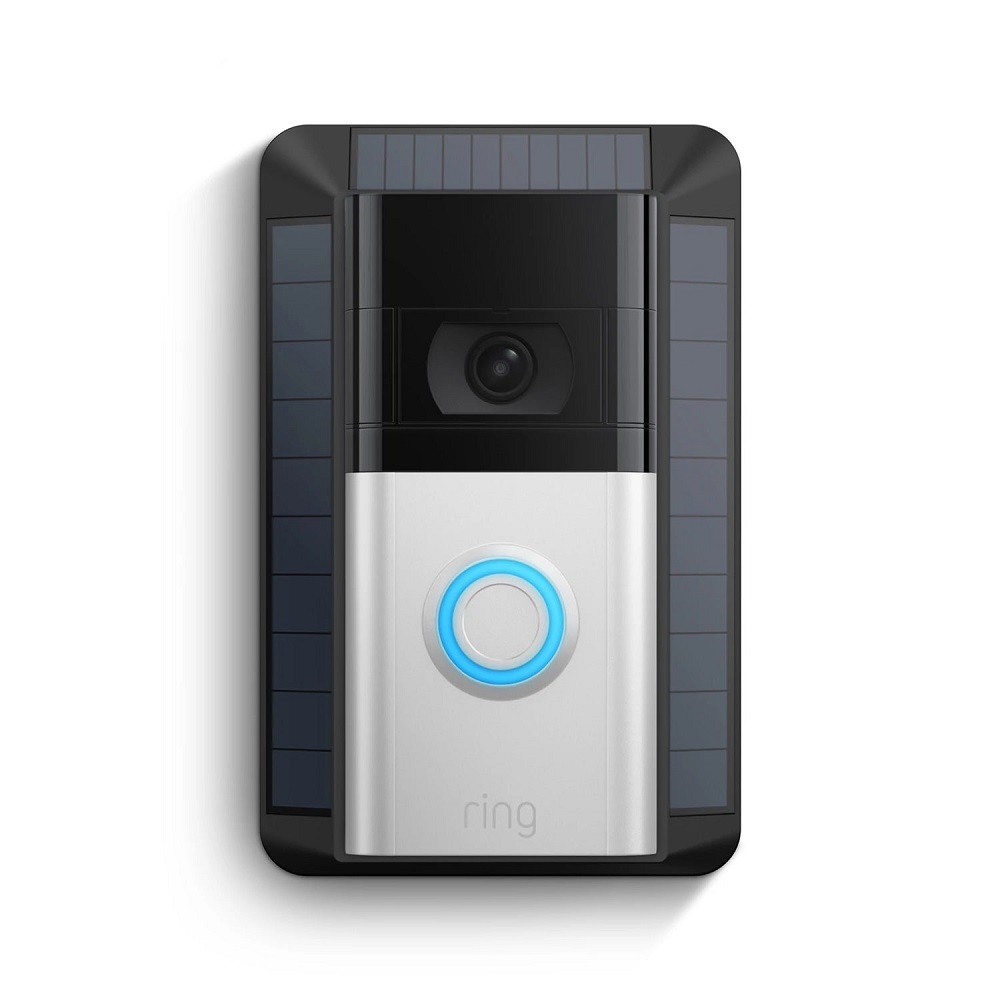
One of the first decisions you’ll need to make is whether to hardwire the doorbell or use it with its built-in rechargeable battery. If you have an existing doorbell wiring system already in place, you may want to opt for the hardwired connection. This setup allows the doorbell to receive continuous power, eliminating the need for frequent recharging.
If you don’t have existing doorbell wiring or prefer a simpler setup, the battery option is entirely viable and convenient. The battery is easy to recharge when needed, and it eliminates the hassle of installing electrical wiring. Consider your current setup and preferences when deciding which power source works best for you.
Hardwiring the Doorbell
If you opt to hardwire your doorbell, follow these steps:
- Turn Off Power: Before starting, turn off the power to your existing doorbell at the circuit breaker. This step ensures your safety while you work on the wiring.
- Disconnect the Old Doorbell: Remove the existing doorbell by unscrewing it and disconnecting the wires. Note that the wires may be labeled as “front” and “trans” for a traditional front-and-back door system.
- Connect the Ring Doorbell: Attach the wires from the wall to the terminals on the back of the Ring Doorbell. Make sure to match the polarity; the wires can typically be connected in either position, but it’s best to consult the manual for specifics.
Installing the Battery
If you choose the battery-powered option, simply remove the battery from the packaging and insert it into the doorbell unit until it clicks into place. A quick check on the app can confirm that the battery is functioning correctly, ensuring that the doorbell is powered and ready to activate.
Mounting the Ring Video Doorbell 3
Marking the Mounting Holes
Use the mounting bracket included with the doorbell to mark the spots where you’ll drill. Hold the bracket against the wall at the desired height and use a level to ensure it’s straight. Use a pencil to mark the locations of the mounting holes, allowing for accuracy when drilling.
Drilling the Holes
Using a drill, create holes at the marked locations. If you’re installing on wood, use a smaller drill bit appropriate for the screws provided. If you’re drilling into masonry or brick, you’ll need a masonry drill bit to create the appropriate anchor points.
Secure the Mounting Bracket
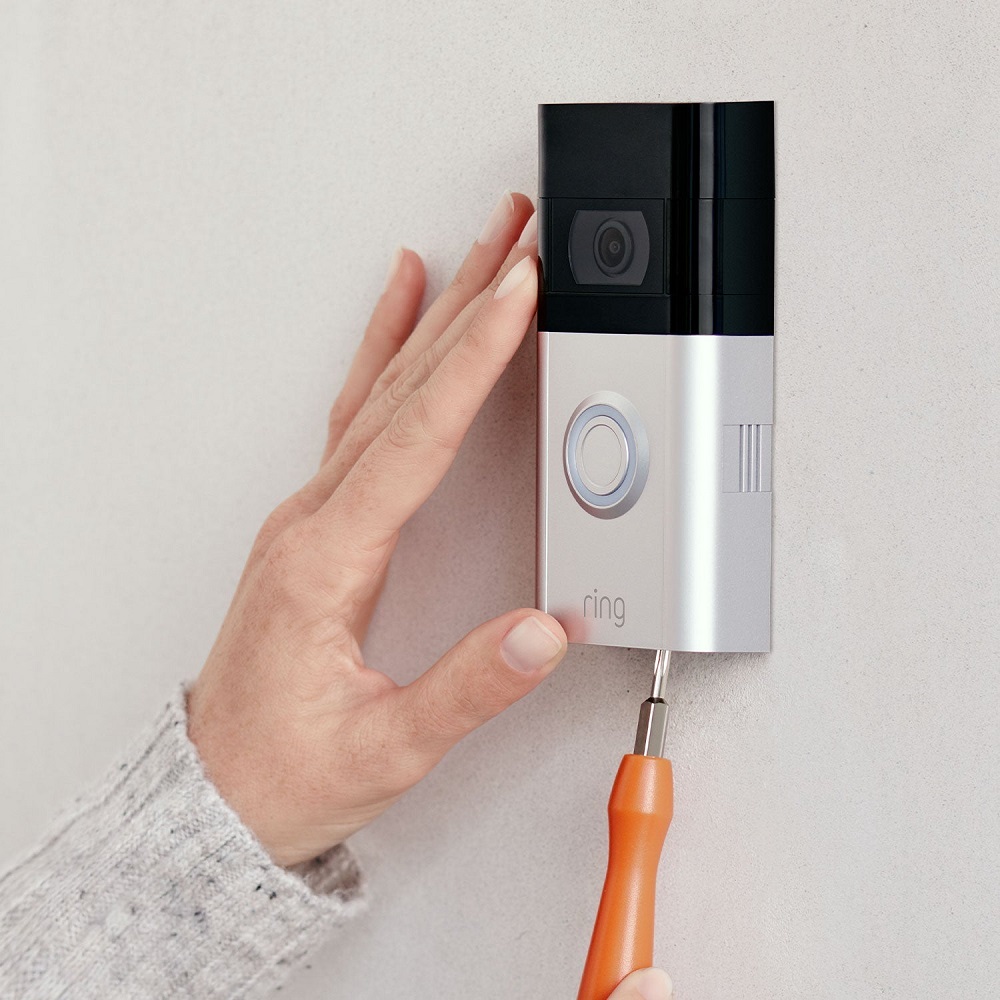
Attach the mounting bracket to the wall using the screws provided in the package. Ensure that it is secured tightly and straight to provide a solid foundation for the doorbell. A sturdy installation prevents unnecessary movement or adjustment after everything is set up.
Attaching the Doorbell
Positioning the Doorbell
Once the mounting bracket is secure, it’s time to attach the Ring Video Doorbell 3. Align the doorbell with the mounting bracket and press it into place until you hear a click. This audible confirmation indicates that the doorbell is firmly attached and ready for use.
Testing the Installation
Before finalizing any setup in the app, test the installation to ensure everything is functioning correctly. If you’ve hardwired the doorbell, briefly turn the power back on at the circuit breaker and wait for the system to power on. Verify that the doorbell lights up and that it connects to the Ring app. If you’re using the battery, check that the LED indicator lights up as well.
Connecting to Wi-Fi and App Setup
Connecting to Your Wi-Fi Network
With the physical installation complete, open the Ring app on your smartphone. Follow the prompts to connect your doorbell to your Wi-Fi network. The app will guide you through entering your network password and choosing your desired settings. A strong Wi-Fi connection is essential for optimal performance, ensuring that you receive alerts and live feeds without interruptions.
Configuring Your Settings
Once connected, you can customize various settings for your Ring Video Doorbell 3. Set up motion detection zones to determine which areas you want the doorbell to monitor. Adjust sensitivity levels to reduce false alerts from passing cars or moving branches. Additionally, configure your notification preferences so that the app alerts you when someone approaches your door or rings the doorbell.
Enjoying the Features and Benefits
Exploring the Video Features
With everything set up, you can start enjoying the various features of your Ring Video Doorbell 3. The high-definition video quality allows you to see visitors clearly, day or night, thanks to infrared night vision. You can initiate conversations with guests using the built-in two-way audio feature, allowing for seamless communication without opening the door.
Monitoring and Enhancing Security
The Ring Video Doorbell 3 not only serves as your first line of defense but also enhances your overall security. By monitoring activity at your front door, you can deter potential intruders and keep packages safe from theft. Furthermore, the integration with other Ring products, such as security cameras and floodlight cameras, provides comprehensive coverage for your home.
Regular Maintenance and Updates
To ensure optimal performance, regularly check and clean your Ring Doorbell’s camera lens and motion sensors. Periodic software updates through the Ring app can also enhance its functionality and provide new features. Following these maintenance tips will help maintain your doorbell’s reliability and effectiveness.
Conclusion
Setting up your Ring Video Doorbell 3 enhances your home security and adds a modern touch to your property. Following this installation guide, from understanding the components to finalizing the setup, you’ll be well on your way to a seamless experience. Embrace the convenience of remote monitoring, real-time notifications, and two-way communication, knowing you’ve taken an essential step toward protecting your home and loved ones. Enjoy your new Ring Video Doorbell and its many features, creating a safer and more connected living environment.
