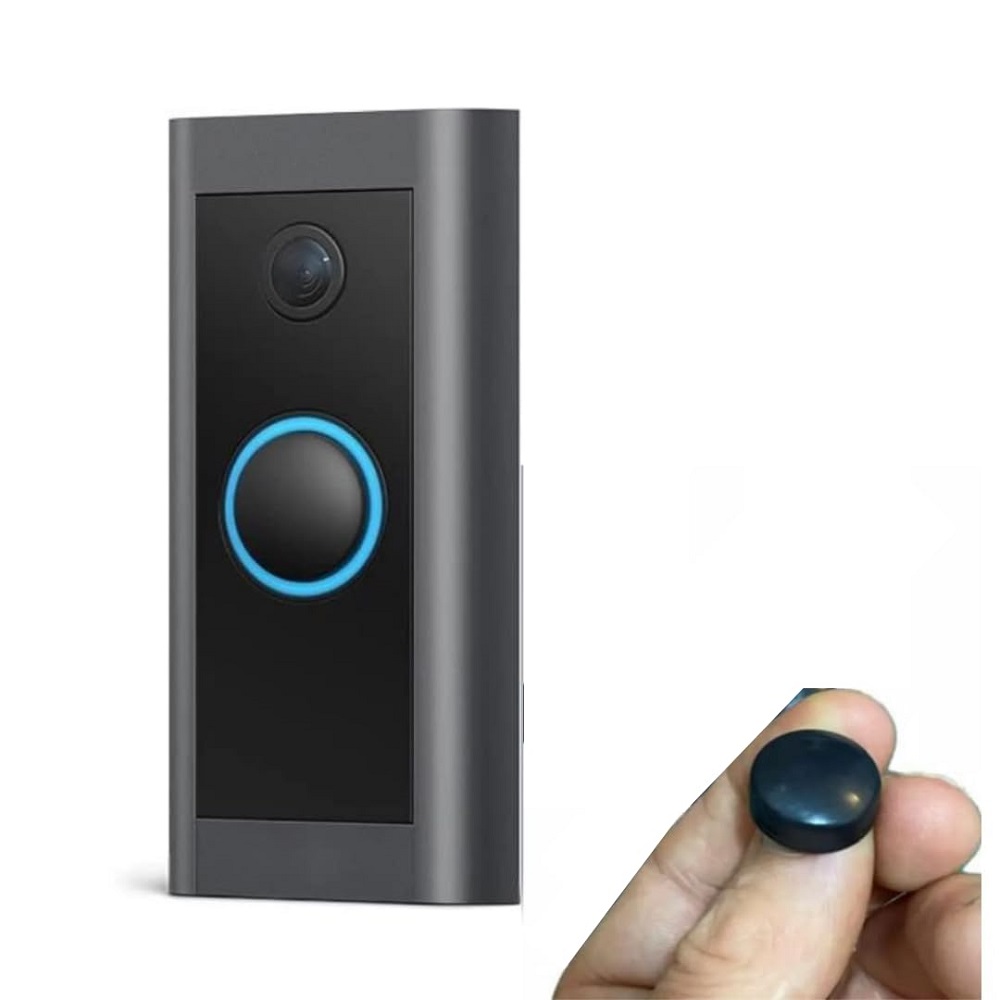
In an age where home security is paramount, smart technology has taken center stage. The Ring Video Doorbell Elite stands out as a premium choice for homeowners looking to bolster their security while enjoying modern technology. This device combines a high-definition video camera with the ability to see and communicate with visitors via your smartphone or tablet. Installing the Ring Video Doorbell Elite may seem daunting, but with this step-by-step guide, you can confidently tackle the process and ensure your home is secured.
What You’ll Need Before You Start
Required Tools and Materials
Before diving into the installation, gather all necessary tools and materials to avoid interruptions. Here’s a list of what you’ll need:
- Ring Video Doorbell Elite: Ensure you have the doorbell and all included components in the box.
- Screwdriver: A Phillips-head screwdriver will often suffice for installation.
- Drill: You may need a power drill for mounting, especially if you need to create new holes in brick or concrete surfaces.
- Wire Strippers: If your installation involves connecting wiring, wire strippers will help you prepare the wires correctly.
- Level: To ensure your doorbell is installed straight, using a level will contribute to a professional look.
- Wrench: A wrench may be necessary to tighten screws rather than using a screwdriver.
Once you have these tools ready, you’ll maximize your efficiency and minimize any delays during the process.
Required Safety Gear
While not strictly necessary, consider using safety gear such as goggles when drilling or routing wires. Wearing gloves can also protect your hands during handling. Ensuring your safety while working with tools should always be a priority.
Preparing for Installation
Choosing the Right Location
Selecting the right location for your Ring Video Doorbell Elite is crucial for optimal performance. Ideally, you want to place it at eye level, typically between 4 to 5 feet from the ground. This position ensures that the camera captures faces effectively while minimizing the chances of obstructions.
Also, consider the doorway layout. Avoid placing the doorbell where it may be obstructed by overhangs, lights, or other structures. An unobstructed view enhances video quality and provides clear visibility of visitors.
Assess Security and Connectivity
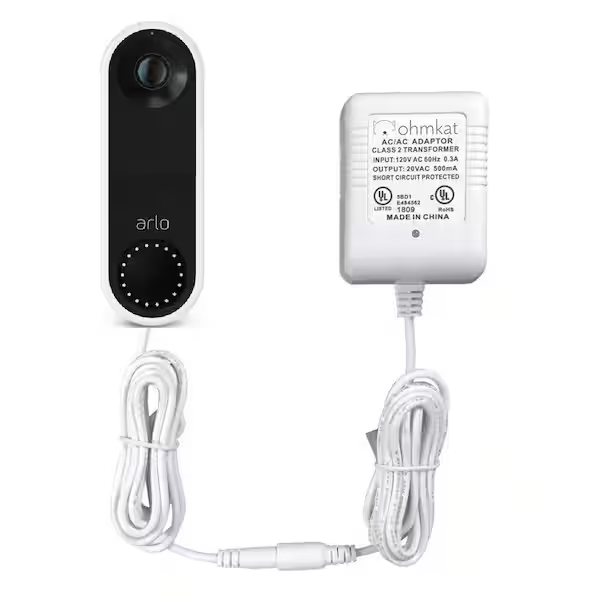
Before installing, assess the existing wiring and the power supply at your chosen location. If you are replacing an existing doorbell, it likely has existing wiring, which simplifies the process. Ensure the power supply is compatible with the Ring Video Doorbell Elite, which requires a power source of 16-24V AC.
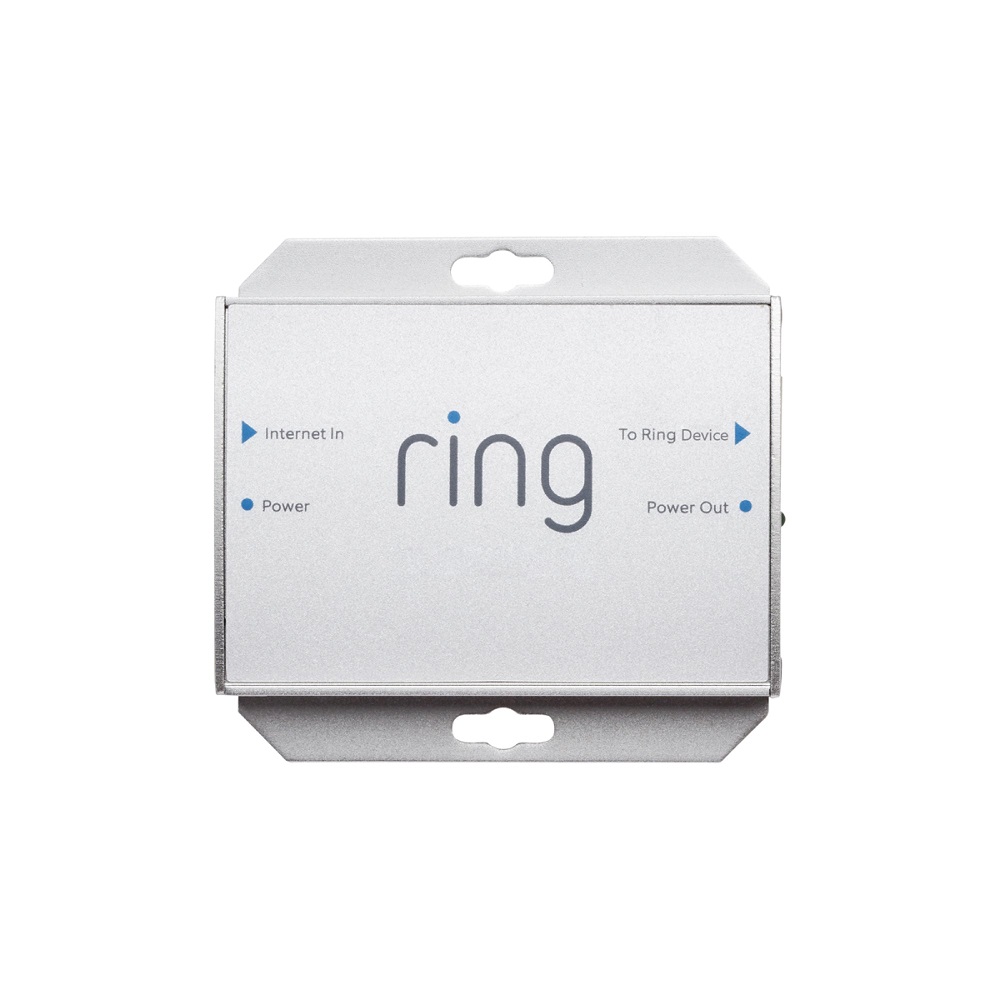
If you’re installing in a location without an existing doorbell, you may need to run new power lines or use a Ring transformer, which is available for purchase separately. Ensure the area has reliable Wi-Fi coverage as well since the Ring system relies heavily on internet connectivity for its features.
Removing the Old Doorbell (if applicable)
Disconnecting Power Sources
If you are replacing an existing doorbell, start by turning off the power at your circuit breaker to avoid electric shock. Once the power is off, use a tester to confirm that the wires are no longer live. It’s essential to verify complete disconnection for your safety.
Next, carefully remove the old doorbell from the wall using a screwdriver. Take note of how the wires connect to ensure you can replicate this setup with your new Ring Doorbell.
Documenting the Wiring
Label each wire if necessary with tape or a marker. Document their connections in a notebook or take photos for reference later. This proactive step will save you time and frustration when it’s time to connect the new Ring Video Doorbell.
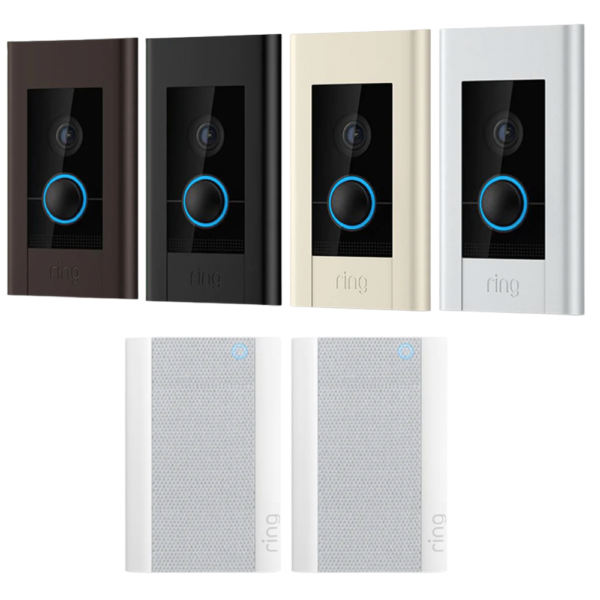
Installing the Ring Video Doorbell Elite
Connecting the Wiring
With the old doorbell removed, it’s time to connect the wiring to your Ring Video Doorbell Elite. First, open the back panel of the Ring device to access the wire connectors. Identify the two wires from your existing setup; typically, these are labeled as “Front” and “Trans” or similar.
Using wire strippers, remove a small portion of insulation from the end of each wire to expose the copper. Insert the respective wires into the corresponding terminals on the Ring Doorbell. Tighten the screws to ensure a secure connection. Once connected, close the back panel of the device.
Mounting the Doorbell
Now that your wires are connected, it’s time to mount the doorbell. Use the included drilling template to mark where you will drill holes for the mounting screws. This template ensures precise placement and can reduce installation errors.
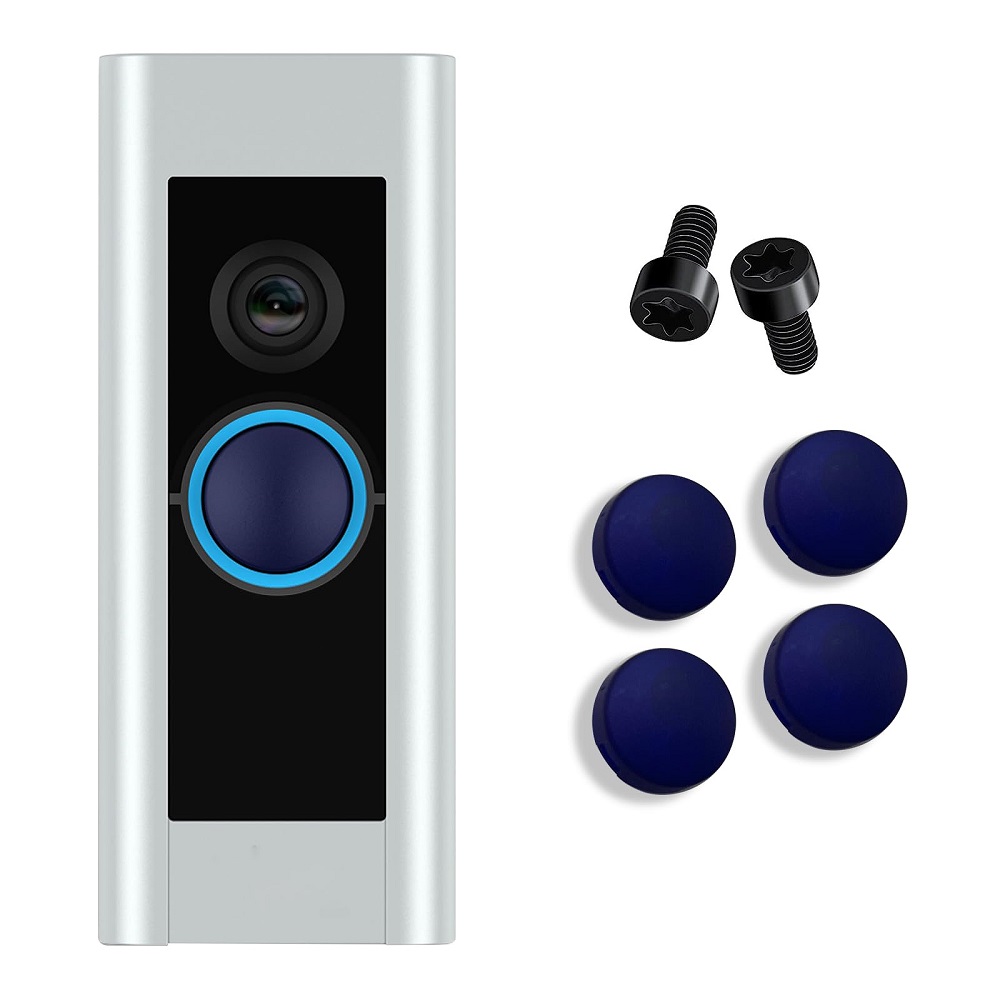
Using the drill, create holes in the marked locations on your wall. Attach the mounting bracket included in your kit, ensuring it is level for proper alignment. Now, insert the two screws provided to secure the bracket in place. Finally, align the Ring Doorbell Elite with the bracket and push it down until you hear it click into place.
Setting Up Your Device
Power On and Connect
Once the doorbell is securely mounted, turn the power back on at your circuit breaker. Your Ring Video Doorbell Elite will power up, indicated by a glowing light on the device.
Download the Ring app from the App Store or Google Play if you haven’t already done so. The app guides you through the device setup. Open the app and create an account or log in if you already have one. Follow the prompts to set up your doorbell; this will involve scanning a QR code located on the device’s face for easy recognition.
Configuring Wi-Fi Settings
After the initial setup, you’ll need to connect your doorbell to your home Wi-Fi network. The app provides a list of available networks; select yours and enter your password to establish a connection. A strong connection is critical for reliable functionality, so ensure your Wi-Fi signal is solid in the doorbell’s location.
Once connected, the app will perform a quick check to confirm installation. If everything looks good, you’ll receive a notification on your app confirming that the setup was successful.
Testing Your Device
Checking Video Quality
With your Ring Video Doorbell Elite installed and set up, the next step is to test its functionality. Start by accessing the live view from the app. Check the video quality to ensure it meets your expectations. Observe how well the camera captures detail from outside your door.
To fully test the device, try pressing the doorbell to activate the chime. The app will send a notification to your phone, confirming that the doorbell has successfully registered the button press. Pay attention to the audio quality both in the video feed and through your phone’s speaker; clear communication is essential for visitors.
Adjusting Settings
The Ring app provides numerous customization options. You can adjust motion sensitivity, set up motion zones, and configure the camera’s field of view. These features can help minimize false alerts from passing cars or pedestrians while ensuring you capture any significant activity.
Take some time to explore the app’s functionality and tailor the settings to your needs. Familiarizing yourself with these options now will make managing your Ring Video Doorbell easier in the long term.
Maintenance and Best Practices
Regularly Check Connections
To ensure your Ring Video Doorbell Elite continues to perform optimally, routinely check the connections and wiring. Look for signs of wear or corrosion and ensure that connections remain secure. Regular maintenance helps prevent issues that could disrupt your home security.
Update Firmware and Software
Keep your device updated with the latest firmware and software. Ring frequently releases updates that enhance performance, security, and features. The app will notify you when updates are available, making it convenient to keep your doorbell functioning at its best.
Additionally, consider cleaning the camera lens periodically to remove dust, dirt, or grime that may build up. A clean lens results in clearer video quality, ensuring that you can easily identify visitors.
Engage with Features
Take the time to explore and engage with various Ring features. Consider signing up for a subscription plan to access cloud recording and additional features. The subscription can enhance your security set-up, allowing you to review past footage and receive alerts even when you’re away.
Enjoy Enhanced Security with Ease
Installing the Ring Video Doorbell Elite equips your home with advanced security technology, allowing you to monitor your front door with ease. By following this step-by-step guide, you can confidently install your device and enjoy the benefits it brings. With features like real-time notifications, high-definition video, and two-way audio communication, you gain an added layer of protection for your home.
Investing time into the correct installation, testing, and maintenance will ensure your Ring Video Doorbell serves you well for years to come. Enjoy the peace of mind that comes with knowing who is at your door, and embrace the convenience that smart technology brings to modern living.
