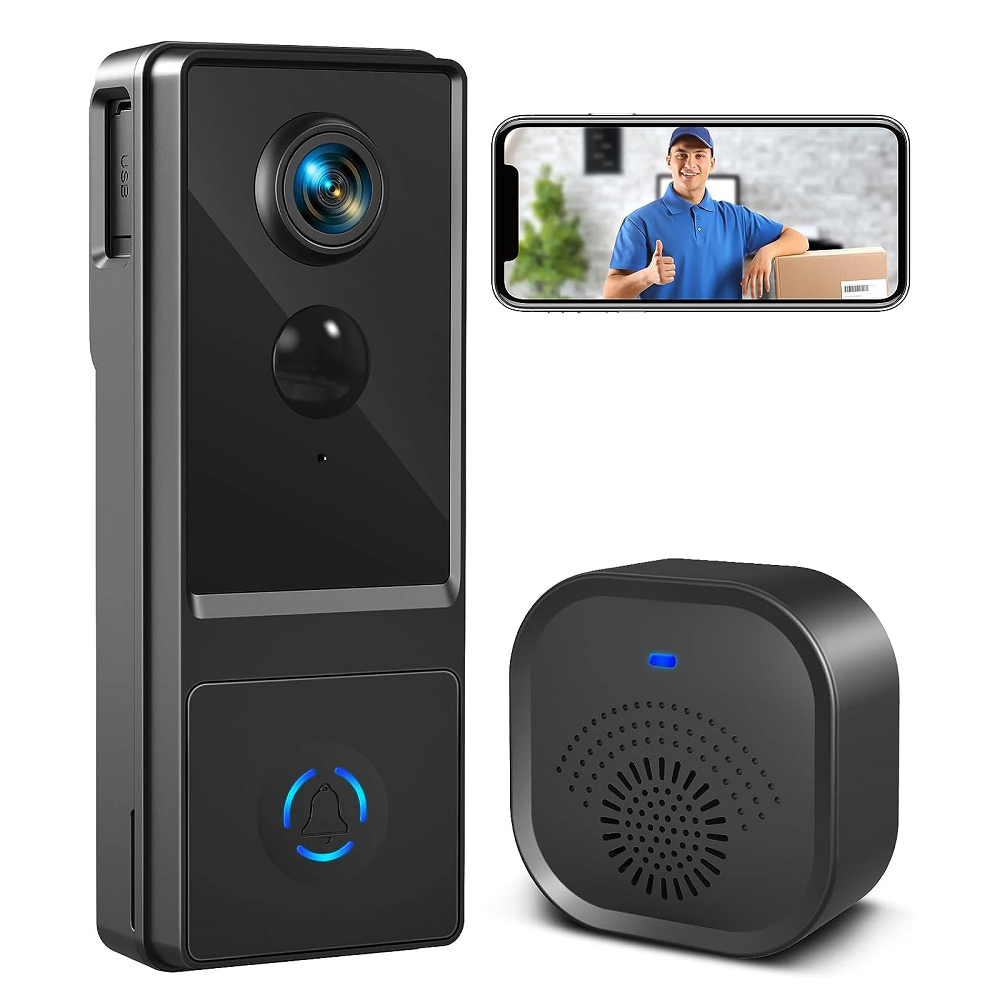
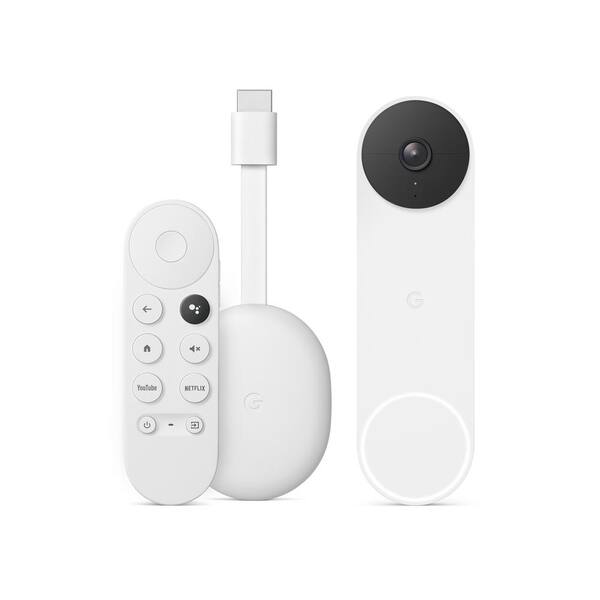
The Google Video Doorbell is an excellent addition to any smart home. It enhances security by allowing homeowners to see and interact with visitors without opening the door. Setting up this device might seem daunting to some, especially if you are not tech-savvy. However, with a clear step-by-step guide, you can have your Google Video Doorbell installed and ready to use in no time. This article breaks down the setup process into manageable parts, ensuring you can navigate this task easily.
What You Need Before Setting Up
Required Tools and Equipment
Before diving into the setup process, gather the tools and equipment you will need. For the Google Video Doorbell, you will typically require a few basic items:
- A power drill: This tool helps you create any necessary holes for mounting the doorbell securely.
- Screwdriver: To attach the mounting bracket and fasten screws.
- Level: To ensure that your doorbell hangs straight; a level tool guarantees accurate installation.
- Smartphone or tablet: You will need this device to download the Google Home app and connect your doorbell to your Wi-Fi network.
Additionally, check any included items in the package, such as the mounting bracket, screws, and any necessary adapters. Familiarize yourself with everything that comes with the doorbell kit to avoid surprises during installation.
Compatibility Check
Before setting up your Google Video Doorbell, ensure it is compatible with your existing doorbell system, if applicable. If you have a wired setup, check that your doorbell transformer supplies sufficient voltage. The ideal voltage range for the Google Video Doorbell is between 16-24 volts AC. If you plan to use the battery-operated version, ensure the mounting surface is strong enough and that there’s a stable Wi-Fi connection within range.
Additionally, double-check that your smartphone or tablet has the latest version of the Google Home app installed. The app will guide you through the setup process, making it crucial to have it ready beforehand.

Installing the Google Video Doorbell
Mounting the Bracket
Once you’ve prepared everything, it’s time to install the Google Video Doorbell. Start by selecting the best location for your device. Ideally, the doorbell should be at about 4 to 5 feet above the ground and facing the main entrance of your home. It should provide a clear view of the area, maximizing its effectiveness.
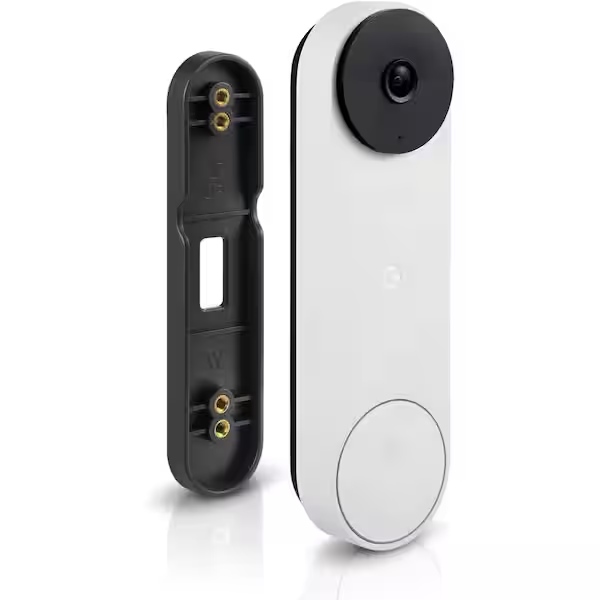
Begin by marking the spots where you will drill. Use the provided mounting bracket as a template, holding it against the wall and ensuring it’s level. Once you’re satisfied with the placement, use a power drill to create holes for the screws. If you’re mounting it on brick or stucco, masonry anchors may be necessary to securely fasten the bracket.
Attaching the Doorbell
With the bracket securely fastened, it’s time to attach the Google Video Doorbell itself. If you’re using a wired version, connect the available wires to the doorbell. Follow the color codes (typically, white goes to the “C” terminal, and one wire connects to the “R” terminal). If you’re using the battery-operated model, simply pop the doorbell onto the mounting bracket until it clicks into place.
Take a moment to ensure everything is tight and secure. Once the doorbell is attached, it’s ready for the next steps in setup. If you’re having difficulty or subsystems do not align, consult the manual that came with your video doorbell for detailed advice.
Connecting the Doorbell to Wi-Fi
Powering On the Device
After attaching the doorbell, power it on if it’s not already running. For wired models, this means restoring power from the transformer. For battery models, you might simply need to pull a battery tab to activate the power. Watch for LED light patterns on the doorbell—these lights indicate that the device is powering up and preparing for setup.
Using the Google Home App
Once the Google Video Doorbell is powered on, take your smartphone or tablet and open the Google Home app. Make sure you’re signed in with your Google account, as this app will sync with your devices and provide all necessary features for management.
In the app, tap the “+” icon (typically found in the top left corner) to add a new device. Follow the on-screen instructions to select “Set up device” and choose “New devices.” The app will start scanning for available devices. Select your doorbell from the list, and the app will guide you through the remaining steps to connect to your home Wi-Fi.
Customizing Settings and Features
Configuring Notifications
Once you’ve successfully connected your Google Video Doorbell to your Wi-Fi network, it’s time to customize your settings. Within the Google Home app, you can tailor notifications, and this feature is essential since you want to receive alerts based on your preferences.
For instance, you can decide how you want to be notified when someone approaches your door. Choose to receive notifications for package deliveries, motion detection, or doorbell presses. Customizing these settings allows for a more personalized experience and keeps you informed without overwhelming you with unnecessary alerts.
Adjusting Video and Audio Settings
The Google Home app also allows you to adjust video and audio settings. You can configure the video resolution based on your internet speed to ensure smooth streaming. Consider adjusting field of view settings as well, allowing you to choose how much of the area around your door the camera should capture.
Be sure to test the two-way audio functionality at this point. Speak through the app and listen to the audio quality coming from the doorbell. Fine-tuning these settings now can significantly enhance your security experience later.
Testing the Doorbell Functions
Conducting A Full Test
After finishing the setup process, conduct a full test of your Google Video Doorbell. Have a family member or friend ring the doorbell while you monitor the app. Check that you receive notifications promptly and that the live video feed shows a clear and stable image.
If you installed the wired version, ensure everything works as expected. Observe if the doorbell chimes through your existing home intercom or chime system. If using a battery-powered version, check the battery life to confirm it functions well without interruption.
Troubleshooting Issues
In case of any issues, take the time to troubleshoot effectively. If you don’t receive notifications, double-check your Wi-Fi connection and settings within the app. Ensure that the device is listed under your Google Home and that notifications are enabled.
You can also refer to the Google support website for guidance on common issues. Many users encounter similar installation challenges, and solutions are readily available.
Maintaining the Google Video Doorbell
Regular Cleaning and Upkeep
To keep your Google Video Doorbell functioning effectively, regular cleaning is essential. Dust, dirt, and debris can accumulate on the lens, obscuring your view. Use a soft, lint-free cloth to wipe the camera lens gently. Avoid using harsh cleaners that can damage the surface.
Additionally, if you have a wired model, check the connections periodically to ensure that they remain secure. This maintenance will help the doorbell function properly and serve its purpose effectively.
Updating Firmware
Stay updated with the latest firmware and software for your Google Video Doorbell to benefit from improvements and new features. Google often releases updates that enhance performance and address potential security vulnerabilities. The Google Home app will notify you when updates are available, and installing them is usually a simple process.
Maximizing the Use of Your Video Doorbell
Exploring Integration with Other Smart Devices
Once set up, consider how your Google Video Doorbell integrates with other smart devices in your home. Working in tandem with smart locks or lights can provide an even more convenient experience. For instance, configure the doorbell to trigger lights to turn on when someone approaches.
Use voice commands with Google Assistant to check video feeds, allowing hands-free monitoring while you’re performing other tasks. Explore other devices multifunction capabilities and automate routines to maximize efficiency.
Implementing Security Features
Make the most of your doorbell’s built-in security features. The Google Video Doorbell offers motion detection and customizable zones, allowing you to specify which areas you want to monitor closely. This feature can help reduce false alarms and emphasize essential activity around your front door.
Additionally, consider setting up family sharing features in the Google Home app. This allows trusted friends or family members to access the doorbell’s video feed and alerts, enhancing your home security way beyond your own monitoring efforts.
A Smart and Secure Home Starts Here
Setting up your Google Video Doorbell doesn’t have to be an overwhelming task. By following this guide, you can navigate the process with ease. From gathering the right tools to executing maintenance for long-term use, you’ve equipped yourself with the knowledge needed for a successful setup.
The Google Video Doorbell adds significant value to your home, not only increasing security but also enhancing convenience. Embrace the smart technology and fully utilize its capabilities to create a safer environment for you and your family. Whether you’re greeting visitors or monitoring package deliveries, you’re now ready to enjoy all that your Google Video Doorbell has to offer!
