I. Introduction
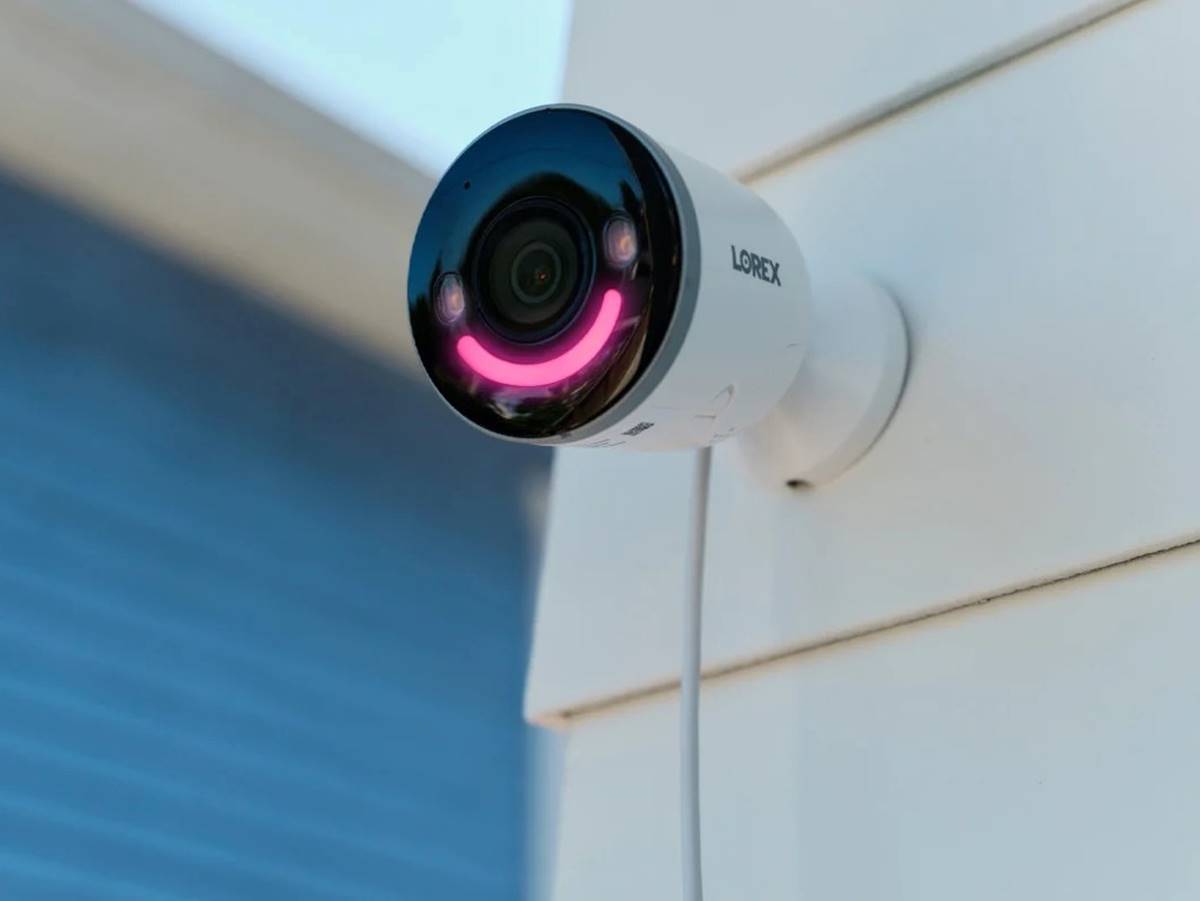
Security cameras play a crucial role in safeguarding our homes and businesses. They provide a sense of security, deter criminal activity, and help in investigating incidents. When it comes to security cameras, wired systems offer several advantages over their wireless counterparts. In this article, we will explore the importance of security cameras and delve into the advantages of wired security camera systems.
A. Importance of security cameras
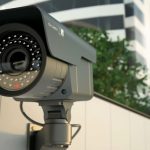
Security cameras act as a deterrent to potential criminals and can significantly reduce the risk of burglary, theft, and vandalism. They provide a constant watchful eye, capturing valuable video evidence that can assist law enforcement in identifying and apprehending perpetrators. Additionally, security cameras offer peace of mind, allowing homeowners and business owners to monitor their premises remotely and ensure the safety of their property and loved ones.
B. Advantages of wired security cameras
Wired security camera systems offer several benefits that make them a popular choice for both residential and commercial applications. Some of the key advantages include:
- Reliability and consistent signal: Wired systems provide a stable and reliable connection between the cameras and the recording device. Unlike wireless systems that may experience interference or signal dropout, wired cameras ensure consistent video transmission.
- Better image quality: Wired cameras typically offer higher resolution and better image quality compared to wireless cameras. This is particularly important when it comes to capturing clear details such as faces, license plates, or other critical information.
- Increased transmission distance: Wired systems allow for longer cable runs, enabling cameras to be installed in distant locations from the recording device. This flexibility is advantageous for larger properties or surveillance setups that require cameras to be placed far apart.
- Reduced risk of signal hacking: While wireless systems can be vulnerable to signal interception and hacking, wired systems offer increased security as the transmission occurs through physical cables, making it harder for intruders to access the footage.
II. Pre-Installation Preparation

Before beginning the installation process, proper pre-installation preparation is essential to ensure a smooth and successful setup.
A. Determine camera locations
Consider the areas and angles that require surveillance coverage. Assess the vulnerabilities of your property, such as entry points or blind spots, and identify key areas to install the cameras. This step helps determine the number of cameras needed and their optimal placement for effective coverage.
B. Check power source availability
Wired cameras require a power source to operate. Determine whether power outlets are conveniently located near the desired camera locations. If not, plan to install electrical wiring or consider using power over Ethernet (PoE) technology, which allows both power and data transmission through a single cable.
C. Gather necessary tools and materials
To ensure a smooth and efficient installation process, gather the necessary tools and materials beforehand. This may include a power drill, drill bits, a screwdriver set, a cable tester, cable clips, mounting brackets, and the required cables. Consult the camera manufacturer’s specifications for the specific tools and materials needed.
III. Installing the Camera System
Now that you have completed the pre-installation preparation, it’s time to install the wired security camera system. This section will guide you through the process step-by-step.
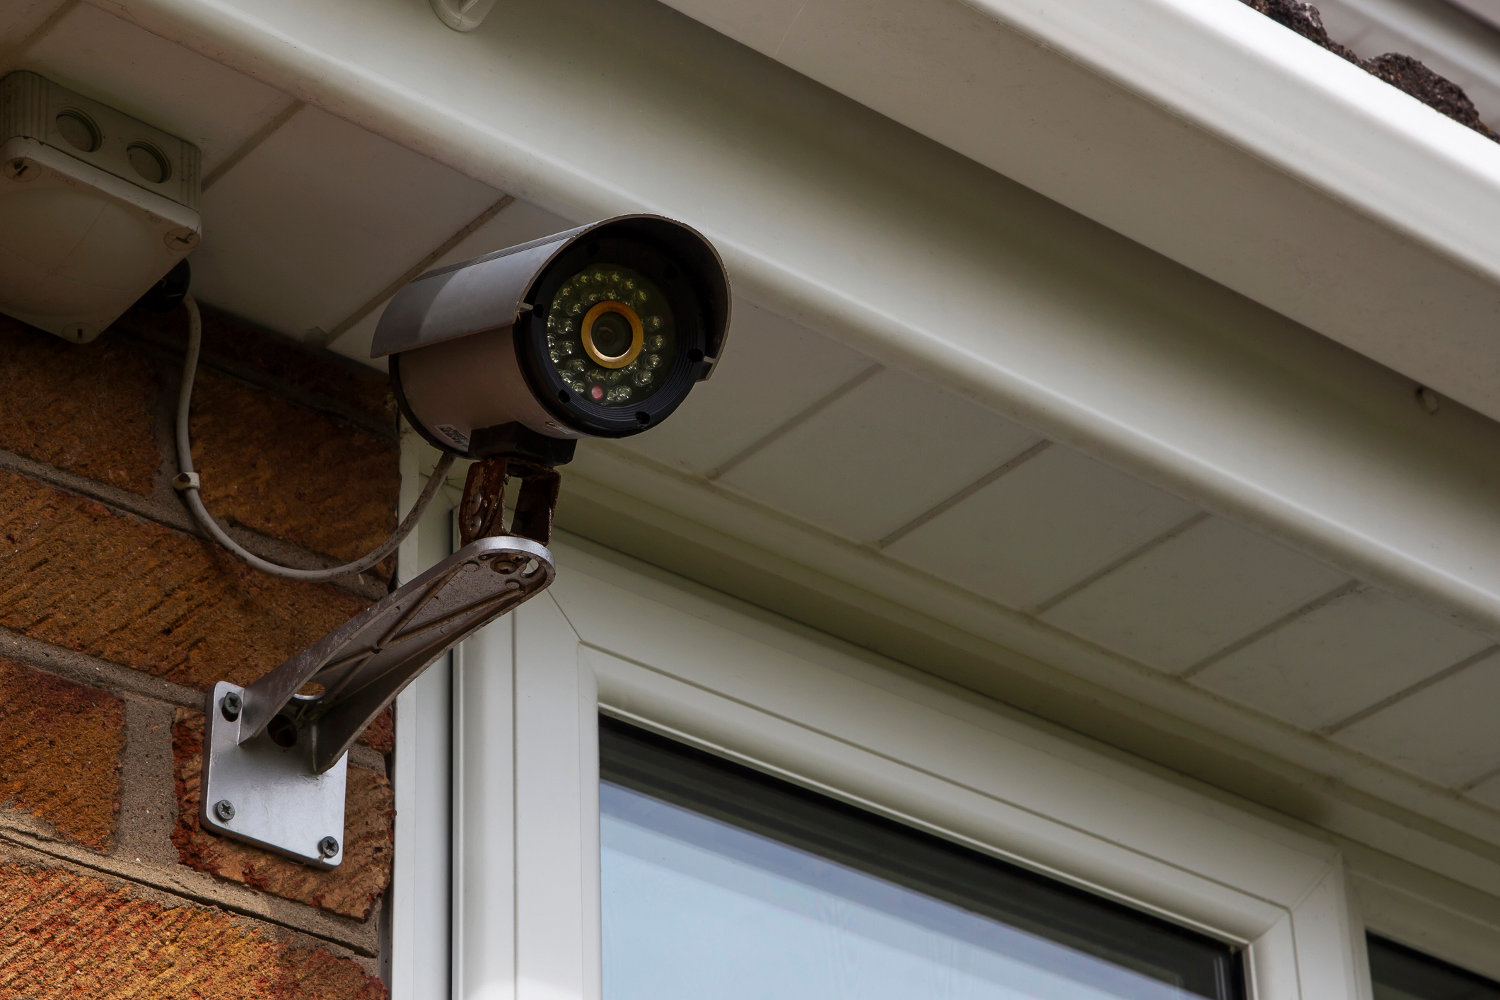
A. Mounting the cameras

- Selecting optimal locations
Refer to the camera locations determined during the pre-installation preparation stage. Choose positions that provide the best surveillance coverage while considering potential obstructions, lighting conditions, and desired viewing angles. Ensure that the cameras are placed high enough to avoid tampering or vandalism.
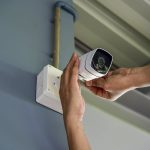
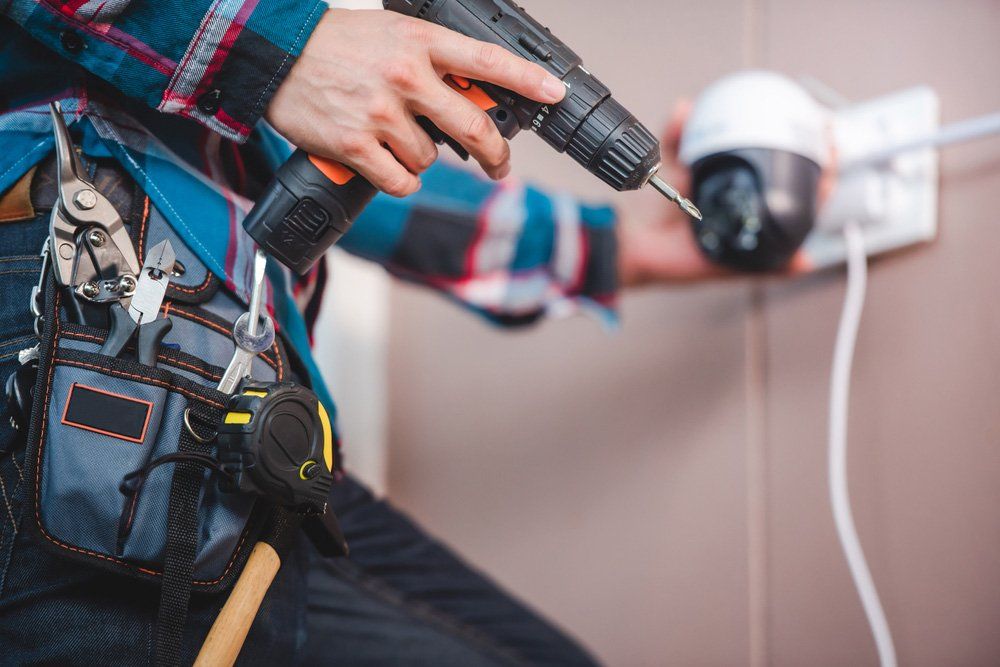
- Drilling holes and securing camera mounts
Once the camera locations are determined, use a power drill and the appropriate drill bits to create holes for mounting the cameras. Secure the camera mounts using screws, ensuring they are firmly in place. Make sure the cameras are level and aligned correctly for accurate footage capture.
B. Running power and video cables
- Planning cable routes
Plan the most efficient routes for running power and video cables from the cameras to the recording device. Consider concealing the cables within walls, ceilings, or conduit for a neater installation. Take care to avoid creating trip hazards or damage to existing structures.
- Concealing cables if desired
If aesthetics are a concern, consider methods to conceal the cables. This can involve routing them through walls or using cable management solutions such as cable raceways or wall plates. Concealing cables not only enhances the appearance of the installation but also minimizes the risk of tampering or damage to the cables.
- Connecting cables to the cameras
Connect the power and video cables to the cameras, ensuring a secure and proper connection. Follow the manufacturer’s instructions for specific wiring requirements and cable connections. Use cable clips or other appropriate fasteners to secure the cables and prevent them from coming loose.
C. Connecting the cameras to a recording device
- Choosing a digital video recorder (DVR)
Select a suitable digital video recorder (DVR) to connect and record the video footage from the cameras. Consider factors such as the number of camera inputs required, storage capacity, and any additional features needed, such as remote access or motion detection.
- Connecting cameras to the DVR
Connect the video output from each camera to the corresponding inputs on the DVR. Follow the manufacturer’s instructions for proper cable connections and ensure a secure connection.
- Configuring DVR settings
Access the DVR’s system settings and configure the desired settings such as video recording quality, motion detection sensitivity, or remote access. Consult the manufacturer’s user manual for detailed instructions on configuring the specific DVR model.
By following these installation steps, you can successfully set up your wired security camera system. However, the journey doesn’t end here. Regular testing, adjustments, and maintenance are necessary to ensure the continued effectiveness of your security cameras. In the next sections, we will explore the importance of testing and adjustments, troubleshooting common issues, and the importance of regular maintenance for your wired security camera system.
IV. Testing and Adjustments
Once the camera system is installed, it is essential to thoroughly test and make adjustments to ensure optimal performance.
A. Checking camera angles and views
After mounting the cameras, it is crucial to check their angles and views to ensure proper coverage of the desired areas. Access the live feed of each camera through the monitoring software or DVR and verify that the camera’s field of view encompasses the intended surveillance areas. Adjust the camera positions as needed to eliminate blind spots or areas with limited coverage.
B. Verifying proper functioning of cameras
It is important to verify that each camera is functioning correctly and capturing clear and high-quality video footage. Check the live feed of each camera and ensure that the images are sharp, properly exposed, and devoid of any distortions. This step helps identify any potential issues related to camera performance or image quality that may need to be addressed.
C. Adjusting settings for optimal surveillance
To achieve optimal surveillance performance, it is necessary to adjust the settings of your wired security cameras. The following settings can be adjusted to maximize the effectiveness of your surveillance system:
- Resolution: Adjust the camera settings to the desired resolution for optimal image quality. Higher resolutions can capture more details but may require additional storage capacity.
- Frame rate: Set the camera’s frame rate according to your requirements. Higher frame rates can result in smoother video playback but may increase storage requirements.
- Motion detection sensitivity: Fine-tune the motion detection settings to avoid false alarms while ensuring relevant activity is captured. Test the sensitivity levels and adjust as needed to strike a balance.
- Recording modes: Configure the camera’s recording modes based on your surveillance needs. Options may include continuous recording or scheduled recording during specific times.
In conclusion, properly installing a wired security camera system requires pre-installation preparation, attention to detail during the installation process, and regular maintenance. Wired systems offer advantages such as reliability, better image quality, increased transmission distance, and enhanced security. It is important to test the cameras, make necessary adjustments, and address any issues promptly to ensure optimal surveillance performance. Regular maintenance, including cleaning, firmware updates, and periodic testing, is essential for the continued effectiveness of your surveillance system. By investing time and effort into the installation and ongoing care of your wired security camera system, you can enjoy enhanced security and peace of mind.