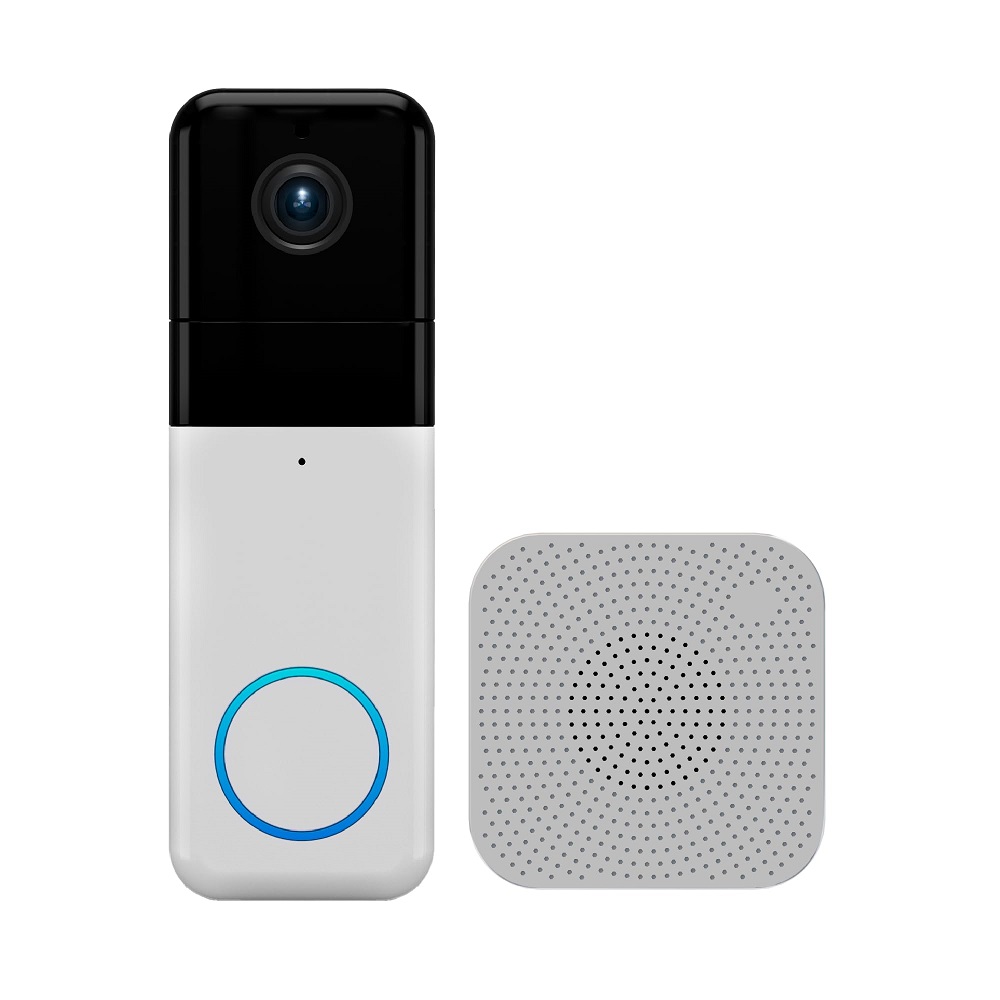
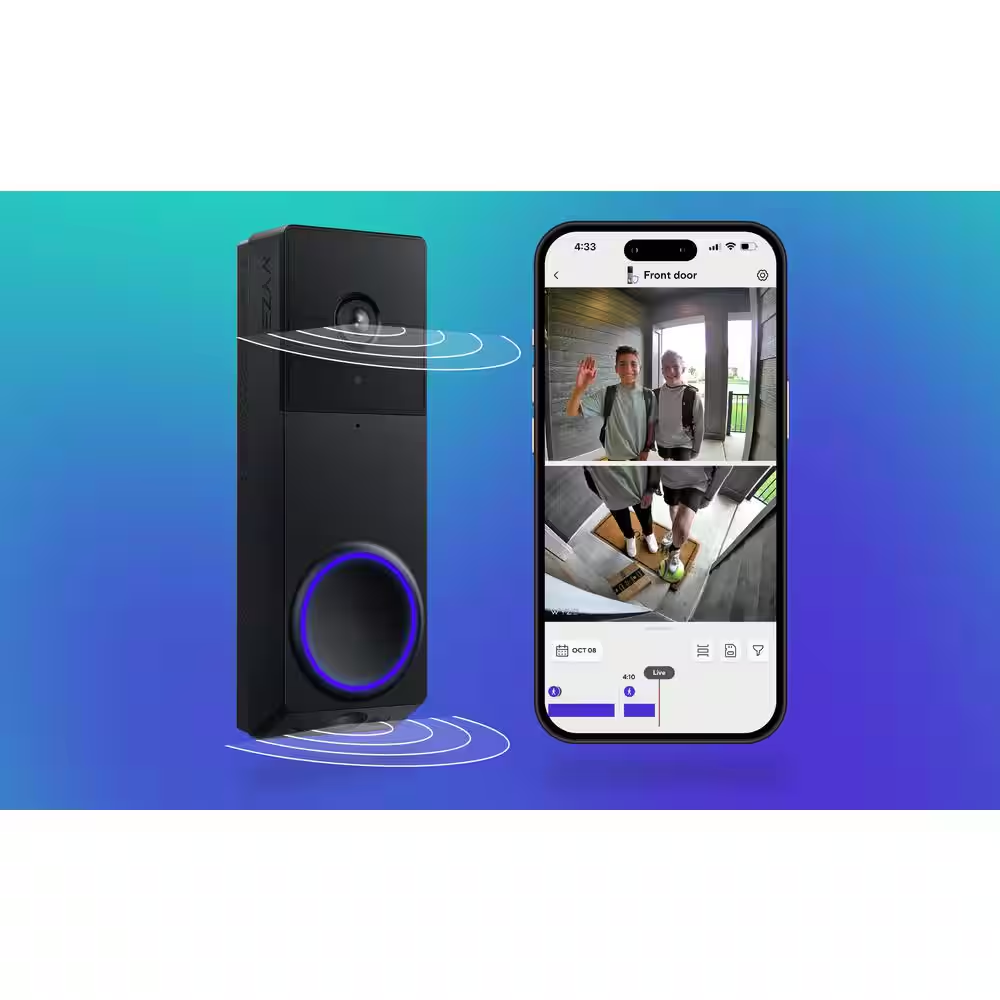
In today’s world, securing your home is more important than ever. A video doorbell is one of the best investments you can make for home surveillance. The Wyze Video Doorbell Pro installation is a popular choice due to its affordability and high-quality features. This tutorial will guide you through the entire process of installing the Wyze Video Doorbell Pro, ensuring that you can enjoy the benefits of this smart device without hassle.
Preparing for Installation
Gathering Required Tools
Before you begin the installation process, it is essential to gather all necessary tools and materials. For the installation of the Wyze Video Doorbell Pro, you will need a few basic tools. These include a drill, a screwdriver, a level, and a pair of wire strippers. A smartphone is also required for setting up the doorbell using the Wyze app.
In addition to the tools, check the contents of the Wyze Video Doorbell Pro package. It should include the doorbell unit, a mounting plate, screws, wiring connectors, and a quick-start guide. Ensure you have everything ready so you can complete the installation smoothly.
Checking Existing Doorbell Wiring
Before proceeding, assess your existing doorbell wiring. The Wyze Video Doorbell Pro is designed to work with most existing doorbell systems. If you have a wired system, you’ll typically find two wires connected to your existing doorbell. Make sure to turn off the power to your doorbell circuit at the breaker box before checking the wiring. This is crucial for your safety during installation.
Inspect the condition of the wires. If they look worn or frayed, it may be wise to replace them before installing your new doorbell. A secure and reliable connection will ensure that your video doorbell functions correctly and receives adequate power.
Installing the Mounting Plate
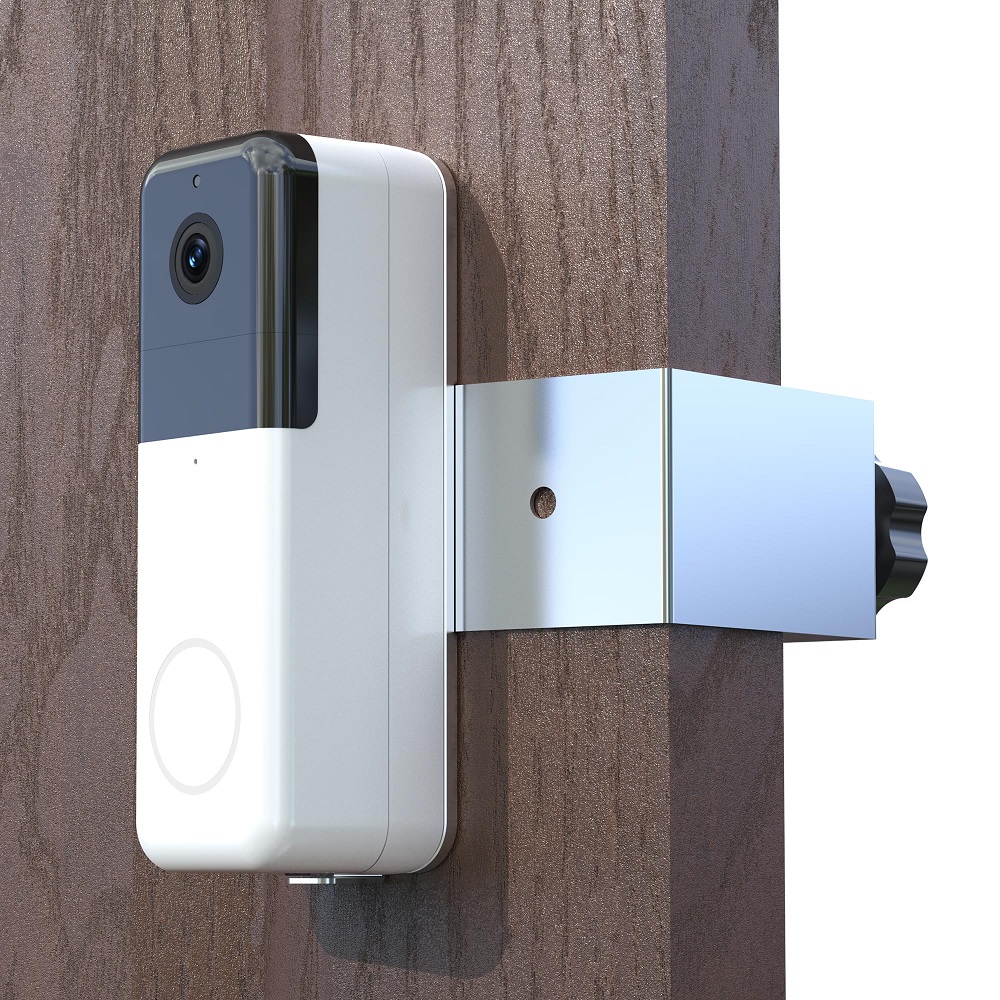
Positioning the Mounting Plate
Once you’re prepared and have confirmed the condition of your wiring, it’s time to install the mounting plate. Use a level to determine where you want to position the Wyze Video Doorbell Pro. Ideally, the doorbell should be at eye level for optimal video capture. A height of about 4 to 5 feet from the ground is generally recommended.
Hold the mounting plate against the wall where you want to install the doorbell. Use a pencil to mark the screw holes on the mounting plate. These marks will guide the drilling process. Ensure that the plate is level before making your pencil markings to avoid any alignment issues.
Drilling Holes and Securing the Plate
With your screw hole marks made, use a drill to create holes suitable for the screws provided. If your home has brick or concrete, you may need a masonry bit to drill into the material effectively. Once you’ve drilled the holes, insert the plastic wall anchors that came with your Wyze Video Doorbell Pro.
Next, align the mounting plate with the holes. Secure it using the screws included in the package. Tighten the screws firmly, but be cautious not to overtighten, as this may damage the plate or wall. The mounting plate should be securely fastened to the wall before proceeding to the next step.
Connecting the Wiring
Preparing the Wires
With the mounting plate installed, it’s time to connect the wiring. Start by carefully removing the existing doorbell from the wall if you haven’t already. Disconnect the two wires from the old doorbell and strip about half an inch of insulation from the ends of each wire. Make sure to keep track of which wire is the positive and negative connection, as most doorbells color-code their wiring (usually red for positive and white for negative).
If the wires were connected easily to the old doorbell, use the included wire connectors to connect them. If the existing wiring does not fit properly, you may have to use the wire strippers to adjust the wire length or secure the connection properly.
Making the Connections to the Wyze Doorbell
Now, connect the stripped wire ends to the corresponding terminals on the Wyze Video Doorbell Pro. The doorbell unit features clearly marked terminals. Generally, terminal labeling consists of “+” and “-” symbols. This labeling corresponds to the positive and negative wires from your existing setup.
Secure the wires by tightening the screws on the terminals to hold the wires in place. Ensure that the connections are tight and that no exposed wire is showing. This step reduces the risk of interruptions in power supply to the doorbell.
Installing the Doorbell Unit
Aligning the Doorbell with the Mounting Plate
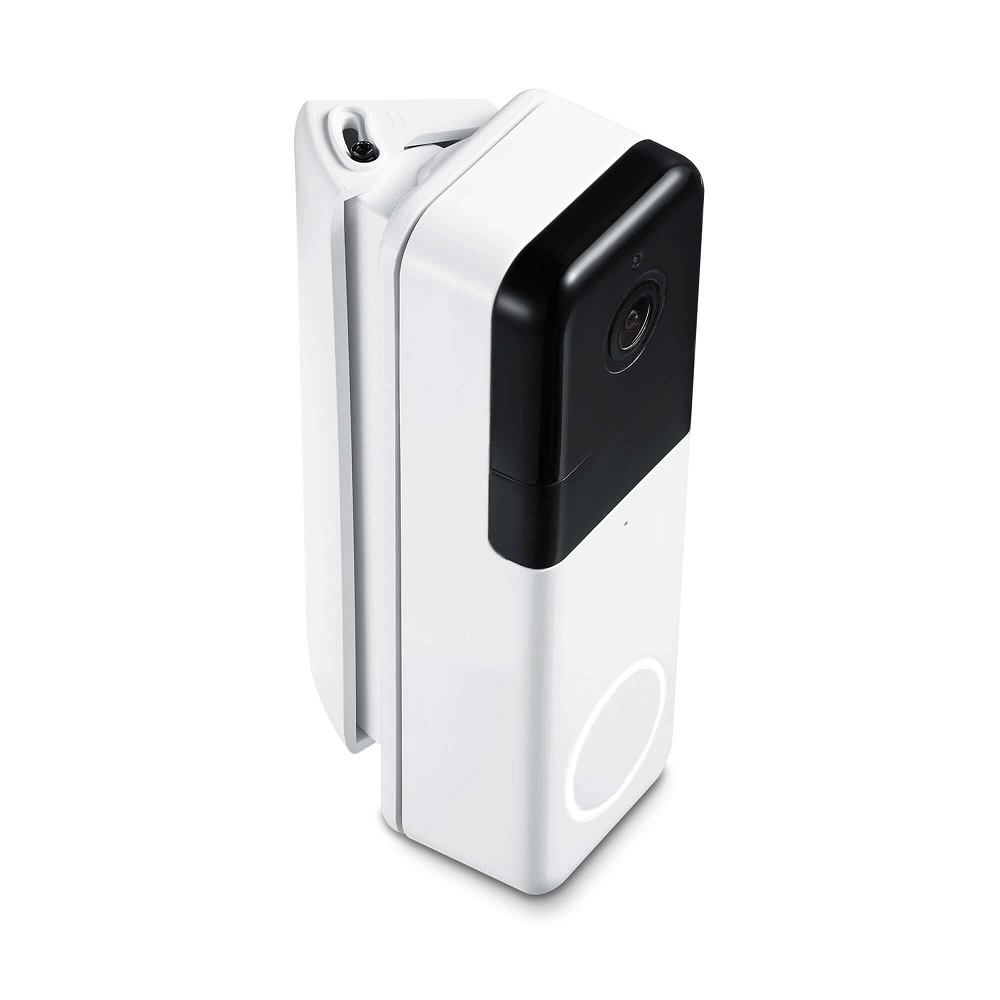
After the wiring connections are made, it is time to install the actual doorbell unit onto the mounted plate. Start by aligning the top of the Wyze Video Doorbell Pro with the bracket on the installed mounting plate. This alignment will ensure that the doorbell fits neatly and securely into place.
Once aligned, gently press the doorbell unit down onto the mounting plate. You should hear a clicking sound, indicating that the doorbell has been locked into place. Ensure that it feels secure and does not wobble as this will affect its overall function.
Securing the Unit
Using the screws provided in the package, secure the doorbell unit to the mounting plate. Tighten the screws carefully to ensure that the doorbell remains firmly fastened without causing damage. It’s essential to ensure the unit is not too loose or overly tight.
Once the doorbell is fully installed, remove any protective film or packaging from the unit. Completing these small steps will ensure your video doorbell looks aesthetically pleasing.
Setting Up the Wyze App
Downloading and Creating an Account
With the doorbell physically installed, the next step is to set it up electronically. Start by downloading the Wyze app on your smartphone. The app is available for both iOS and Android devices. Open the app and create a Wyze account if you don’t already have one.
Once you’ve logged in, select the option to add a new device. The app will guide you through the setup process, including connecting the doorbell to your home Wi-Fi network. Ensure that you have your Wi-Fi password handy, as you will need it to complete this step.
Connecting the Doorbell to Wi-Fi
Follow the on-screen prompts to connect your Wyze Video Doorbell Pro to your Wi-Fi network. The app will typically display a QR code that you need to scan using the doorbell unit. Once the scanning is complete, the app will initiate the connection process. This stage may take a few minutes, so be patient.
Once connected, you will receive a confirmation notification on your smartphone. You can then customize the settings for your doorbell, including motion detection, notification preferences, and video quality settings. Adjusting these features according to your preferences ensures that the doorbell meets your specific needs.
Testing the Doorbell Functions
Ensuring Proper Functionality
With the installation complete, it’s essential to test the doorbell functions. Start by pressing the doorbell button and ensuring that you receive a notification on your smartphone. This will confirm that the doorbell is connected and functioning correctly.
Next, check the video feed. Open the Wyze app to verify that you can view live video from the doorbell camera. This feature should display a clear image, allowing you to see anyone at your door. Make sure that the camera angle captures your entryway effectively.
Testing Motion Detection
Test the motion detection function by walking in front of the doorbell camera. Observe whether you receive motion alerts on your phone as you move. The Wyze Video Doorbell Pro allows you to adjust sensitivity settings for notifications. If you find that the motion detection is too sensitive or not sensitive enough, return to the app to modify these settings according to your preferences.
Completing these tests ensures that your doorbell operates as intended, giving you peace of mind regarding its functionality.
Maintenance and Troubleshooting
Regular Maintenance Tips
To ensure the optimal performance of your Wyze Video Doorbell Pro installation, regular maintenance is crucial. Periodically clean the camera lens to keep the video feed clear. Use a soft microfiber cloth to remove any dust or debris. Avoid using harsh chemicals that can damage the lens.
It’s also wise to check the wiring and connections every few months, especially if the weather changes. Look for signs of wear and tear on the wiring, which may affect functionality over time. Regular checks can prevent issues before they become significant problems.
Troubleshooting Common Issues
If you encounter problems with your Wyze Video Doorbell Pro installation, troubleshooting techniques can help. Common issues include connectivity problems, delayed notifications, and poor image quality. Start by ensuring that your home Wi-Fi network is active and that the doorbell is within range.
If notifications are delayed, examine your app settings. Adjust the notification preferences to ensure that alerts are enabled. For issues with image quality, inspect the camera lens for obstructions and ensure that the unit is properly aligned.
In conclusion, installing the Wyze Video Doorbell Pro is a straightforward process that enhances your home security. Following the steps outlined in this tutorial will help ensure a successful installation. By preparing adequately, implementing proper techniques, and conducting regular maintenance, you can enjoy the full benefits of your new video doorbell. With its advanced features and easy setup, the Wyze Video Doorbell Pro is a smart addition to any home. Enjoy increased peace of mind as you monitor your entryway effectively!
